
Solar Panels for House Roof: A Roofer's 20-Year Perspective on What Actually Works
For over two decades, I've stood on thousands of Texas roofs. I've installed asphalt shingles in Kingwood heat and repaired storm damage after Houston hurricanes. I hold GAF Master Elite certification and have completed more than 3,500 roofing projects. This experience gives me a unique perspective on solar panel installations. Most solar companies focus on energy production. Roofers focus on protecting your home. This article bridges that gap. It exists because homeowners keep asking me the same question. "Will solar panels damage my roof?" The answer is more complex than yes or no. It depends on your roof's condition, the installation method, and proper integration. I wrote this guide to solve that specific problem. I want you to make informed decisions that protect both your investment and your home. The information comes from real customer projects we've completed. It references manufacturer specifications from GAF, CertainTeed, and Owens Corning. It considers Texas building codes and insurance requirements. My methodology is simple. I recommend what I would install on my own home. No fluff, just field-tested facts.
Understanding Your Roof's Foundation: The Critical First Step
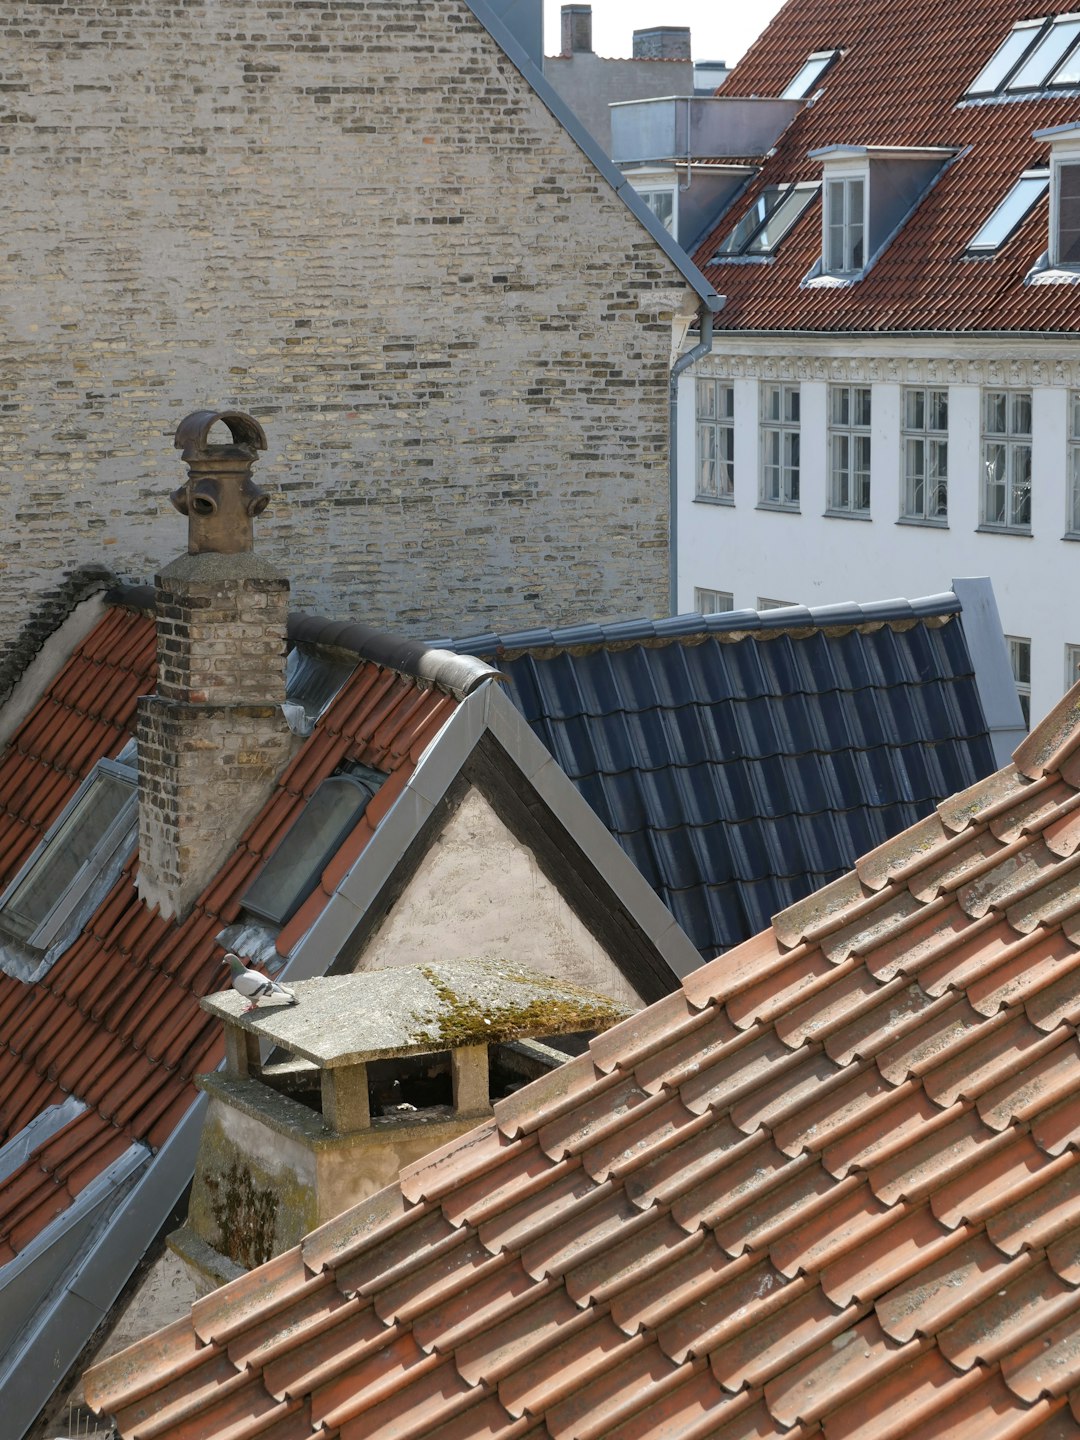
Solar panels last 25-30 years. Your roof should last at least that long. The first step is a professional roof inspection. Do not skip this. A solar installer might check your roof. But a certified roofer examines it differently. We look for subtle signs of aging. We check decking integrity and ventilation. We assess previous repair quality. These factors determine if your roof is solar-ready.
Roof Age and Material Assessment
Asphalt shingle roofs typically last 20-25 years in Texas. If your roof is 15 years old, adding solar creates a problem. You will need to remove and reinstall panels for a roof replacement. This costs $4,000-$8,000 extra. Metal roofs last 40-70 years. They pair beautifully with solar. Tile roofs require special mounting hardware. The National Roofing Contractors Association (NRCA) provides excellent guidelines. Always check your roof warranty first. Some manufacturers void warranties if panels are installed incorrectly. GAF has specific requirements for solar attachments. Follow them to maintain coverage.
Structural Integrity and Load Capacity
Solar panels add weight to your roof. The system weight is 3-5 pounds per square foot. Snow loads are not a concern in Texas. But wind uplift is critical. Houston experiences strong winds. The mounting system must resist these forces. Your roof deck must be solid. We often find soft spots during inspections. These areas cannot support solar mounts. The International Building Code (IBC) specifies load requirements. A structural engineer can assess your home if needed. This is especially important for older houses.
Solar Panel Types: Material Choices from a Roofer's View
Homeowners focus on panel efficiency. Roofers focus on installation impact. Different panel types require different mounting approaches. Understanding these differences helps protect your roof.
Monocrystalline vs. Polycrystalline Panels
Monocrystalline panels are more efficient. They perform better in heat. They are also more expensive. Polycrystalline panels are less efficient but more affordable. Both types use similar mounting hardware. The weight difference is minimal. From a roofing perspective, the choice matters less than the installation method. Proper flashing and sealing are identical for both types. The Underwriters Laboratories (UL) certifies panel safety. Always choose UL-listed products.
Thin-Film Solar and Integrated Systems
Thin-film panels are lightweight and flexible. They adhere directly to roofing materials. This seems ideal for roof protection. But they are less efficient. They also require specific roofing substrates. Integrated solar shingles like Tesla Solar Roof are different. They replace traditional roofing materials. They function as both roof and solar generator. These systems require specialized installation. They are significantly more expensive. But they offer seamless aesthetics. We have installed both types. Each has pros and cons for Texas homes.
Mounting Systems: How Panels Actually Attach to Your Roof
This is the most important section for roof longevity. The mounting system is where leaks develop. Understanding attachment methods prevents future problems.
Rail-Based Mounting Systems
Most installers use rail-based systems. Aluminum rails run across your roof. Panels clamp to these rails. The rails attach to mounts that penetrate the roof. Each penetration is a potential leak point. High-quality mounts include metal flashing. This flashing integrates with your shingles. It directs water away from the hole. We prefer mounts with thick rubber gaskets. These gaskets compress to create a seal. They must be torqued to manufacturer specifications. Overtightening cracks shingles. Undertightening allows leaks. The Florida Solar Energy Center has excellent mounting guidelines. Texas follows similar wind resistance standards.
Rail-Free and Ballasted Systems
Rail-free systems attach panels directly to mounts. They use fewer roof penetrations. This reduces leak potential. But they require precise placement. Ballasted systems use weight instead of penetration. They are common on flat commercial roofs. They are rarely used on residential sloped roofs. They add significant weight. They are not recommended for most Texas homes. Always ask your installer which system they use. Request details about leak protection methods.
The Installation Process: What Should Happen on Your Roof
A proper solar installation protects your roof. A poor installation damages it. Understanding the process helps you monitor quality.
Pre-Installation Roof Preparation
The installer should clean the roof surface. They should replace any damaged shingles. They should verify deck integrity at each mount location. They should plan conduit runs to minimize penetrations. Electrical conduits often run across the roof. They attach with stand-off mounts. Each stand-off requires flashing. The best practice is to group penetrations. Fewer holes mean fewer leak points. The installer should coordinate with your roofer if repairs are needed. We often perform preparatory repairs before solar installation.
Mount Installation and Waterproofing
Each mount receives a bead of roofing sealant. The mount presses into the sealant. Flashing slides under the shingle above. It overlaps the shingle below. This creates a water-shedding surface. The bolt tightens through the flashing. More sealant applies around the bolt head. This double-seal method is crucial. We see many installations with only one sealant application. These fail within 5-10 years. The North American Board of Certified Energy Practitioners (NABCEP) sets installation standards. Choose NABCEP-certified installers for best results.
Cost Analysis: Real Project Examples from Texas Homes
Solar costs vary widely. Roof condition significantly affects total price. These real examples from our service area show actual costs.
Case Study 1: Kingwood Home with 15-Year-Old Roof
The homeowners wanted a 10kW solar system. Their asphalt shingle roof was 15 years old. We recommended replacement first. The solar installer quoted $25,000 for panels. Roof replacement added $12,000. Panel removal and reinstallation added $5,000. Total project cost was $42,000. Federal tax credit covered 30%. Net cost was $29,400. They financed through a HELOC. Their electric bill dropped from $250 to $40 monthly. Payback period is 12 years. Their new roof has a 50-year warranty. The solar installation maintains that warranty.
Case Study 2: New Construction with Solar Integration
A new home in The Woodlands included solar in original plans. The builder installed standing seam metal roofing. Solar mounts clamped to seams without penetration. This eliminated leak risk. The 12kW system cost $28,000. Roof cost was part of the mortgage. No removal costs will ever be needed. The metal roof lasts 50+ years. Solar panels last 25-30 years. This is the ideal scenario. Planning solar during roof construction saves money. It also provides optimal integration.
Maintenance and Repair: Long-Term Roof Protection
Solar panels require minimal maintenance. But your roof still needs attention. Proper care prevents expensive damage.
Regular Inspection Schedule
Inspect your roof twice yearly. Spring and fall are best times. Look for these issues from the ground. Check for debris accumulation under panels. Leaves and branches trap moisture. This accelerates shingle deterioration. Look for animal nests. Squirrels and birds love the space under panels. They can damage wiring and roofing. Monitor for moss or algae growth. Shaded areas under panels stay damp. This promotes organic growth. Hire a professional roofer every 3-5 years. We use infrared cameras to detect moisture under panels. Early detection prevents major repairs.
Handling Roof Repairs with Solar Installed
Eventually, your roof will need repair. Hail damage is common in Texas. Wind storms lift shingles. When repairs are needed, solar panels must be removed. This adds significant cost. Include this in your long-term budget. Some solar companies offer removal services. Their rates vary from $3,000 to $8,000. Always get a written quote before installation. Ask about their removal process. Ensure they guarantee reinstallation performance. Your roofing contractor should coordinate with the solar company. This ensures both systems remain warrantied.
Insurance and Warranty Considerations
Solar panels affect your homeowners insurance. They also interact with roof warranties. Understanding these relationships is crucial.
Homeowners Insurance Adjustments
Notify your insurance company before installation. Most policies cover solar panels. But you may need increased dwelling coverage. Panels are considered part of the structure. They are covered against the same perils as your roof. Hail, wind, and fire damage are typically included. Some insurers offer discounts for solar installations. These recognize reduced fire risk from grid independence. Texas Department of Insurance provides guidance. Review your policy carefully. Ensure coverage matches replacement cost.
Manufacturer Warranty Interactions
Roofing manufacturers have specific policies. CertainTeed requires their certified installers for solar-related work. GAF offers solar integration warranties through their certified partners. Owens Corning provides technical bulletins for solar attachments. Always check manufacturer requirements before installation. Violating these requirements voids your roof warranty. Many homeowners discover this too late. After hail damage, they find their roof warranty is void. Then their insurance might not cover full replacement cost. This creates financial disaster. Proper installation prevents this scenario.
Frequently Asked Questions from Real Homeowners
Will solar panels cause my roof to leak?
Properly installed panels should not cause leaks. The key is proper flashing and sealing. Each roof penetration requires professional waterproofing. Choose experienced installers who follow manufacturer guidelines. Inspect mounts annually for sealant deterioration. Address any issues immediately to prevent water intrusion.
How much weight do solar panels add to my roof?
A typical system adds 3-5 pounds per square foot. This includes panels, mounts, and rails. Most modern roofs handle this easily. An inspection verifies structural capacity. Older homes might need reinforcement. A structural engineer can assess your specific situation.
Can I install solar on a roof that needs repair?
This is not recommended. Repair the roof first. Installing panels over damaged roofing traps problems. It also makes future repairs more expensive. Complete all necessary roof work before solar installation. This protects both investments.
What happens if I need a new roof after installing solar?
You must remove and reinstall the panels. This costs $4,000-$8,000 on average. Factor this into your financial planning. If your roof is older, consider replacement first. This avoids removal costs later.
Do solar panels void my roof warranty?
They can if installed improperly. Most manufacturers allow solar installations. But they require specific mounting methods. Use manufacturer-approved attachments. Follow their installation guidelines exactly. This maintains your warranty coverage.
How do I clean my roof under solar panels?
Use a low-pressure garden hose from the ground. Do not use pressure washers. They force water under shingles. For heavy debris, hire professionals. They use specialized tools to clean under panels safely.
Are some roof types better for solar?
Metal roofs are ideal for solar. They last longer than panels. Mounts clamp without penetration. Asphalt shingles work well with proper flashing. Tile roofs require special hardware. Flat roofs use ballasted systems. Each type has optimal mounting solutions.
Industry Statistics and Data Insights
The Solar Energy Industries Association (SEIA) tracks industry data. Texas ranks second in solar capacity growth. Residential installations increased 35% last year. Average system size is 8.6 kW in Texas. Typical cost is $2.50-$3.00 per watt before incentives. The federal tax credit remains at 30% through 2032. Texas offers no state-wide solar incentives. Some utilities provide rebates. Oncor and CenterPoint have limited programs. Roof-integrated systems represent 5% of installations. They are growing as technology improves. Most homeowners choose traditional rack-mounted systems. These offer better economics currently.
Step-by-Step Guide: Planning Your Solar Roof Project
- Schedule a professional roof inspection. Hire a certified roofer, not just a solar company.
- Address all roof repairs or replacement needs first. Do not proceed with solar until your roof is sound.
- Obtain multiple solar quotes. Ask each company about their mounting methods and leak protection.
- Verify installer credentials. Look for NABCEP certification and manufacturer approvals.
- Review warranty interactions. Ensure both roof and solar warranties remain valid.
- Notify your insurance company. Adjust coverage as needed for the new system.
- Schedule installation during dry weather. Spring and fall offer ideal conditions in Texas.
- Inspect the completed installation. Check flashing and sealing at multiple mounts.
- Establish a maintenance schedule. Include annual inspections and cleaning as needed.
- Keep all documentation organized. Store warranties, permits, and installation details together.
Conclusion: Making Smart Decisions for Your Home and Roof
Solar panels offer excellent energy savings. But they must integrate properly with your roof. Your roof's primary job is protection. Solar installation should not compromise that function. From two decades of roofing experience, I recommend careful planning. Assess your roof's condition first. Choose quality mounting systems. Hire credentialed professionals. Protect your warranties. The extra effort prevents costly problems later. Your home is likely your largest investment. Solar panels can enhance its value. But only if installed correctly. Use this guide as a roadmap. Ask the right questions. Demand proper installation methods. The result will be decades of clean energy and a dry, secure home. For specific questions about your Texas roof, consult a local certified roofer. They understand our unique climate challenges. They can help you navigate this important decision successfully.