
Rooftop Solar Price Guide: What 17 Years of Roofing Experience Teaches Homeowners
My name is Mike, and I've been a licensed roofing contractor in Texas for 17 years. Our team at Kingwood Roofing has completed over 3,200 residential roofing projects. We hold GAF Master Elite, CertainTeed SELECT ShingleMaster, and North American Board of Certified Energy Practitioners (NABCEP) certifications. This experience gives us a unique perspective on how solar installations interact with your roof's structure, materials, and longevity. This article exists because homeowners constantly ask us the same question: "How much will solar panels really cost me, and what does it mean for my roof?" They're worried about hidden expenses, roof damage, and making a smart investment. This guide solves that problem by giving you complete, transparent information from someone who installs both roofs and solar systems. We gathered this information from hundreds of customer projects, manufacturer installation specifications, and continuous training with industry partners like Tesla and SunPower. Our methodology is simple: we share what actually happens on the job site, not just theory from a brochure. This will save you time, prevent costly mistakes, and help you make a confident decision about solar energy for your home.
Understanding the True Cost of Rooftop Solar Systems
The price of a solar panel system is more than just the equipment cost. It is a complete project that involves your home's most important protective layer: the roof. As a contractor, I see homeowners get quotes that only mention the panels and inverters. They forget the critical roofing work required for a safe, long-lasting installation. A proper solar installation must integrate with your roof's waterproofing, structure, and warranty. The total cost includes the solar equipment, professional labor, electrical work, permits, and crucially, any necessary roof preparation or reinforcement. We will break down each component so you understand exactly what you are paying for. This knowledge protects you from contractors who might cut corners on the roofing aspect to offer a lower price.
The Core Components of Your Solar Quote
Every solar quote should itemize these key elements. The solar panels themselves are just one part. You also need an inverter to convert the solar power to usable electricity for your home. You need a racking system to securely mount the panels to your roof. This racking must be flashed and sealed properly to prevent leaks. You need electrical conduits, disconnects, and a new meter often installed by a licensed electrician. Finally, you need city or county permits and interconnection approval from your utility company. Missing any of these items in a quote is a major red flag. A reputable contractor will provide a detailed breakdown.
National and Local Price Averages
According to the U.S. Department of Energy, the average cost for a residential solar system before incentives is between $15,000 and $25,000. In our Texas market, we typically see prices ranging from $2.50 to $3.50 per watt. A common 6-kilowatt (kW) system would therefore cost between $15,000 and $21,000 before incentives. These figures assume a standard composition shingle roof in good condition. Prices can increase significantly if your roof requires repair, uses specialty materials like tile or slate, or has a complex design with many valleys and hips. Always get a professional roof inspection before finalizing a solar quote.
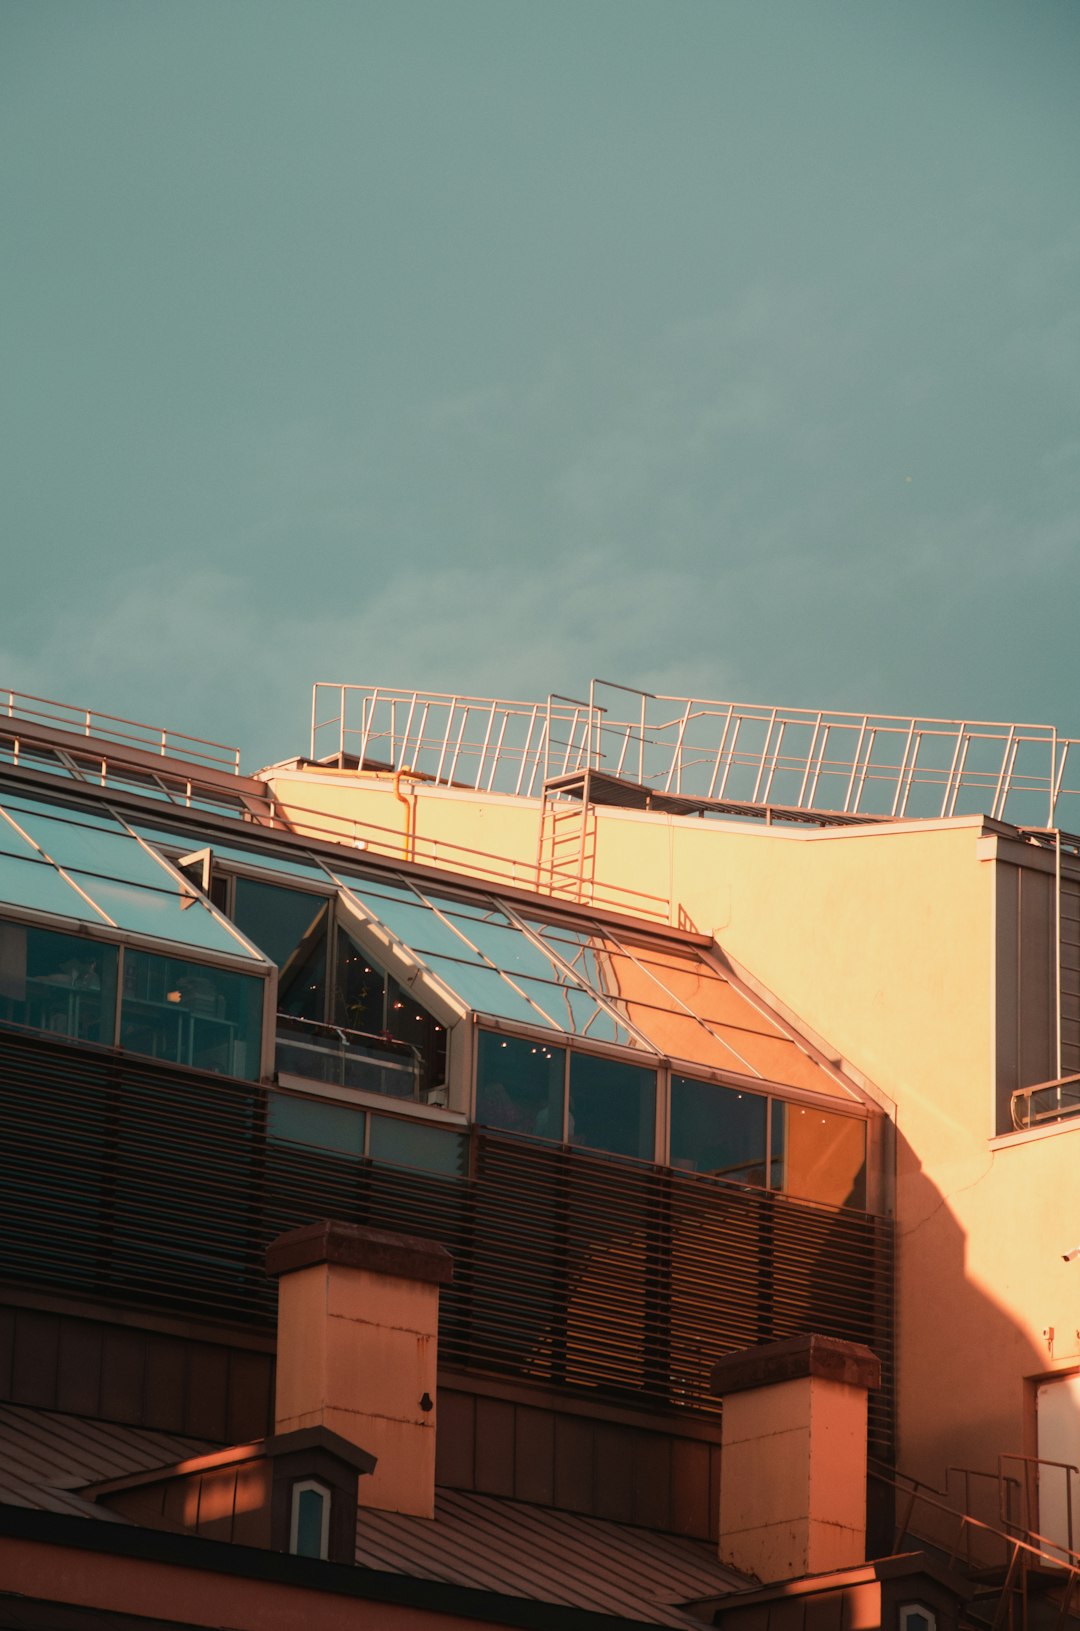
How Your Roof's Condition Drives Solar Installation Cost
This is the most overlooked factor by homeowners. Solar panels have a lifespan of 25-30 years. Your roof should last at least as long. Installing solar on an old or failing roof is the single biggest financial mistake you can make. Imagine paying $20,000 for solar, only to need a $15,000 roof replacement in 5 years. You would have to pay a contractor to remove and reinstall all the panels, adding thousands more in labor costs. A responsible solar installer will always assess your roof's age, material, and structure first. We recommend a roof be no more than 5-7 years old for a new solar installation. If it's older, you should strongly consider replacing it first. This upfront cost saves you massive expense and hassle down the road.
The Critical Roof Inspection Checklist
Before any solar talk, a qualified roofer should inspect these key areas. Check the age of the current shingles. Inspect the roof decking for soft spots or rot. Examine all flashings around chimneys, vents, and walls. Look for signs of previous leaks in the attic. Evaluate the roof's structural integrity to handle the added weight. Assess the slope and orientation for optimal solar production. This inspection determines if your roof is "solar-ready." If it's not, the cost to make it ready must be added to your total project budget. Never skip this step.
Cost Implications of Different Roofing Materials
Not all roofs are equal for solar installation. Standard asphalt shingles are the easiest and most cost-effective. Installation labor is straightforward. Tile roofs (clay or concrete) require special mounting hardware and careful handling to avoid breakage, increasing labor costs by 20-30%. Metal roofs are excellent for solar but may need specific clamps or brackets compatible with the standing seam profile. Flat roofs require tilted racking systems (ballasted or penetrating) which add material and complexity. Slate roofs are fragile and expensive; installers may charge a premium due to the high risk of damage. Always confirm your solar installer has specific experience with your roof type.
Breaking Down the Solar Installation Process & Associated Costs
Understanding the step-by-step process helps you see where your money goes. It also lets you spot a professional crew from an inexperienced one. The first phase is design and engineering. The installer designs the system layout on your roof, ensuring optimal sun exposure and compliance with local building codes. They submit plans for permits. The second phase is site preparation. This includes delivering materials and setting up safety equipment. The third phase is the roofing work. This involves installing flashings, mounting brackets, and sealing all penetration points. This is the most critical step for preventing future leaks. The fourth phase is mounting the racking and panels. The fifth phase is the electrical work. Finally, the system is inspected and activated.
Labor Costs: Roofing Expertise vs. Electrical Work
Labor typically accounts for 10-15% of the total system cost. However, this labor is split between roofing specialists and electricians. The roofing labor involves safely working on steep slopes, installing waterproof flashings, and ensuring the attachment points are structurally sound. The electrical labor involves running conduit, wiring the system, and connecting to your home's main panel. Both require licensed professionals. In Texas, a master electrician must sign off on the electrical work. Skimping on labor cost often leads to poor flashing details, which is the leading cause of roof leaks after solar installation.
Permits, Inspections, and Interconnection Fees
These are the "hidden" but necessary costs. Your contractor should pull a building permit from your local city or county. This ensures the installation meets the International Residential Code (IRC) and local amendments. There is a fee for this permit, usually a few hundred dollars. After installation, a city inspector will visit to approve the work. Your utility company also requires an interconnection agreement to connect your system to the grid. There may be a fee for a new meter. A professional installer manages all these steps for you. The cost should be included in your upfront quote.
Financial Incentives, Tax Credits, and Calculating Your Payback Period
The federal solar investment tax credit (ITC) is a major financial benefit. As of 2025, it allows you to deduct 30% of the total installation cost from your federal income taxes. This applies to both the solar equipment and the related roofing work needed for installation. For a $20,000 system, that's a $6,000 credit. Some states and utilities offer additional rebates. In Texas, while there's no state-wide rebate, some municipalities or co-ops have programs. You must own your system (not lease it) and have tax liability to claim the full federal credit. Always consult with a tax professional.
How to Calculate Your Real-World Savings
Your savings come from reducing your monthly electric bill. First, look at your last 12 months of utility bills to find your average annual energy usage in kilowatt-hours (kWh). A solar installer will design a system to offset a percentage of that usage, say 80-100%. Multiply your current cost per kWh by the number of kWh the system will produce annually. That's your estimated annual savings. For example, if you pay $0.12 per kWh and your system produces 10,000 kWh per year, you save $1,200 annually. Divide your net system cost (after incentives) by your annual savings to find your simple payback period. A $14,000 net cost with $1,200 annual savings equals an ~11.7 year payback. After that, the energy is essentially free for the life of the system.
Solar Loans, Leases, and Power Purchase Agreements (PPAs)
You have several options to finance solar. A cash purchase offers the highest long-term return. A solar loan allows you to own the system with monthly payments, often similar to your old electric bill. A solar lease or PPA means a company owns the panels on your roof, and you pay them for the electricity produced at a set rate. From a roofing perspective, ownership is simpler. If you need roof repairs, you own the panels and can hire any qualified roofer. With a lease, you must coordinate with the solar company, which can cause delays and complications. Always read the fine print regarding roof access and maintenance responsibilities.
Choosing the Right Contractor: A Roofer's Insider Advice
Your choice of installer is more important than your choice of panel brand. A great panel installed poorly will underperform and cause roof problems. Look for a contractor with dual expertise in roofing AND solar. They should hold relevant certifications. Ask for proof of insurance: both liability and workers' compensation. Check their license with the Texas Department of Licensing and Regulation (TDLR). Get at least three detailed written quotes. The cheapest quote is often the most expensive in the long run. Ask for local references and actually call them. Visit a previous job site if possible. A professional will welcome these questions.
Red Flags and Warning Signs
Be wary of high-pressure sales tactics or "today-only" discounts. Avoid contractors who only do solar and have no roofing background. They may not understand waterproofing principles. Reject any quote that does not include a thorough roof evaluation. Question companies that ask for full payment upfront. Be cautious of door-to-door salespeople making unrealistic promises. Verify that they will obtain all necessary permits; never let a contractor suggest you pull the permit as the homeowner to "save money." This transfers all liability to you. Trust your instincts. If something feels off, it probably is.
Essential Questions to Ask Every Installer
- Are you a licensed roofing contractor AND a licensed solar installer?
- Can you provide a copy of your liability insurance certificate?
- What is your process for flashing and sealing roof penetrations?
- Who will perform the work? Your employees or subcontractors?
- What happens if my roof leaks under the solar array after installation?
- How will this installation affect my existing roof warranty?
- Do you offer a workmanship warranty separate from the equipment warranty?
Real Project Case Studies: Costs and Outcomes
Let's look at two real projects from our books to illustrate different scenarios. Case Study 1: A home in Kingwood with a 10-year-old architectural shingle roof in good condition. The homeowners wanted a 7.5 kW system. Total project cost was $21,500. After the 30% federal tax credit, their net cost was $15,050. Their estimated annual production is 11,000 kWh, saving them about $1,320 per year on electricity. Their payback period is just over 11 years. The roof required no work, so installation was straightforward.
Case Study 2: A home in The Woodlands with a 22-year-old roof nearing the end of its life. The homeowners wanted solar. We advised a full roof replacement first. The new roof cost $18,000. The 8 kW solar system cost $24,000. The total project was $42,000. The 30% federal tax credit applied to the ENTIRE cost because the roof replacement was necessary for the solar installation. Their tax credit was $12,600. Their net cost was $29,400. They now have a brand-new roof with a 50-year warranty and a solar system with a 25-year warranty, eliminating major home expenses for decades. Their energy savings cover the combined payment.
Frequently Asked Questions from Homeowners
Will solar panels cause my roof to leak?
Properly installed solar panels will not cause leaks. The key is "properly installed." A qualified installer uses specialized flashing kits that integrate with your shingles to create a watertight seal around every mounting point. The panels also protect the roof area they cover from weather and UV rays. The risk comes from poor installation or using unapproved mounting methods. Always choose an installer with proven roofing experience.
Can I install solar on a roof that needs repairs?
You should not install solar on a roof that needs repairs. Solar installations are a 25+ year investment. Your roof should have a comparable remaining lifespan. It is far more cost-effective to repair or replace your roof before installing solar. Otherwise, you will pay for the expensive panel removal and reinstallation labor when the roof work is eventually needed.
How much weight do solar panels add to my roof?
A typical solar panel system adds about 2-4 pounds per square foot. Most well-built modern homes are designed by code to handle a live load (like snow) of 20-30 pounds per square foot. The solar weight is usually not a structural issue. However, an older home or a roof with existing structural concerns must be evaluated by a professional. A good installer will check the attic and roof decking before proceeding.
What happens to my solar panels if I need to replace my roof later?
If you need to replace the roof after solar is installed, you must hire a contractor to remove the panels and racking system. After the new roof is installed, they reinstall the solar equipment. This service typically costs between $3,000 and $8,000, depending on the system size and complexity. This is why installing solar on a new or like-new roof is the best financial decision.
Do solar panels work during a power outage?
Standard grid-tied solar systems automatically shut off during a power outage for safety reasons. This protects utility workers repairing lines. To have power during an outage, you need a solar battery storage system, like a Tesla Powerwall or Generac PWRcell. This adds significant cost but provides valuable backup power. Some inverters also offer a limited "islanding" mode with a critical loads panel.
How does hail affect solar panels?
Quality solar panels are tested and rated to withstand hail. Most are certified to survive hail up to 1 inch in diameter falling at 50+ miles per hour. In hail-prone areas like Texas, many homeowners find their solar panels actually protect the section of roof they cover. However, severe hail can still cause damage. Review your homeowner's insurance policy and the solar panel warranty to understand your coverage. The Insurance Information Institute offers guidance on this topic.
Can I add more panels to my system later?
Yes, you can usually expand your system later, but it may not be as cost-effective. The inverter may need to be upgraded or replaced to handle more capacity. The new panels might not perfectly match the old ones in appearance or output. Electrical wiring and conduit may need modification. It is generally better to install a slightly larger system initially if you anticipate needing more power in the future.
Conclusion: Making an Informed Decision for Your Home
Investing in rooftop solar is a significant decision that involves your home's structure, finances, and energy future. The true price encompasses more than just the panels; it includes the health of your roof, quality installation labor, and long-term maintenance considerations. By understanding the full scope of the project, you can avoid common pitfalls and ensure a smooth process. Start with a professional roof inspection. Get multiple detailed quotes from qualified, licensed contractors. Factor in all available financial incentives. Think long-term about your roof's lifespan alongside the solar system's lifespan. The goal is to create a durable, efficient home that saves you money for decades to come. If your roof is sound and your installer is expert, solar can be an excellent investment. Your next step is to schedule a consultation with a reputable roofing and solar contractor who can assess your specific home. Bring this guide with you and ask the hard questions. Your home deserves the best protection and the smartest investment.