
Roof Top Solar Companies: Your Complete Guide from a 15-Year Roofing Expert
For fifteen years, I have worked on thousands of roofing projects across Texas. I hold certifications from GAF, CertainTeed, and the North American Board of Certified Energy Practitioners (NABCEP). This hands-on experience has given me a unique perspective on how solar panels interact with your roof. I have seen what works, what fails, and what homeowners truly need to know before signing a contract. This article exists because I have watched too many homeowners face unexpected problems. They get excited about solar energy savings but overlook critical roofing factors. My goal is to give you the complete picture. I want you to make an informed decision that protects both your investment and your home. The information here comes from direct project experience, manufacturer installation manuals, and building code reviews. I will explain the methodology behind every recommendation. This is not a sales pitch. This is a practical guide from the field.
Understanding Your Roof's Solar Readiness
Not every roof is ready for solar panels. The first step is a professional assessment. A good solar company will inspect your roof before discussing panels. They should check the roof's age, structure, and material. Your roof must be strong enough to support the extra weight. Solar panels, racking, and potential snow load add significant pounds per square foot. The roof decking and trusses must be in excellent condition. Any weakness will become a major problem later. The roof's orientation and pitch are also crucial. In the northern hemisphere, south-facing roofs typically get the most sun. East and west-facing roofs can also work well. The ideal pitch angle varies by location. Shading from trees or other buildings dramatically affects performance. A professional will use a tool called a Solar Pathfinder or digital analysis to map sun exposure throughout the year.
Roof Age and Condition Assessment
This is the most important factor. Installing solar on an old roof is a costly mistake. Solar panel systems last 25 to 30 years. Your roof should last at least as long. If your asphalt shingle roof is over 15 years old, consider replacement first. The cost of removing and reinstalling solar panels for a roof replacement later is enormous. It can cost thousands of dollars. A full roof inspection should look for cracked, curled, or missing shingles. It should check for soft spots in the decking. It must examine the flashing around vents, chimneys, and walls. All these elements must be sound. Many reputable solar companies partner with roofing contractors for this assessment. Do not skip this step to save money upfront. It will cost you more later.
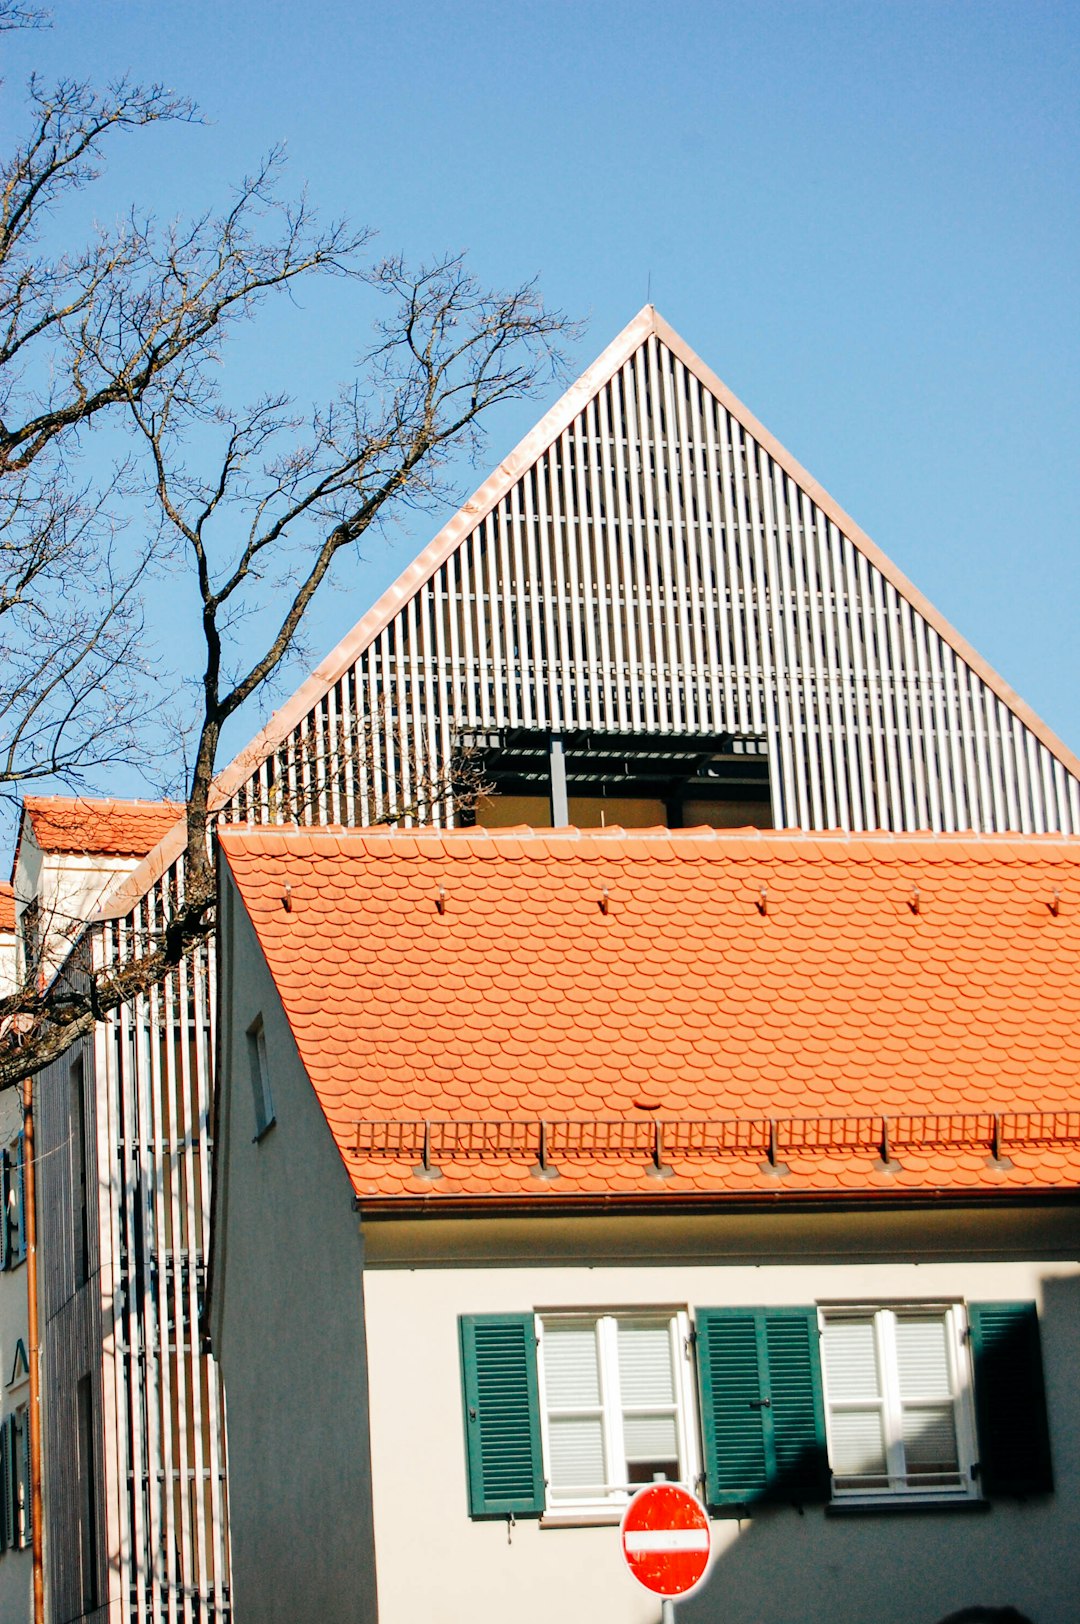
Roof Material Compatibility
Solar panels can be installed on most common roofing materials. However, the installation method varies. Asphalt shingles are the most common and easiest to work with. Installers use flashing and lag bolts that seal directly into the roof deck. Tile roofs, like concrete or clay, require special care. Installers often use special hooks that slide under the tiles. This avoids drilling through the fragile tiles themselves. Metal roofs are excellent for solar. Standing seam metal roofs allow for clamp-on attachments that require no penetration. This preserves the roof's weathertight integrity. Flat roofs use ballasted racking systems or tilted frames. Each material has specific best practices outlined by manufacturers like GAF and CertainTeed. The installer must follow these to maintain your roof warranty.
How to Vet and Choose a Solar Company
The solar industry has many companies. Quality varies widely. Your choice will impact your system's performance for decades. Start by checking credentials. Look for a company that is both licensed and insured. They should carry general liability and workers' compensation insurance. Ask for proof. Certification from NABCEP is a strong indicator of quality training. Check their business history with the Better Business Bureau. Read online reviews, but look for patterns. A few negative reviews are normal. Look for complaints about leaks, poor communication, or abandoned projects. Ask for local references. Talk to past customers in your area. Visit their homes if possible. See the installation quality firsthand. Ask about their experience with the company's crew and post-installation service.
Key Questions to Ask During Consultation
Prepare a list of questions for your consultation. Do not be shy. A professional company will welcome them. First, ask who will perform the work. Will they use their own employees or subcontractors? In-house crews often mean better quality control. Ask about the project timeline from permit to interconnection. Request a detailed, line-item proposal. It should include all costs: equipment, labor, permits, and fees. Ask about the warranty structure. There are typically three warranties: one on the panels, one on the inverters, and one on the workmanship. The workmanship warranty is crucial. It covers leaks and installation errors. A strong company will offer at least a 10-year workmanship warranty. Ask how they handle roof penetrations. What flashing and sealing methods do they use? Request the specific product names, like IKO or Owens Corning roofing sealants. Finally, ask who will pull the building permits. They should handle all permitting with your local building department.
Red Flags and Warning Signs
Be aware of common red flags. High-pressure sales tactics are a major warning. A reputable company gives you time to decide. Extremely low prices are often too good to be true. They may indicate subpar equipment or unskilled labor. Avoid companies that only discuss monthly payment savings without a full cost breakdown. Be wary of anyone who says your roof is fine without a thorough inspection. Avoid companies that cannot provide proof of insurance or licensing. Steer clear of door-to-door salespeople with no local office or track record. Do not sign a contract that is vague about equipment models or warranty details. Always get multiple quotes. Compare the equipment, warranties, and total cost. The cheapest option is rarely the best for a 25-year investment.
The Solar Installation Process: A Step-by-Step Guide
Understanding the installation process reduces anxiety. It also helps you monitor quality. A professional installation follows a clear sequence. First, the engineering and design phase begins after you sign the contract. The company designs the system layout. They submit plans for utility and building permits. This can take several weeks. Once permits are approved, the installation is scheduled. On installation day, the crew will deliver all materials. They will protect your property with tarps and set up safety equipment. They begin by installing the racking system. This is the metal framework that holds the panels. The racking is attached to your roof rafters with lag bolts. Each penetration gets a metal flashing piece sealed with roofing cement or a rubber gasket. This is the most critical step for preventing leaks.
Panel Mounting and Electrical Work
After the racking is secure, the panels are mounted. The crew carefully lifts each panel onto the roof. They secure them to the racking with clamps. The electrical wiring comes next. Conduit runs from the panels to your electrical panel. The installers connect the panels to one or more inverters. Inverters convert the panels' direct current (DC) into usable alternating current (AC) for your home. Microinverters are small units under each panel. String inverters are larger boxes typically mounted on an exterior wall. The crew will install a new utility meter if required. They will also install a production meter so you can track energy generation. Finally, they connect the system to your main electrical panel. A licensed electrician must perform this final connection. It must meet the National Electrical Code (NEC).
Inspections and System Activation
The work is not done after the installers leave. Your local building department must inspect the installation. They check the structural attachment and electrical work. The utility company also performs an inspection. They need to approve the connection to the grid. Only after both inspections pass can the system be activated. The solar company will "flip the switch" and commission the system. They should walk you through the monitoring software. This software, often an app, shows your real-time energy production. Keep all paperwork in a safe place. This includes the contract, permits, inspection certificates, and warranty documents. You will need them for future reference or if you sell your home.
Costs, Financing, and Understanding the True Value
Solar is a significant investment. Understanding the costs and payback period is essential. The total cost depends on system size, equipment quality, and roof complexity. As of 2025, the average cost before incentives is between $15,000 and $25,000 for a typical home. The federal Investment Tax Credit (ITC) is a major benefit. It allows you to deduct 30% of the system cost from your federal taxes. Many states and utilities offer additional rebates. Financing options are plentiful. You can purchase the system outright with cash. This offers the highest long-term savings. You can take out a solar loan. This allows you to own the system while paying it off monthly. You can also lease the system or sign a Power Purchase Agreement (PPA). With a lease or PPA, a company owns the panels. You pay a monthly fee for the electricity they produce. Ownership through purchase or loan usually provides greater financial benefit over time.
Calculating Your Return on Investment
The payback period is when your energy savings equal the system's net cost. A typical payback period is 6 to 10 years. After that, the electricity your system produces is essentially free. To calculate this, you need to know your current electricity cost. You also need a reliable estimate of your system's annual production. A good solar company will provide this projection. Factor in the federal tax credit and any local incentives. Also consider the increase in your home's value. Studies show solar panels can increase property value. The U.S. Department of Energy provides excellent resources on this. Remember, electricity rates tend to rise over time. Your solar panels lock in a portion of your energy cost. This protects you from future rate hikes.
Maintenance, Warranties, and Long-Term Care
Solar systems require minimal maintenance. However, they are not "install and forget" products. The panels themselves need occasional cleaning. Dust, pollen, and bird droppings can reduce efficiency. In most climates, rain provides adequate cleaning. In dusty areas, you may need to hose them down once or twice a year. Do not use abrasive materials or harsh chemicals. Simply use water and a soft brush. Monitor your system's output through the app. A sudden drop in production could indicate a problem. It might be a faulty inverter, a wiring issue, or significant shading from new tree growth. The racking and roof attachments should be inspected periodically. Have a professional roofer or the solar company check the sealant and flashing every few years. This is especially important after major storms. Proactive maintenance prevents small issues from becoming expensive leaks.
Navigating Warranty Claims
Understanding your warranties is critical. Panel manufacturers typically offer a 25-year performance warranty. They guarantee the panels will produce a certain percentage of their original output. Inverter warranties are often 10 to 25 years. The installer's workmanship warranty covers the roof penetration and installation quality. If you notice a leak, contact the solar installer first. The issue is likely related to their flashing work. If a panel stops producing, contact the installer or the equipment manufacturer. Keep your contract and warranty documents easily accessible. For roof-related issues, coordination may be needed between your roofer and the solar company. This is why choosing a company with a strong local reputation is so valuable. They will be there to honor their warranty.
Real Project Case Studies and Outcomes
Let me share two real examples from my experience. The first is a success story. A homeowner with a 5-year-old asphalt shingle roof wanted solar. We conducted a joint inspection with a trusted solar partner. The roof was in perfect condition. We recommended a certain shingle upgrade for better wind resistance before installation. The homeowner agreed. The solar company used premium flashing and sealant. The installation was seamless. Five years later, the homeowner has had zero leaks. Their energy bills have dropped by 80%. The second case is a cautionary tale. A homeowner hired a low-cost, out-of-state solar company. The installers did not inspect the 20-year-old roof. They installed panels directly onto worn shingles. Within two years, the roof began leaking severely. The solar company was out of business. The homeowner paid $12,000 for a new roof and another $4,000 to have the panels removed and reinstalled. The upfront savings were completely erased.
Frequently Asked Questions (FAQ)
Will solar panels void my roof warranty?
Not if installed correctly. Most major shingle manufacturers, like Malarkey, have specific installation guidelines for solar attachments. The installer must follow these guidelines. They must use approved flashing methods. Request a copy of the solar installation instructions from your roofer or shingle manufacturer. Provide them to your solar company. A proper installation will not void the warranty. Always get written confirmation from your roofing material manufacturer if you are unsure.
What happens if my roof needs repair after solar is installed?
This is a common concern. If you need a roof repair under the panels, the solar panels must be temporarily removed. This is called a "decommission and reinstall." It adds significant cost to the roof repair. This is why installing solar on a new or like-new roof is so important. If you have a minor repair away from the panels, a roofer can usually work around them. Always hire a roofer experienced in working with solar arrays. They will know how to protect the panels and electrical components.
How do solar panels affect roof drainage and water flow?
Good installers consider water flow. The racking is designed to elevate the panels slightly above the roof surface. This allows water and debris to flow underneath. The mounting hardware should not create dams that trap water. The installer must place flashings in a way that integrates with the existing roof drainage paths. During heavy rain, you should see water flowing freely off the roof edges, not pooling behind the equipment.
Can I install solar on a roof that gets some shade?
Yes, but it affects efficiency. Modern systems use power optimizers or microinverters. These devices minimize the impact of shading on individual panels. If one panel is shaded, it does not drag down the performance of the entire string. However, heavy, constant shading from large trees will still reduce overall output. A professional site assessment will calculate the expected production loss. It may still be financially worthwhile, but the payback period will be longer.
What is the biggest mistake homeowners make with solar?
The biggest mistake is focusing only on the solar panels and price. They forget the roof is the foundation. Installing a 25-year system on a 15-year-old roof is the most common and costly error. The second mistake is not vetting the installer thoroughly. They choose based on price or slick marketing instead of proven local experience, proper credentials, and quality workmanship warranties.
How does hail affect solar panels?
Quality solar panels are tested to withstand hail. Most are rated to survive hail up to one inch in diameter falling at 50+ miles per hour. This is similar to impact ratings for high-quality roofing materials. However, a severe hailstorm can still cause damage. Check your homeowner's insurance policy. Most policies cover solar panels as a permanent attachment to the structure. You should notify your insurance company after installation. Ensure your coverage is adequate. After a major storm, have both your roof and solar array inspected by professionals.
Do I need to clean my solar panels?
Generally, rain provides sufficient cleaning. In areas with little rain or lots of dust, pollen, or bird droppings, occasional cleaning can boost production. You can often do this yourself with a garden hose. Do not use high-pressure sprayers, as they can damage the panels. Do not walk on the panels. For steep or high roofs, it is safer to hire a professional cleaning service. The energy gain from cleaning is usually modest, around 3-5%.
Conclusion and Your Next Steps
Investing in rooftop solar is a smart decision for many homeowners. It can reduce your energy bills, increase your home's value, and support clean energy. However, it is a decision that must be built on a solid foundation—your roof. Start with a honest assessment of your roof's condition and remaining life. Consult with a trusted roofing professional. Then, carefully research and vet solar installation companies. Look for experience, proper licensing, strong warranties, and local references. Get multiple detailed quotes. Compare the equipment, the proposed installation method, and the company's reputation. Do not rush the process. The right company will be a partner for the next 25 years. They will ensure your solar investment is protected and performs as promised. Your path to energy independence starts with a thorough, informed plan. Take these steps, and you can confidently harness the power of the sun while keeping your home safe and dry for decades to come.