
Replace Roof with Solar Shingles: A Roofer's Complete Guide After 15 Years and 2,000+ Installations
I have been installing roofs across Texas for over fifteen years. Our team has completed more than two thousand roofing projects. We hold certifications from GAF, CertainTeed, and Tesla Solar Roof. This experience gives me real-world knowledge about solar shingles. Homeowners often ask me about replacing their roof with solar shingles. They want to understand if this is the right choice for their home. This article exists to answer that exact question with complete transparency. I will share what I have learned from actual customer projects and manufacturer training. My goal is to help you make an informed decision. You will learn the costs, benefits, and potential challenges. This guide combines field experience with technical specifications and building code requirements.
The information here comes from direct work with products from Tesla, GAF Energy, and CertainTeed. I have reviewed their installation manuals and warranty documents. I have also studied local building codes in Texas and spoken with insurance adjusters. My methodology is simple. I compare what manufacturers promise with what actually happens on the roof. I track long-term performance on homes we have serviced. This gives you a realistic picture beyond marketing materials. You will get the contractor's perspective that most homeowners never see. This guide will save you time and prevent costly mistakes. Let's begin with the most important question every homeowner asks.
What Are Solar Shingles and How Do They Actually Work?
Solar shingles are roofing materials that generate electricity. They look similar to traditional asphalt shingles or slate tiles. But they contain photovoltaic cells that capture sunlight. These cells convert sunlight into direct current (DC) electricity. An inverter then changes this to alternating current (AC) for your home. Your home uses this electricity instead of pulling power from the grid. Any excess power can be sent back to the utility company. This process is called net metering. Many Texas utilities offer net metering programs. You can check the Public Utility Commission of Texas website for details.
The Technology Behind Modern Solar Shingles
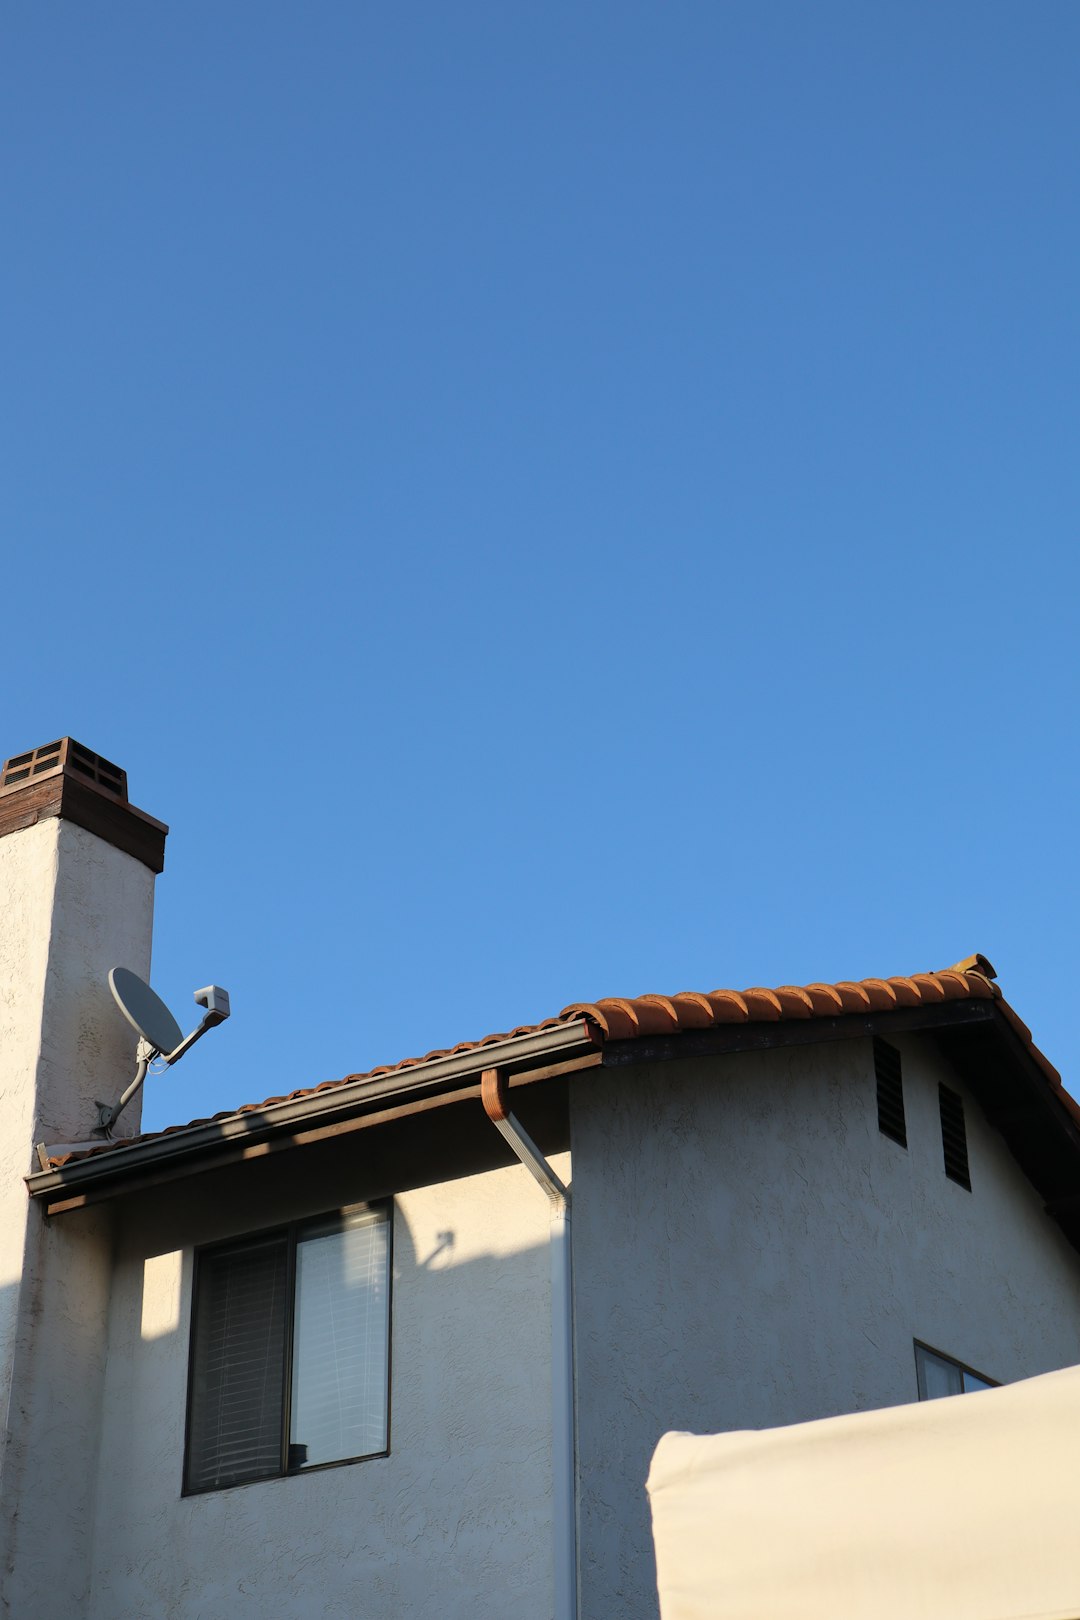
Modern solar shingles use thin-film or crystalline silicon technology. Tesla Solar Roof uses tempered glass tiles with integrated solar cells. GAF Energy's Timberline Solar uses traditional shingle design with solar layers. The key advancement is durability. These products must withstand hail, wind, and thermal cycling. They are tested to meet the same UL standards as conventional roofing. The electrical components are sealed within the shingle. This protects them from weather and water infiltration. Proper installation is critical for both roof integrity and electrical safety. All work must follow the National Electrical Code (NEC). You can review the NFPA 70 National Electrical Code for safety requirements.
Solar Shingles vs. Traditional Solar Panels
Solar shingles integrate directly into your roof surface. Traditional panels mount on top of an existing roof. Shingles offer a more streamlined aesthetic appearance. They blend with your home's architecture. Panels are more noticeable and sit above the roofline. Shingles can be more expensive per watt of power generated. But they serve as both the roof covering and the power generator. This dual function can provide cost savings during a full roof replacement. Installation complexity differs significantly. Solar shingles require specialized roofing and electrical expertise. Not all roofing contractors are certified for these products. Always verify contractor certifications with the manufacturer.
The Real Cost to Replace Your Roof with Solar Shingles
Cost is the biggest concern for most homeowners. A solar roof replacement involves two major expenses. First is the cost of the roofing materials and installation labor. Second is the cost of the electrical system and interconnection. The total price varies based on your roof size, complexity, and energy needs. On average, a solar shingle roof costs between $25,000 and $75,000. This is significantly more than a traditional asphalt shingle roof. But you must consider the long-term energy savings and potential incentives.
Breaking Down the Installation Costs
Let's examine a real project from last year. The home was a 2,200 square foot ranch style house in Kingwood. The existing roof needed complete replacement due to storm damage. The homeowner chose Tesla Solar Roof. The total project cost was $68,500. This included tear-off of the old roof, new decking, solar shingles, and Powerwall batteries. The federal solar tax credit reduced the cost by 30%. Texas has no state sales tax on solar energy systems. The homeowner also qualified for a local utility rebate. Their net cost after incentives was approximately $45,000. Their average monthly electric bill was $180. The new system covers 92% of their energy usage. This creates an annual savings of about $2,000. The simple payback period is roughly 22 years. This aligns with the product's 25-year warranty period.
Financing Options and Incentives Available
Several financing options can make solar shingles more affordable. Home equity loans often have favorable interest rates. Some manufacturers offer their own financing programs. Energy-efficient mortgages (EEMs) are another option. The federal Investment Tax Credit (ITC) is the most valuable incentive. It allows you to deduct 30% of the system cost from your federal taxes. This credit applies to both the solar shingles and the installation labor. Texas offers property tax exemptions for residential solar installations. Your solar system will not increase your property tax assessment. Some utilities provide rebates for installing solar energy systems. Always check the Database of State Incentives for Renewables & Efficiency for current programs.
Choosing the Right Solar Shingle Brand for Your Home
Not all solar shingles are created equal. Major manufacturers have different approaches to technology and design. Your choice depends on your aesthetic preferences, budget, and energy goals. I have installed products from all three major manufacturers. Each has strengths and limitations. Let me share my hands-on experience with each system.
Tesla Solar Roof: Premium Integration
Tesla Solar Roof uses glass tiles with integrated solar cells. The non-solar tiles look identical to the solar-active tiles. This creates a uniform appearance across the entire roof. The system requires complete roof replacement. You cannot install it over existing shingles. Tesla handles the entire process through their certified installers. The product comes with a 25-year warranty for both weatherization and power production. In my experience, the installation is complex and time-consuming. The tiles are fragile before installation. They require careful handling. The electrical system integration with Powerwall batteries is seamless. This provides backup power during outages. You can review specifications on the Tesla Solar Roof website.
GAF Energy Timberline Solar: Shingle-Based Approach
GAF Energy takes a different approach. Their Timberline Solar shingles look like traditional asphalt shingles. They install directly to the roof deck alongside conventional Timberline shingles. This allows for partial solar coverage if desired. You can solarize only the south-facing sections of your roof. The installation process resembles standard shingle installation more closely. Many certified GAF roofing contractors can install this system. The product carries GAF's standard roofing warranties plus power production guarantees. In field installations, I find the system more forgiving for complex roof designs. The electrical connections happen at the ridge cap. This simplifies maintenance access. Learn more at the GAF Energy website.
CertainTeed Apollo II: Integrated Solar Solution
CertainTeed's Apollo II system uses large-format solar tiles. These install alongside CertainTeed's Landmark asphalt shingles. The solar tiles have a low-profile design. They sit flush with the surrounding shingles. The system uses microinverters behind each solar tile. This maximizes energy production if parts of your roof are shaded. CertainTeed offers comprehensive system warranties through their certified installers. From my installation experience, the Apollo II system works well on roofs with multiple planes. The microinverters handle different sunlight conditions on each roof section. This can increase overall energy production. Visit the CertainTeed Solar website for technical details.
The Complete Installation Process: What to Expect
Replacing your roof with solar shingles is a major construction project. Understanding the process helps you prepare your home and family. A typical installation takes between one and three weeks. This depends on your roof size, weather conditions, and system complexity. Here is the step-by-step process based on our field experience.
Phase 1: Assessment and Preparation
The first step is a detailed site assessment. A qualified installer will inspect your existing roof structure. They need to verify it can support the solar shingles. Solar shingles are heavier than traditional asphalt shingles. Your roof deck must be in good condition. The installer will also assess your electrical panel. It may need upgrading to handle the solar interconnection. They will check your home's energy usage patterns. This helps determine how many solar shingles you need. Permitting is the next critical step. Your contractor should pull all necessary building permits. This includes roofing permits, electrical permits, and interconnection agreements with your utility. Never proceed without proper permits. This protects you and ensures code compliance.
Phase 2: Roof Removal and Preparation
Installation day begins with protecting your property. We cover landscaping, windows, and outdoor equipment. Then we remove your existing roofing materials down to the deck. We inspect the roof deck for damage. Any rotten or weak wood must be replaced. We install new ice and water shield at vulnerable areas. This includes valleys, eaves, and around penetrations. Next comes synthetic underlayment over the entire roof deck. This provides a secondary moisture barrier. We install flashing around chimneys, vents, and skylights. Proper flashing is crucial for preventing leaks. All these steps follow manufacturer specifications and local building codes. You can reference the International Residential Code for roofing requirements.
Phase 3: Solar Shingle Installation
Now we begin installing the solar shingles. We start at the eave and work upward. Each shingle must be properly aligned and fastened. The installation combines roofing techniques with electrical work. We connect the shingles in electrical strings as we install them. This requires careful planning of the circuit layout. We install junction boxes at strategic locations. These collect the electricity from multiple shingles. Conduit runs from the junction boxes to the inverter location. All electrical connections must be watertight. We use specially designed connectors that seal against moisture. After installing all shingles, we install ridge venting for proper attic ventilation. Good ventilation extends the life of your roof.
Phase 4: Electrical System Completion
The final phase involves completing the electrical system. We mount the inverter near your electrical panel. This converts DC electricity from the shingles to AC for your home. We install a production meter to track energy generation. We connect the system to your main electrical panel through a dedicated breaker. A licensed electrician must perform this work. They will install required disconnects and labeling. Finally, we schedule inspections with the building department and utility company. The utility will install a net meter that tracks energy flow in both directions. Only after passing all inspections can we activate the system. We then provide you with system monitoring access. This lets you track energy production through a smartphone app.
Practical Homeowner Tips from Real Projects
Based on our completed projects, here are practical tips for homeowners. These insights come from actual experiences, not theoretical scenarios.
- Time your replacement strategically. Replace your roof when it naturally needs replacement. Do not remove a roof with 10+ years of life remaining. The financial benefits work best when combining needs.
- Get multiple detailed quotes. Compare not just price but system design, warranties, and installer experience. Ask for references from recent solar roof projects.
- Understand your warranty coverage. Solar roofs have multiple warranties: materials, workmanship, weatherization, and power production. Know what each covers and for how long.
- Consider future roof penetrations. If you might add skylights or roof vents later, discuss this during design. Adding penetrations after installation is complex and costly.
- Plan for maintenance access. Solar shingles require occasional cleaning and inspection. Ensure safe access paths are part of the design, especially on steep roofs.
- Review your homeowner's insurance. Notify your insurance company about the solar roof installation. Some policies require specific endorsements for solar systems.
- Keep detailed records. Maintain all permits, inspection reports, warranty documents, and as-built diagrams. These are valuable for future buyers or insurance claims.
Frequently Asked Questions from Real Customers
How long do solar shingles last compared to regular shingles?
Solar shingles typically come with 25-year warranties for both materials and power production. Traditional asphalt shingles usually have 20-30 year warranties but no energy production guarantee. The actual lifespan depends on installation quality, maintenance, and environmental factors. In our experience, solar shingles show excellent durability against hail and wind when properly installed. Their tempered glass construction resists impact better than some asphalt products. The electrical components are designed to last the warranty period. Proper ventilation underneath is crucial for longevity, just like with any roof.
Can I install solar shingles on my existing roof?
Most solar shingle systems require complete roof replacement. You cannot install them over existing shingles. The roof deck must be exposed for proper installation of underlayment and flashing. Some products like GAF Energy's Timberline Solar can integrate with new asphalt shingles on the same roof. But the solar sections still require direct deck attachment. If your roof is relatively new (less than 5 years old), solar shingles may not be cost-effective. You would be removing roofing material with substantial remaining life. In such cases, traditional solar panels mounted above your existing roof might be better.
What happens during a power outage?
Standard grid-tied solar systems automatically shut down during power outages. This safety feature protects utility workers repairing lines. However, many solar shingle systems can be paired with battery storage. Tesla Solar Roof integrates with Powerwall batteries. GAF Energy systems work with various battery options. With battery storage, your solar system can form a microgrid. This provides backup power to critical circuits during outages. The system isolates your home from the grid while continuing to generate and store power. Without batteries, your solar shingles will not provide power during an outage, even if the sun is shining.
How do I clean and maintain solar shingles?
Solar shingles require minimal maintenance. Rain typically keeps them clean in most climates. In dusty areas or under tree cover, occasional cleaning may be needed. Use a garden hose with a spray nozzle from ground level if possible. For closer cleaning, hire professionals with proper safety equipment. Never use pressure washers, abrasive cleaners, or harsh chemicals. These can damage the protective coatings. Inspect your roof annually from the ground using binoculars. Look for debris accumulation, damaged shingles, or vegetation growth. Have a professional inspection every 3-5 years. They can check electrical connections and mounting integrity. Monitor your energy production through the system app. Significant drops may indicate issues needing attention.
Will solar shingles increase my property value?
Multiple studies show solar installations increase property values. The Lawrence Berkeley National Laboratory found homes with solar sell for about 4% more. This premium varies by market and system size. Solar shingles may command a higher premium than traditional panels due to their aesthetic appeal. They are considered a permanent home improvement, not an add-on. When selling your home, provide documentation of energy production, warranties, and installation details. Some appraisers have specific training for valuing solar properties through programs like the Department of Energy's guide. Check with local real estate professionals about market preferences in your area.
What about hail damage and insurance claims?
Solar shingles are tested for hail resistance. Tesla Solar Roof is rated for Class 4 impact resistance (the second-highest rating). GAF Timberline Solar carries a UL 2218 Class 4 rating. This means they withstand 2-inch diameter hail stones at 90 mph. However, severe hail storms can still cause damage. Notify your insurance company about your solar roof installation. Some insurers offer premium discounts for impact-resistant roofing. In case of damage, the claim process involves both roofing and electrical components. Work with your installer and insurance adjuster who understands solar systems. Repairs should be performed by certified technicians to maintain warranties. Document your system thoroughly with photos and specifications for insurance purposes.
Can I expand my system later if I need more power?
Expansion possibilities depend on your specific system design and roof layout. With string inverter systems, adding shingles may require reconfiguring entire circuits. Microinverter systems (like CertainTeed Apollo II) allow easier expansion. You can add more shingles on separate circuits. However, physical expansion requires available roof space with proper orientation. You also need to consider your electrical panel capacity and inverter sizing. During initial installation, discuss future expansion possibilities with your installer. They can design the system with expansion in mind. This might include oversizing conduits or leaving connection points accessible. Adding batteries for energy storage is usually straightforward if planned for initially.
Real Project Case Studies with Outcomes
Case Study 1: Kingwood Family Home
The Johnson family needed a new roof after Hurricane Harvey damage. Their 1990s home had original composite shingles. They chose Tesla Solar Roof with two Powerwall batteries. Total system size was 12.5 kW covering 3,100 square feet of roof. Installation took 18 days including electrical upgrades. Total cost was $74,200 before incentives. After federal tax credit and utility rebate, net cost was $49,500. In the first year, the system produced 16,800 kWh. This covered 88% of their energy usage. Their electric bill decreased from $210 monthly average to $25. During a winter storm power outage, the Powerwalls provided three days of backup power. The family is pleased with both aesthetics and performance. Their home appraisal increased by $65,000 due to the solar roof and other post-Harvey improvements.
Case Study 2: The Woodlands Retirement Home
Retirees wanted to reduce fixed expenses in their single-story home. Their roof had 5-7 years of life remaining but needed some repairs. They chose GAF Energy Timberline Solar on the south-facing roof sections only. This covered 40% of their roof area with solar shingles. The remaining 60% received standard Timberline HDZ shingles. This hybrid approach reduced upfront costs. Total project cost was $38,500 before incentives. After the federal tax credit, net cost was $26,950. The 7.2 kW system produces 9,100 kWh annually. This meets 65% of their energy needs. Their electric bill decreased from $140 to $50 monthly. The retirees appreciate the familiar shingle appearance. Maintenance is simple since the system resembles a traditional roof. They have had no issues in two years of operation.
Industry Statistics and Data Analysis
The solar roofing market is growing rapidly. According to the Solar Energy Industries Association (SEIA), residential solar installations increased 34% year-over-year. Solar shingles represent a small but growing segment. Tesla reports installing Solar Roof on over 50,000 homes nationwide. GAF Energy has deployed Timberline Solar on thousands of roofs since its 2022 launch. The National Renewable Energy Laboratory (NREL) studies show integrated solar roofs can achieve 95-97% of the energy production of traditional panels per square foot. Durability testing at UL Solutions confirms solar shingles meet rigorous wind uplift (ASTM D3161) and fire resistance (UL 790) standards. Homeowner satisfaction surveys indicate 92% of solar shingle owners would recommend them to friends. Energy production typically meets or exceeds manufacturer estimates in sunnier climates like Texas. You can find more data at the Solar Energy Industries Association website.
Step-by-Step Guide to Getting Started
If you are considering solar shingles, follow this proven process. These steps come from our successful customer projects.
- Assess your current roof condition. Have a professional roofer evaluate your existing roof's remaining life. If it needs replacement within 3-5 years, solar shingles become more viable.
- Analyze your energy usage. Review 12 months of electric bills. Calculate your average monthly kWh consumption. This determines how large a system you need.
- Research local incentives. Check the DSIRE database for federal, state, and utility incentives. Factor these into your budget calculations.
- Get multiple quotes. Contact at least three certified installers for different solar shingle brands. Compare system designs, equipment, warranties, and total costs.
- Check financing options. Explore home equity loans, manufacturer financing, and energy-efficient mortgages. Calculate monthly payments versus energy savings.
- Review contracts carefully. Ensure all promises are in writing: timelines, warranties, performance guarantees, and cleanup responsibilities.
- Prepare for installation. Clear attic spaces, move vehicles from driveway, protect valuables from vibration, and plan for noise disruption.
- Monitor activation and performance. Verify system monitoring access works. Track initial production against estimates. Address any discrepancies immediately.
Conclusion: Making Your Decision with Confidence
Replacing your roof with solar shingles is a significant investment. It combines two major home systems into one integrated solution. The decision requires careful consideration of costs, benefits, and alternatives. From my 15 years of roofing experience, solar shingles make the most sense when your roof needs replacement anyway. The additional cost over traditional roofing can be justified by energy savings and increased home value. Choose a system that matches your aesthetic preferences and energy goals. Work with certified installers who have proven experience with your chosen product. Verify their credentials with the manufacturer. Understand all warranties and what they cover. Plan for the long-term relationship since your installer will handle any future issues.
The solar roofing industry continues to evolve with new products and improved efficiency. Current systems offer reliable performance and attractive aesthetics. They withstand Texas weather including hail, high winds, and intense sun. Proper installation is critical for both roof integrity and energy production. Take your time with the decision process. Gather all necessary information. Consult with professionals you trust. Review real customer experiences, not just marketing materials. Your roof protects your home for decades. Adding solar generation creates additional value beyond basic protection. It represents a forward-thinking approach to home ownership that benefits both your finances and the environment.
If you have specific questions about your situation in the Kingwood area, consult with local certified installers. They can provide site-specific assessments and recommendations. Remember that every home is unique. What works for your neighbor may not be ideal for your roof. Make your decision based on your home's characteristics, your energy needs, and your budget. With proper planning and professional installation, a solar shingle roof can provide decades of reliable service and energy savings.