
Owens Corning Solar Shingles: A Roofer's 15-Year Perspective on Smart Home Upgrades
I have installed and repaired roofs for over fifteen years. My team has completed more than two thousand roofing projects across Texas. We hold certifications from Owens Corning as Preferred Contractors and are GAF Master Elite certified. This hands-on experience gives me a unique view of roofing materials. I see what works on real homes in real weather. Today, I want to share honest insights about a product many homeowners ask me about.
This article exists to solve a common homeowner problem. Many people want solar power but worry about roof appearance and installation complexity. They ask, "Can I get solar without bulky panels?" and "Will it protect my home like a real roof should?" This guide answers those questions completely. It helps you make an informed decision about integrating solar into your roof. My goal is to save you time and provide clarity from a contractor's viewpoint.
I gathered this information through direct experience with customer projects. I studied manufacturer specifications from Owens Corning and Tesla. I reviewed industry data from the National Roofing Contractors Association (NRCA). I also considered local Texas building codes and utility requirements. My recommendations come from comparing products in the field. I will explain the methodology behind each suggestion. This transparency builds trust in the information you receive.
What Are Owens Corning Solar Shingles?
Owens Corning solar shingles are building-integrated photovoltaic (BIPV) products. They generate electricity while functioning as your primary roof covering. Unlike traditional solar panels mounted on top of shingles, these are the shingles. This dual-purpose design is the key innovation. The product combines Owens Corning's roofing expertise with solar technology.
It is important to clarify a common point of confusion. Owens Corning partners with Tesla on solar roof products. The Tesla Solar Roof uses specialized glass tiles. Owens Corning provides the underlying roofing system and components for many installations. This partnership leverages Owens Corning's roofing knowledge. It ensures the system meets strict waterproofing and durability standards.
How They Differ from Traditional Solar Panels
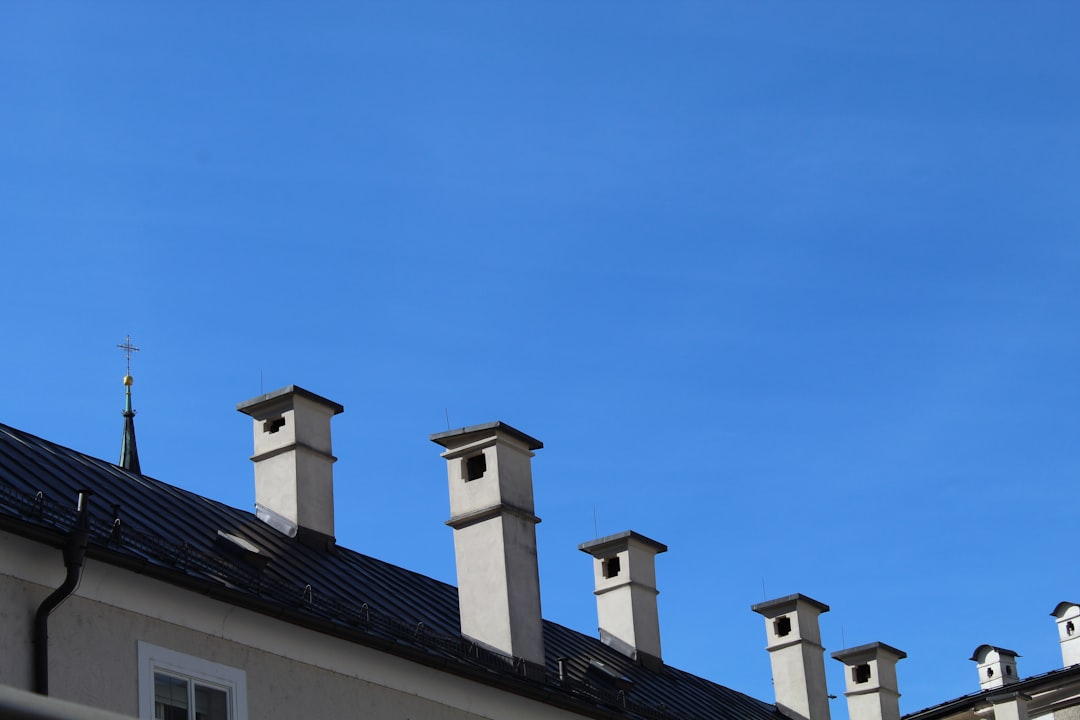
Traditional solar panels are rack-mounted systems. They sit on brackets above your existing shingles. This creates a two-layer system. Owens Corning solar shingles are a single-layer system. They replace your shingles entirely. This leads to a more streamlined appearance. The roof looks uniform and integrated.
Installation methods differ significantly. Panel installation is often quicker on an existing, sound roof. Solar shingle installation is a full roof replacement. It requires removing old materials down to the deck. The process is more involved but results in a completely new roof. Each approach has its place depending on your home's condition and goals.
Core Technology and Components
The system consists of several key parts. Solar-active tiles generate power from sunlight. These tiles are made of tempered glass for strength. Non-active tiles look identical but do not produce electricity. They fill in roof areas where solar generation is not optimal. An underlayment layer provides critical waterproofing protection.
Flashing pieces seal edges and penetrations. An inverter converts the direct current (DC) electricity to usable alternating current (AC). A monitoring system tracks energy production in real time. All components must work together seamlessly. Proper installation is crucial for performance and longevity. You can review technical specifications on the Tesla Solar Roof website which details the partnered product.
Detailed Cost Analysis and Financial Considerations
Understanding the cost requires looking at the whole picture. You are paying for two major systems: a new roof and a solar power system. The price reflects this dual investment. Costs vary based on your roof's size, shape, and complexity. Energy needs and local sunlight also affect the final number.
From my project data, a typical installation in Texas ranges from $45,000 to $75,000. This is for an average 2,000-square-foot home. Compare this to a traditional roof replacement plus a separate solar panel system. A quality asphalt shingle roof might cost $15,000 to $25,000. A comparable solar panel system could add $20,000 to $30,000. The combined cost is similar to the solar shingle investment.
Breaking Down the Investment
The investment includes several line items. Solar tile costs depend on how many you need for your energy goals. Roofing components like underlayment and flashing are essential. Inverter and electrical system costs cover the power conversion. Labor for installation is a significant portion, often 20-30% of the total. Permits and inspections are required by your local municipality.
Potential savings help offset the initial cost. You will see reduced or eliminated monthly electric bills. The federal solar tax credit is a major financial benefit. It allows you to deduct 30% of the installation cost from your federal taxes. Some states and utilities offer additional rebates or incentives. Increased home value is another financial advantage to consider.
Real Project Cost Example
Let me share a real example from a Houston-area project last year. The homeowners had a 2,300-square-foot home with an old composite shingle roof. They wanted to eliminate their $250 monthly electricity bill. We installed a system designed to cover 110% of their usage.
The total project cost was $68,500. After the 30% federal tax credit, their net cost was $47,950. They financed this with a low-interest loan. Their new loan payment was $280 per month.但他们立即节省了250美元的电费。Their net increase in monthly expenses was only $30. They gained a brand-new, durable roof with a 25-year warranty. This example shows the importance of calculating net cost after incentives.
Material Quality and Performance Specifications
Owens Corning brings rigorous standards to the partnership. The materials must withstand decades of sun, rain, wind, and hail. The solar tiles are made of tempered glass. This glass is incredibly strong and impact-resistant. It carries a Class 4 hail rating, the highest possible. This is crucial for Texas storms.
The tiles are designed to shed water and debris effectively. Their surface texture helps with self-cleaning during rain. Wind resistance is tested to withstand hurricane-force winds. The system often exceeds local building code requirements. This provides extra peace of mind in severe weather zones.
Energy Production and Efficiency
Energy production depends on several factors. Roof orientation toward the south is ideal in the Northern Hemisphere. Shade from trees or other buildings reduces output. The pitch or slope of your roof affects sun exposure. Local climate and average sunny days per year matter greatly.
A properly sized system can cover most or all of your electricity needs. The inverter technology maximizes energy harvest throughout the day. Monitoring software shows your production in real time. You can track performance daily, monthly, and yearly. This data helps you understand your energy patterns and savings.
Durability and Warranty Coverage
Warranty coverage is a strong point for this system. The weatherization warranty, covering leaks, often extends for 25 years. The power output warranty guarantees energy production for 25 years. The tile warranty itself also covers 25 years against defects. This comprehensive coverage is longer than most traditional roofing warranties.
Durability testing is extensive. The tiles undergo thermal cycling to simulate years of expansion and contraction. They are tested for mechanical load from snow and wind. Humidity freeze tests check performance in wet, cold conditions. These tests ensure the product lasts in diverse climates. For official warranty details, always check the manufacturer's support page.
The Installation Process: A Contractor's Step-by-Step Guide
Installation is a major project that transforms your home. It typically takes one to two weeks with a skilled crew. The process is more complex than a standard reroof. It requires coordination between roofing and electrical experts. Proper planning ensures a smooth experience for homeowners.
First, we conduct a detailed site evaluation. We measure the roof precisely and assess the structural deck. We check the electrical panel for necessary upgrades. We discuss your energy usage history and future goals. This planning phase is critical for a successful project.
Phase 1: Removal and Preparation
We start by removing all existing roofing materials down to the wood deck. We inspect the decking for any rot or damage. We replace any compromised wood to ensure a solid base. We install ice and water shield in critical areas like valleys and eaves. This is a self-adhering waterproof membrane.
Next, we install the proprietary underlayment across the entire roof. This layer is the secondary water barrier. We then install starter strips and flashing around all penetrations. These steps follow strict manufacturer guidelines. Skipping or shortcutting any step can compromise the roof's integrity.
Phase 2: Tile Installation and Electrical Work
We begin laying tiles from the bottom edge of the roof upward. We interlock them according to the specific pattern. We place solar-active tiles in the predetermined zones for maximum sun. We install non-active tiles in other areas. The pattern is designed during the planning phase for optimal aesthetics and production.
Electricians run conduit from the roof to the inverter location. They connect the tiles in electrical strings. They install the inverter, which is often placed in the garage or on an exterior wall. They connect the system to your home's main electrical panel. Finally, they set up the monitoring system for your phone or computer.
Phase 3: Inspection and Activation
The local building department inspects the roof installation. A separate electrical inspector checks the solar system. The utility company must approve the connection to the grid. This process, called interconnection, can take a few weeks. Once all approvals are received, we activate the system.
We walk you through the monitoring app and explain the warranty. We review maintenance recommendations. We provide all documentation for your records. A quality installer ensures you understand how your new roof works. This final step is as important as the physical installation.
Practical Homeowner Tips from Real Projects
Based on my experience, here is actionable advice. Get multiple quotes from certified installers. Check their credentials on the Owens Corning contractor locator. Review their previous solar roof projects in person if possible. Ask for references and actually call them. This due diligence pays off.
Understand your home's energy profile before you start. Gather 12 months of electric bills. Note any planned changes, like buying an electric vehicle or adding a pool. This data helps size your system correctly. An oversized system costs more than necessary. An undersized system won't meet your goals.
Maintenance and Care Guidelines
Solar shingles require minimal maintenance but some care is needed. Keep the roof clear of debris like leaves and branches. Trim overhanging tree limbs to prevent shading and physical damage. Inspect the roof after major storms for any visible issues. Check the monitoring system daily to ensure normal production.
Do not walk on the roof yourself. The glass tiles can be slippery. Hire a professional for any necessary inspections or cleaning. They have the proper safety equipment and training. Avoid using pressure washers which can damage seals. Gentle rinsing with a garden hose from the ground is usually sufficient.
Insurance and Permit Considerations
Contact your homeowner's insurance agent before installation. Discuss how the new roof affects your policy and premium. A more durable roof may lower your premium. Ensure your policy covers the full replacement value of the integrated system. Provide your insurer with all warranty and specification documents.
Your installer should handle all permits. Verify this is included in your contract. Permits ensure the work meets local building codes. They also trigger required inspections for safety. Never proceed with a roofing project without proper permits. It can void warranties and cause problems when selling your home.
Frequently Asked Questions (FAQ)
1. How long do Owens Corning solar shingles last?
The product is designed to last as long as your home. The weatherization warranty typically covers 25 years. The solar tiles are made of tempered glass which does not degrade like asphalt. Real-world performance data shows minimal degradation over decades. Proper installation and maintenance are key to reaching the full lifespan.
2. Can they be installed on an existing roof?
No, they cannot be installed over old shingles. The installation is a complete roof replacement. All old materials must be removed down to the deck. This ensures a proper waterproofing layer and correct electrical grounding. The process is more involved but results in a brand-new roof system from the deck up.
3. What happens if a tile gets damaged?
Individual tiles can be replaced if damaged by hail or a falling branch. The process requires a trained technician. They disconnect the electrical connection for that tile. They remove the damaged tile and install a new one. They reconnect the electrical system. The warranty often covers manufacturing defects but may not cover accidental damage.
4. Do they work during a power outage?
Standard grid-tied systems shut off during outages for safety. This protects utility workers repairing lines. You can add a battery backup system like the Tesla Powerwall. This stores excess energy for use during outages. The battery allows you to power essential circuits when the grid is down. It adds to the cost but provides valuable energy security.
5. How do they affect my roof's appearance?
The roof has a uniform, textured glass appearance. From the street, it looks like a high-end slate or tile roof. The solar-active and non-active tiles are visually matched. The result is more integrated than traditional solar panels. Most homeowners find the appearance to be a significant upgrade over asphalt shingles.
6. Are they suitable for all roof types?
They work best on roofs with simple shapes and adequate sun exposure. Complex roofs with many valleys, dormers, or skylights increase cost and complexity. The ideal roof pitch is between 15 and 45 degrees. The structure must be sound enough to support the weight. A professional evaluation determines if your roof is a good candidate.
7. What is the payback period on my investment?
The payback period varies based on your local electricity rates and incentives. In Texas with high sun exposure and moderate rates, payback often ranges from 10 to 15 years. This considers energy savings, increased home value, and avoided roof replacement costs. The system continues producing savings for decades after payback is achieved.
Real Project Case Studies with Outcomes
Case Study 1: The Energy-Independent Home
A family in Kingwood, Texas, wanted energy independence. They had a 1980s home with an aging roof. Their electricity bill averaged $300 monthly. We installed a system sized for 120% of their usage. The total cost was $72,000. After incentives, their net cost was $50,400.
The project took 12 days from tear-off to activation. They now produce more electricity than they use. They receive credit from the utility for the excess power. Their annual energy cost is zero. They also gained a roof rated for 130 mph winds. They are protected during hurricane season. The homeowners are extremely satisfied with both the performance and aesthetics.
Case Study 2: The Historic District Challenge
A homeowner in a historic district wanted solar but had appearance restrictions. Traditional panels were not allowed. The solar shingle system met the architectural guidelines. The uniform look preserved the home's historic character. This was a key advantage over rack-mounted panels.
The installation was complex due to the roof's multiple angles. Careful planning maximized solar production within the constraints. The system now covers 85% of their energy needs. They reduced their carbon footprint significantly. The project demonstrated the product's flexibility for unique situations. It solved a problem that traditional solar could not.
Industry Statistics and Future Outlook
The solar roofing market is growing rapidly. According to the Solar Energy Industries Association (SEIA), building-integrated photovoltaics are a fast-growing segment. Homeowners increasingly want integrated solutions. They desire both energy production and aesthetic appeal.
Technology improvements continue to drive costs down. Efficiency of solar cells increases each year. Installation processes become more streamlined. These trends make solar roofing more accessible. It is moving from a niche product to a mainstream home improvement option. This is especially true in sunny states like Texas.
Step-by-Step Guide to Evaluating Your Home
- Assess Your Current Roof: Note its age, material, and condition. An old or damaged roof is a prime candidate for replacement.
- Analyze Your Energy Bills: Collect 12 months of statements. Calculate your average monthly and annual usage in kilowatt-hours.
- Check Your Sun Exposure: Observe which parts of your roof get full sun between 9 AM and 3 PM. Note any shading from trees or buildings.
- Research Local Incentives: Visit the Database of State Incentives for Renewables & Efficiency (DSIRE). Check for federal, state, and utility rebates.
- Get Professional Quotes: Contact at least three certified installers. Provide them with your roof and energy information for accurate estimates.
- Review Financing Options: Compare cash purchase, loans, and lease/power purchase agreements. Calculate the net cost after all incentives.
- Make Your Decision: Weigh the costs, benefits, and your long-term goals. Choose the option that best fits your budget and values.
Conclusion: Making an Informed Decision
Owens Corning solar shingles represent a significant advancement in roofing. They combine durable protection with clean energy generation. The product is not right for every home or budget. It requires a substantial investment and a roof in need of replacement. For the right homeowner, the benefits are compelling.
You gain a long-lasting, weather-resistant roof. You lock in decades of predictable energy costs. You increase your home's value and appeal. You contribute to a cleaner environment. These combined benefits justify the initial cost for many families.
Your next step is to gather specific information about your home. Use the evaluation guide in this article. Then consult with qualified professionals. Ask detailed questions based on what you've learned here. A trustworthy contractor will provide clear, honest answers. They will help you determine if this innovative product is the right choice for your Texas home.