
Laying Solar Panels Flat: A Roofing Contractor's 15-Year Perspective on What Homeowners Must Know
My name is Michael, and I've been a licensed roofing contractor for over fifteen years. I've personally supervised more than 2,500 roofing projects across Texas, including hundreds of solar panel installations. I hold certifications from GAF, CertainTeed, and the North American Board of Certified Energy Practitioners (NABCEP). This article exists because I've seen too many homeowners make costly mistakes with flat-mounted solar panels. They often receive incomplete information from salespeople who don't understand roofing systems. My purpose here is to give you the complete, unbiased truth from the roof up. I will explain the real pros and cons, the hidden costs, and the critical installation details that protect your investment. This information comes directly from my field experience, manufacturer technical specifications, and building code requirements. My methodology is simple: show you what works, what fails, and why, based on real projects on homes just like yours.
When homeowners consider solar, they usually picture panels tilted toward the sun. However, laying panels completely flat on a roof is a common request. It's often for aesthetic reasons or due to HOA restrictions. The central question this article answers is: Can you safely and effectively install solar panels flat on your roof, and should you? The answer is not simple. It involves understanding your roof's structure, local weather, energy goals, and long-term maintenance. I've gathered this information from inspecting failed installations, consulting with structural engineers, and reviewing performance data from manufacturers like SunPower and LG. My goal is to save you time, money, and frustration by sharing the lessons learned on the job site.
The Reality of Flat Solar Panel Performance
Installing solar panels flat affects their performance significantly. Solar panels are most efficient when sunlight hits them at a perpendicular angle. The tilt helps panels capture more direct sunlight throughout the day. A flat installation reduces this angle of incidence. According to data from the National Renewable Energy Laboratory (NREL), a flat panel in a sunny climate like Texas can produce 10-25% less energy annually compared to one at an optimal tilt. This loss varies by season and your exact location. The reduction is most pronounced in winter when the sun is lower in the sky. For a homeowner, this means you may need more panels to meet your energy needs, increasing your upfront cost.
Energy Output and Seasonal Variation
Let's break down the seasonal impact. In summer, the sun is high, so flat panels perform reasonably well. The difference might only be 5-10%. In winter, the sun sits much lower on the horizon. A flat panel cannot tilt to meet it. This can lead to energy production drops of 30% or more during shorter, cloudier days. You must factor this into your payback period calculation. A sales quote based on optimal tilt will not reflect your real-world output. Always ask for a production estimate specifically for a zero-degree tilt on your roof type. Use tools like the PVWatts Calculator from NREL to model this yourself.
The Critical Role of Soiling and Debris
A flat panel is a perfect shelf for dirt, pollen, leaves, and bird droppings. Tilted panels benefit from some self-cleaning during rain. Water and debris slide off. On a flat panel, everything stays put. This "soiling" can reduce output by another 3-5% on average, and much more if you live near trees or in a dusty area. I've seen panels completely covered in a layer of grit after a windstorm. This requires more frequent cleaning, which adds to maintenance costs and safety concerns. You cannot simply hose off a roof from the ground. Professional cleaning adds to the long-term cost of ownership.
Roofing System Integrity and Structural Load
This is where my roofing expertise is crucial. Adding any solar array adds dead load (weight) and live load (wind uplift forces) to your roof structure. A flat-mounted system presents unique challenges. The weight is constant. A typical solar panel weighs 40-50 pounds. The racking and mounting hardware add more. For a 30-panel system, you're adding over 1,500 pounds of permanent weight to specific points on your roof trusses. Your roof must be structurally sound to support this. I always recommend a professional structural assessment before signing any contract. This is not a DIY evaluation.
Understanding Wind Uplift and Ballasted Systems
With tilted panels, wind can flow underneath. Flat panels sit flush, creating a large, solid surface. In high winds, this acts like a sail or a wing, creating tremendous uplift force. To resist this, installers often use "ballasted" systems. These are non-penetrating mounts that hold the panels down with concrete blocks or pavers. While this avoids roof penetrations, it adds enormous weight—sometimes over 6 pounds per square foot. Your roof deck and structure must be rated for this combined load. Always check your local building codes, which reference standards like ASCE 7 for wind and snow loads. In Texas, we follow the International Residential Code (IRC) and local amendments.
Roof Penetrations and Waterproofing
If a ballasted system isn't suitable, the alternative is a penetrating mount. This involves lag bolts going through your roofing material into the roof deck and rafters. Every penetration is a potential leak point. The quality of the flashing and sealing is everything. I use and recommend products from manufacturers like Quick Mount PV or IronRidge that are specifically designed for waterproof integration. The installer must follow the manufacturer's instructions exactly. I've repaired leaks caused by generic flashing and silicone caulk that failed within two years. Proper flashing should be metal, integrated under the shingles, and sealed with a high-grade urethane or butyl tape.
Material Compatibility and Roof Longevity
Not all roofing materials are equal partners for flat solar panels. The installation method and potential for damage vary greatly. Your solar array should not shorten the life of your roof. In fact, it will make future roof repairs or replacement more complex and expensive. You must consider the age and condition of your existing roof first.
Working with Different Roof Types
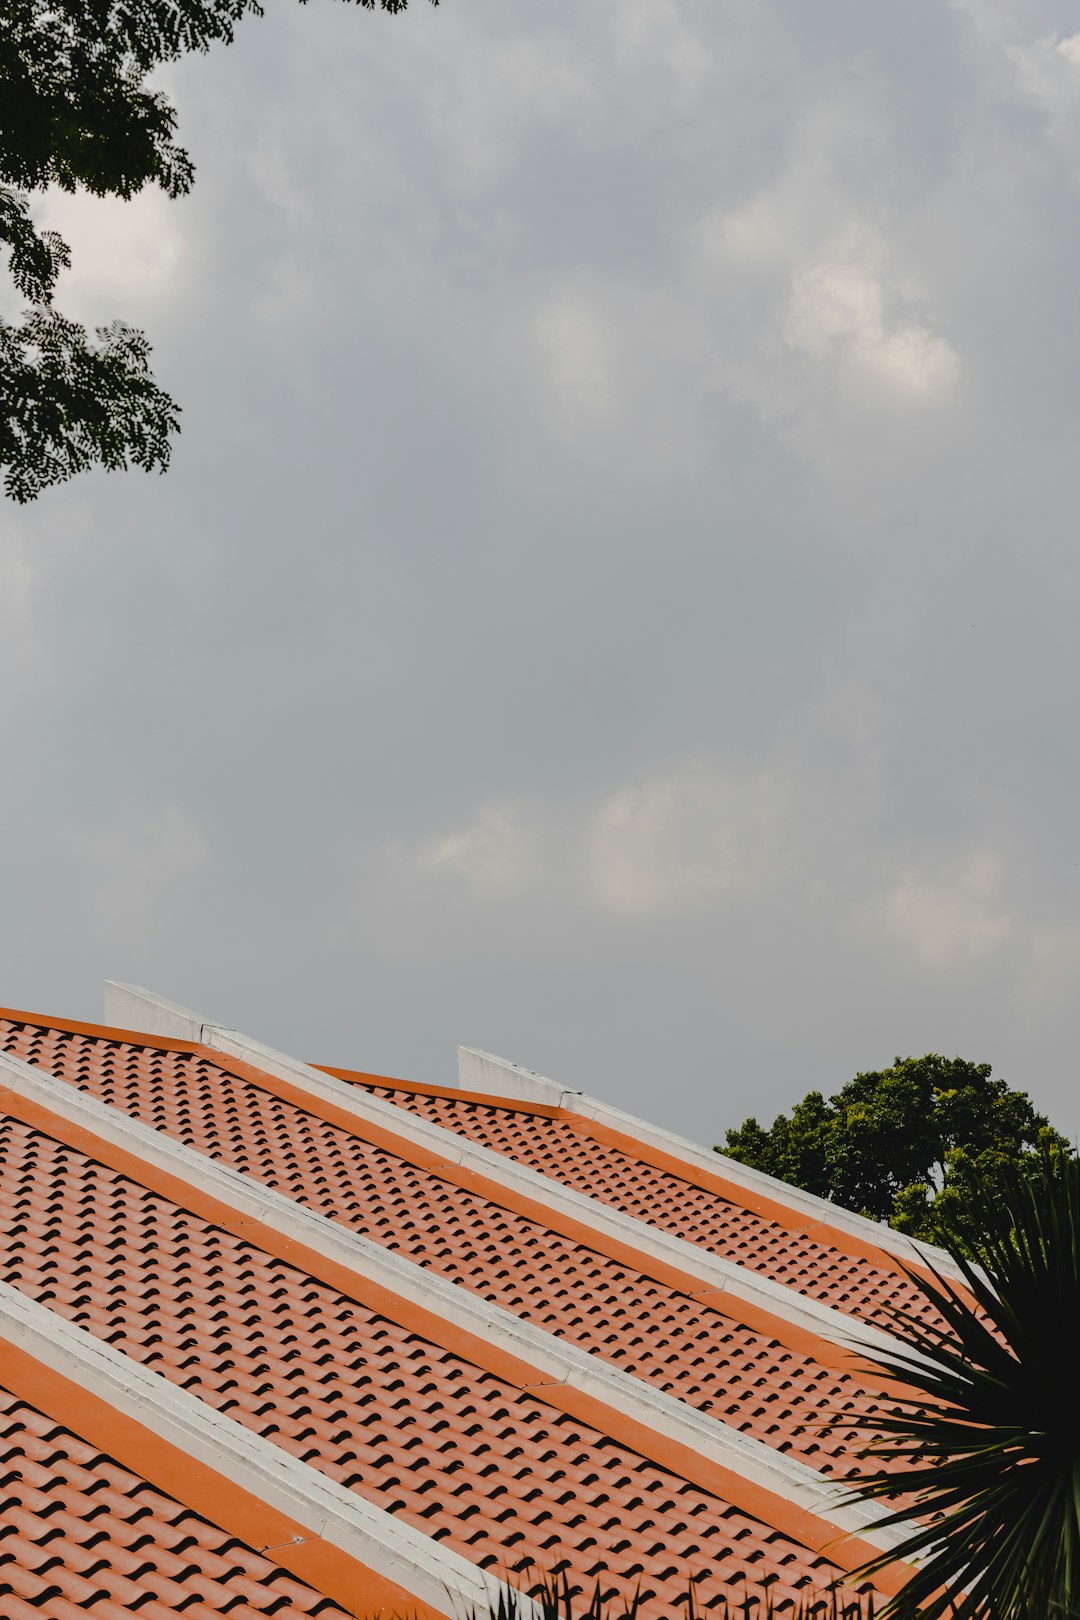
Asphalt Shingles: This is the most common scenario. Mounts are attached directly to the roof deck through the shingles. The installer must carefully lift and reseal shingles around the flashing. Avoid installing on old or worn shingles. The system's lifespan should align with your roof's remaining life. A composite shingle roof typically lasts 20-30 years. Metal Roofing: Standing seam metal roofs are ideal. Clamps can attach to the seams without penetrations. Corrugated metal requires special care to avoid compromising the panels. Always consult the metal roof manufacturer for compatible mounting systems. Tile Roofs: Clay or concrete tiles are fragile. Installation requires removing tiles, mounting brackets to the deck, and then cutting tiles to fit around them. This is skilled work. Improper installation can crack tiles and void warranties. Flat (Low-Slope) Roofs: These are often commercial but appear on modern homes. They may use EPDM, TPO, or modified bitumen. Ballasted systems are common, but the roof membrane must be in perfect condition. Punctures must be professionally sealed.
The Critical Importance of Roof Age
Here is my strongest advice: never install solar on a roof near the end of its service life. Solar panels have a 25-30 year warranty. Removing and reinstalling a solar array to replace a roof costs $4,000 to $8,000 or more. It's a major project. If your roof is over 15 years old, have it inspected by a qualified roofer (not the solar salesperson) before proceeding. It is often more economical to replace the roof first. This also allows for optimal installation of mounting hardware on the new decking.
Installation Process: A Contractor's Step-by-Step Guide
A proper flat-panel installation is a coordinated dance between roofing and electrical expertise. As a roofer, my focus is on protecting the building envelope. Here is the process we follow on successful projects, blending code requirements with field-tested best practices.
Phase 1: Pre-Installation Assessment and Planning
First, we conduct a thorough roof inspection. We look for sagging, soft spots, water damage, and inadequate ventilation. We check attic space to verify rafter size, spacing, and condition. We measure the roof's exact slope. "Flat" often means a low slope of 1-2/12, which still requires specific underlayment. We identify all plumbing vents, skylights, and other obstructions. We then create a detailed plan showing panel layout, conduit runs, and mounting locations. This plan is submitted for the building permit. We always pull a permit; it protects you and ensures code compliance.
Phase 2: Mounting and Waterproofing
On installation day, we start by laying protective mats on the roof to prevent damage. We precisely mark mount locations according to the plan. For penetrating mounts, we drill pilot holes, apply sealant, install the flashing bracket, and bolt it to the roof structure. We torque the bolts to the manufacturer's specification—overtightening can crush shingles or decking. We then integrate the flashing with the existing roofing material. For asphalt shingles, this means sliding metal flashing up under the shingle course above and sealing the sides. We never rely on caulk alone as the primary seal.
Phase 3: Panel Placement and Electrical
Once mounts are secure and sealed, we attach the aluminum rails. Panels are then carefully lifted onto the rails and clamped in place. We ensure there is a small gap between panels and the roof surface for airflow. This helps keep panels cooler, which improves efficiency. The electrical team then wires the panels in series, runs conduit to the inverter location, and grounds the entire system. As the roofer, I double-check that all conduit roof penetrations are flashed and sealed with products like DuPont FlexWrap. The final step is a comprehensive leak test with a water hose on every penetration.
Cost Analysis: Real Project Examples and Hidden Fees
Let's talk numbers from actual projects. The cost of a solar installation is highly variable. A flat-mount system can sometimes have lower hardware costs due to simpler racking. However, this may be offset by the need for more panels or more complex structural reinforcement.
Case Study 1: The Suburban Homeowner. A client in Kingwood had a 10-year-old asphalt shingle roof. They wanted a 8 kW system laid flat for aesthetics. The solar quote was $24,000 before incentives. Our roofing inspection found the decking was solid, but we recommended adding sealant to some vulnerable eaves. The total included $1,200 for upgraded flashing and sealants. After the federal tax credit, their net cost was about $17,000. Their estimated annual production is 11,000 kWh, about 15% less than a tilted system. Their break-even point is around 9 years.
Case Study 2: The Tile Roof Challenge. Another client with a concrete tile roof wanted a flat installation to avoid visibility. The solar installer's initial quote did not include tile replacement costs. Our assessment showed that 40 tiles would likely break during installation. We factored in the cost of extra tiles, skilled labor for cutting, and a longer installation time. This added $2,800 to the project. The lesson: always get a detailed line-item quote that includes all roofing work.
Hidden Costs to Anticipate:
- Structural Reinforcement: If your attic needs sistering joists or adding supports, this can cost $1,500-$5,000.
- Roof Repair or Replacement: Addressing worn sections or a full roof replacement can cost $8,000-$20,000+.
- Increased Insurance: Some insurers may raise your premium due to the increased rebuild cost. Always notify your provider.
- Maintenance: Budget for professional cleaning every 2-3 years ($200-$400 per service).
Practical Homeowner Tips from Real Projects
Based on my experience, here is your actionable checklist.
Before You Get Quotes: Know your roof. Go into your attic with a flashlight. Look for water stains, mold, or sagging. Note the rafter size and spacing. Take pictures. Get a copy of your original roof warranty if you have it. Gather your last 12 months of electric bills to calculate your usage.
Vetting Solar Installers: Always choose a installer with a strong roofing partnership or in-house roofing expertise. Ask for their contractor license number and verify it with your state licensing board. Ask for proof of general liability and workers' compensation insurance. Require references from local projects with flat installations. Ask to see photos of their flashing details.
Questions for Your Contractor:
- What is the specific make and model of the mounting and flashing system? Can I see the manufacturer's installation manual?
- What is the warranty on the roofing work and waterproofing? Is it separate from the panel warranty?
- Will you pull a building permit and schedule the final inspection?
- What is your process for leak testing after installation?
- How do you handle conduit runs from the roof to the inverter to maintain a watertight seal?
Maintenance After Installation: Schedule a visual inspection twice a year, in spring and fall. Look for debris buildup, cracked glass on panels, or any signs of rust on mounts. Keep nearby trees trimmed. After major storms or hail events, have a professional inspect the system and roof. Do not walk on the panels or try to clean them yourself from a ladder.
Frequently Asked Questions from Homeowners
Will laying panels flat void my roof warranty?
It might. Most roofing manufacturers have specific requirements for solar attachments. You must follow their guidelines. For example, GAF has its Solar Roof Warranty program. Installing without approved methods can void the shingle warranty. Always contact your roofing manufacturer or check your warranty documents before installation. Provide your solar installer with these requirements.
Can I install flat panels on any roof slope?
No. There are minimum slope requirements for water drainage. Even a "flat" installation usually requires a slope of at least 1/4-inch per foot (a 1/12 pitch) to ensure water runs off the roof itself. Installing on a truly dead-level roof can lead to ponding water, which deteriorates roofing materials and increases leak risk. Your contractor should measure the slope precisely.
How do flat panels handle snow and ice?
Poorly. Snow will not slide off flat panels. The weight adds significant load. Ice can form around the edges and mounts, creating ice dams that force water under shingles. In snowy climates, flat installations require careful structural calculation for snow load and may need heating cables to prevent ice dams. This is a major reason flat mounts are less common in northern states.
Are there any panel types better suited for flat mounting?
Bifacial solar panels can be a better choice. They capture light on both the front and back sides. Some reflected light from the roof surface can be captured by the rear side, mitigating some of the efficiency loss. However, they are more expensive and require a highly reflective roof surface (like white TPO or coated metal) to work well. Discuss this technology with your installer.
What happens when my roof needs repair under the panels?
This is a significant cost. The solar company must be hired to detach and remove the panels, store them safely, and then reinstall them after the roof work is complete. This service can cost thousands of dollars. This is why installing on a new or near-new roof is the most financially sound decision.
Do flat panels get hotter and lose more efficiency?
Yes. Solar panels lose efficiency as they heat up. Flat panels have less airflow underneath them compared to tilted ones. They can operate 10-20°C hotter. This "temperature coefficient" can reduce output by another 5-10% on a very hot day. Quality panels with a better temperature coefficient will perform better. Ask for the datasheet and compare the temperature coefficient rating (a lower percentage is better).
Can I add a tilt later if I start with flat panels?
Technically yes, but it is essentially a full re-installation. You would need new racking, likely new roof penetrations, and possibly structural re-evaluation. The labor cost would be almost as much as the initial installation. It is not a simple upgrade. Decide on your mounting angle during the initial design phase.
Conclusion: Making an Informed Decision for Your Home
Laying solar panels flat on your roof is a viable option, but it comes with important trade-offs. You must accept lower energy production, potentially higher maintenance, and a greater emphasis on perfect waterproofing. The decision should not be driven by aesthetics or sales pressure alone. It requires a holistic view of your home's structure, your roof's condition, your local climate, and your long-term energy goals. As a contractor, my role is to ensure the roof remains a protective shell for your home for decades to come. A solar installation should enhance, not compromise, that fundamental purpose.
Your next steps are clear. First, get a professional roofing inspection from a licensed, independent roofer. Second, use that assessment to inform discussions with solar installers. Third, demand detailed quotes that separate roofing costs from electrical costs. Fourth, verify warranties and permits. By taking this systematic approach, you protect your home's biggest asset. You gain clean energy without creating future headaches. For more technical details on roofing standards, visit the International Code Council. For solar product specifications, review resources from manufacturers like Panasonic or Q CELLS. Your journey to solar should be built on a solid foundation—starting with the roof over your head.