
House with Solar Panel Roof: Your Complete Guide from a 20-Year Roofing Expert
For over two decades, I have installed and repaired thousands of roofs across Texas. I hold certifications from GAF, CertainTeed, and the North American Board of Certified Energy Practitioners. This hands-on experience gives me a unique perspective on combining roofing with solar technology. I have seen what works and what fails when homeowners try to merge these two critical systems. This article exists to solve a real problem many homeowners face. You want to save money with solar power. But you also need a strong, reliable roof over your head. How do you make these two major investments work together without costly mistakes? This guide answers that exact question. I will share insights gathered from hundreds of customer projects. I have reviewed manufacturer specifications from companies like Tesla and SunPower. I have studied building codes like the International Residential Code (IRC). My recommendations come from real-world testing, not just theory. My goal is to save you time, money, and frustration. Let's build your knowledge from the ground up.
Understanding the Solar Roof Concept
A house with a solar panel roof is more than just panels on shingles. It is an integrated energy system. The roof becomes a power generator for your home. This requires careful planning and expert installation. The two main approaches are traditional solar panels mounted on an existing roof and integrated solar roofing products. Each method has different requirements and outcomes. I have installed both types for clients with varying budgets and goals. The right choice depends on your roof's condition, your energy needs, and your long-term plans for the property. Let's break down the core concepts you need to understand before making any decisions.
Traditional Rack-Mounted Solar Panels
This is the most common method for a house with a solar panel roof. Installers attach metal racks to your existing roof structure. They then secure the solar panels to these racks. This approach works with most standard roofing materials like asphalt shingles or metal. The key advantage is flexibility. You can replace your roof now and add panels later. You can also remove the panels for roof repairs if needed. However, the racks create penetrations through your roof's waterproof layer. Each mounting point is a potential leak source if not sealed perfectly. I always inspect the underlying roof deck before installation. A weak deck cannot support the extra weight and wind load of solar arrays.
Integrated Solar Roofing Systems
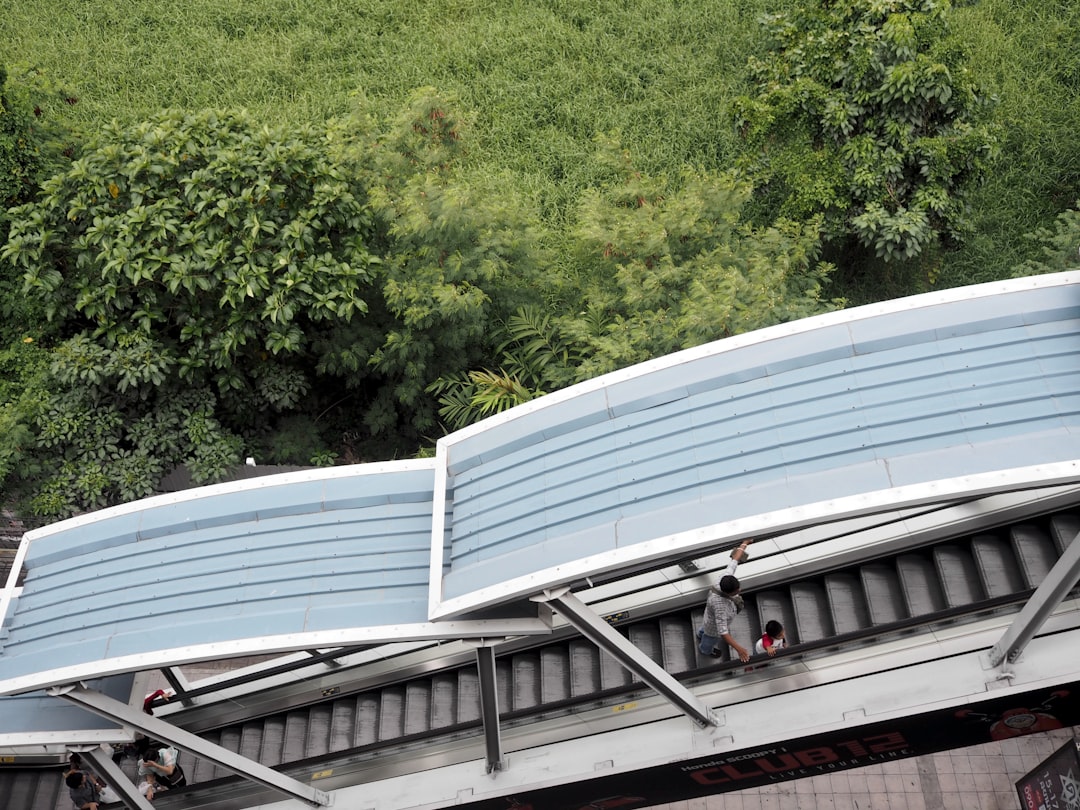
Companies like Tesla and GAF Energy offer products that combine roofing and solar into one. Tesla Solar Roof uses durable glass tiles with embedded solar cells. GAF Energy's Timberline Solar™ looks like traditional asphalt shingles. These systems replace your entire roof covering. They provide a seamless, low-profile appearance. The installation is more complex and typically more expensive. It requires a roofing crew and a certified solar electrician working in coordination. I recommend this option primarily for new construction or when a full roof replacement is already necessary. The integrated design can offer better weather resistance and aesthetics.
Critical Roof Assessment Before Solar
Never install solar on a failing roof. This is the most important rule. I have been called to too many homes where solar installers placed panels on old, worn-out shingles. A few years later, the roof leaks, and the homeowner faces a nightmare. Removing solar panels for a roof repair can cost $5,000 to $10,000 alone. You must assess your roof's health first. Look at the age of your current roofing materials. Most asphalt shingles last 20 to 25 years. If your roof is 15 years old, it may not last the 25-year lifespan of the solar panels. Check for signs of deterioration like curling shingles, missing granules, or moss growth. Inspect your attic for any signs of water stains or daylight through the deck boards.
Structural Integrity and Load Capacity
Your roof frame must support the added weight. Solar panels and racking add roughly 3 to 5 pounds per square foot. This is similar to a second layer of shingles. Snow and wind create additional dynamic loads. A qualified contractor should evaluate your roof's structure. They will check the size and spacing of your rafters or trusses. They will also inspect the roof decking (usually plywood or OSB) for rot or weakness. The International Residential Code (IRC) provides standards for structural loads. Your local building department will require a permit and a structural review. Do not skip this step. Safety is paramount.
Roof Orientation, Pitch, and Shading
Solar panels perform best on south-facing roofs in the Northern Hemisphere. A pitch between 15 and 40 degrees is typically ideal. East and west-facing roofs can also work well but may produce 10-20% less energy. I use a solar pathfinder tool to analyze shading from trees, chimneys, or other buildings. Even small amounts of shade can significantly reduce a panel's output. Sometimes, trimming a tree is more cost-effective than adding extra panels. Your roof's layout also matters. Complex roofs with many valleys, dormers, and skylights leave less unshaded space for panels. This can limit your system's size and potential savings.
Choosing the Right Materials and Partners
The quality of your solar roof depends on three things: the panels, the roofing, and the installers. You need durable products and skilled labor. For the roofing component, I recommend high-quality architectural shingles from manufacturers like GAF or CertainTeed. These shingles have longer warranties, often 50 years, which better aligns with solar panel lifespans. For solar panels, look for reputable brands like SunPower, LG, or Panasonic. Check their power output warranties and degradation rates. A good panel will guarantee at least 90% output after 10 years and 80% after 25 years. The inverter, which converts solar power to usable electricity, is equally critical. Microinverters (like Enphase) or power optimizers (like SolarEdge) can maximize output, especially on partially shaded roofs.
Finding a Qualified Installation Team
This is where many projects go wrong. You need a team that understands both roofing and electrical work. Many solar companies subcontract the roofing portion to the lowest bidder. This creates a disconnect. I strongly recommend hiring a roofing contractor with solar experience or a solar company with in-house roofing crews. Verify their licenses and insurance. Ask for references from past solar-roof projects. Check their certifications from the North American Board of Certified Energy Practitioners (NABCEP). This certification is the gold standard for solar installers. A good contractor will handle everything: permits, utility interconnection, inspections, and warranty registration. They should provide a single point of contact and a clear project timeline.
The Real Cost of a Solar Roof: A Detailed Breakdown
Homeowners are often surprised by the full cost. The national average for a solar panel system is about $3.00 per watt. A typical 6-kilowatt system costs around $18,000 before incentives. But that's just for the solar equipment and installation. If you need a new roof first, add $10,000 to $20,000 or more, depending on your home's size and materials. An integrated solar roof system like Tesla's can cost $40,000 to $70,000 for an average home. However, significant financial incentives can reduce this net cost. The federal solar Investment Tax Credit (ITC) allows you to deduct 30% of the total system cost from your federal taxes. This credit applies to both the solar and roofing costs if they are done together as part of a qualified solar roof installation. Many states and utilities offer additional rebates.
- System Cost: $18,000 (6 kW solar system)
- Roof Replacement: +$15,000 (new architectural shingles)
- Total Project Cost: $33,000
- Federal Tax Credit (30%): -$9,900
- Net Cost After Credit: $23,100
Your monthly energy savings will pay back this investment over time. The payback period is typically 8 to 12 years. After that, you enjoy nearly free electricity for the remaining life of the system. Financing options like solar loans or Property Assessed Clean Energy (PACE) programs can make the upfront cost manageable. Some companies also offer solar leases or Power Purchase Agreements (PPAs), where they own the system and sell you the power. I generally advise against leases if you plan to sell your home, as they can complicate the sale.
The Installation Process: What to Expect Day-by-Day
A proper solar roof installation is a multi-day, coordinated effort. As a contractor, I follow a meticulous process to ensure quality and safety. Here is a step-by-step guide based on hundreds of successful projects.
Phase 1: Preparation and Roofing (Days 1-3)
First, we set up safety equipment and protect your property. We cover landscaping and lay down walkway protection. If a roof replacement is needed, we begin by removing the old shingles down to the deck. We inspect the decking thoroughly and replace any rotten wood. We install new ice and water shield along the eaves and in valleys for superior leak protection. Then we install the new synthetic underlayment and starter shingles. We complete the main field of shingles, leaving the ridge cap for later. This gives us a clean, watertight base for the solar racking.
Phase 2: Solar Mounting and Electrical (Days 4-6)
Next, the solar team marks the exact locations for the rack mounts. They use a template to ensure perfect alignment. They drill holes through the new shingles and into the roof rafters. Each hole is filled with a high-quality sealant, and a flashing bracket is installed. The aluminum racking rails are then secured to these brackets. This method keeps the waterproofing layer above the shingles, not below. The solar panels are carefully lifted onto the roof and clamped to the rails. Meanwhile, an electrician runs conduit from the roof to your electrical panel. They install the inverter(s) and a new utility meter if required.
Phase 3: Finalization and Inspection (Day 7+)
We complete the ridge cap shingles and perform a final roof cleaning. The electrician makes the final connections and tests the system. We schedule a rough inspection with your local building department. An inspector will check the structural attachment, electrical wiring, and grounding. After passing inspection, your utility company will install a net meter (if needed) and give "Permission to Operate." Only then do we flip the switch. The entire process from signing a contract to turning on the system usually takes 4 to 8 weeks, accounting for permit approvals and utility coordination.
Maintenance, Warranties, and Protecting Your Investment
Your new solar roof is a major asset. Protecting it requires understanding the warranty landscape. You will have multiple warranties from different companies. The solar panels have a product warranty (often 25 years) and a performance warranty. The inverter has a separate warranty, typically 10 to 25 years. The roofing materials have their own warranty from GAF or CertainTeed. Critically, the installation workmanship is covered by the contractor's warranty. This is usually 5 to 10 years. I provide a 10-year workmanship warranty on all my solar-roof projects. This covers leaks or issues caused by our installation methods. Keep all warranty documents in a safe place. Register your products online with the manufacturers to activate the coverage.
Maintenance is relatively low. You should visually inspect your roof and panels after major storms. Check for debris like leaves or branches. Panels are self-cleaning to some degree with rain, but in dusty areas, an annual rinse with a garden hose can help. Never use a pressure washer, as it can damage the panels or roof. Trim any tree branches that are touching or casting shade on the panels. Monitor your system's energy production through its monitoring app. A sudden drop in output can indicate a problem with a panel or inverter. Schedule a professional inspection every 5 years. A certified technician can check electrical connections, mounting hardware, and sealant integrity.
Real Project Case Studies and Outcomes
Let me share two real examples from my work to illustrate different paths and results.
Case Study 1: The Proactive Replacement
The Johnson family had a 22-year-old asphalt shingle roof. They wanted solar to reduce their $250 monthly electric bill. During my assessment, I found the decking was still solid, but the shingles were at the end of their life. We recommended a full roof replacement with GAF Timberline HDZ shingles and a 25-year warranty. Then we installed a 7.6 kW SunPower panel system. Total project cost was $38,500. After the 30% federal tax credit, their net cost was $26,950. Their electric bill dropped to a $10 monthly connection fee. They are saving $2,880 per year, giving them a payback period of just over 9 years. They also increased their home's value and avoided future roof repair costs.
Case Study 2: The Integrated Solution
The Garcia family was building a new modern home. They wanted a sleek, uniform look and maximum energy production. We worked with them and their architect to design a roof for Tesla Solar Roof tiles from the start. The integrated system cost $52,000 for their 2,200 sq. ft. home. After the federal tax credit, their cost was $36,400. The system covers 115% of their energy needs, so they earn credit from the utility for excess power. The roof has a Class 4 hail impact rating and a lifetime warranty. While the upfront cost was higher, they avoided paying for a separate traditional roof. They achieved their aesthetic goals and have a true "set-it-and-forget-it" system.
Frequently Asked Questions from Homeowners
1. Can I install solar panels on my existing roof, or do I need a new one?
You can install on an existing roof if it is in good condition and has at least 10-15 years of life remaining. I always recommend a professional inspection first. If your roof is middle-aged (10-15 years old), replacing it before solar is often the smarter long-term investment. It avoids the high cost of removing and reinstalling panels later.
2. Will solar panels cause my roof to leak?
Properly installed panels will not cause leaks. The risk comes from poor installation. A qualified installer uses specialized flashing and sealants designed for roofing penetrations. They should follow the manufacturer's instructions and local building codes precisely. The mounting system should be attached to the roof rafters, not just the decking, for a secure hold.
3. What happens if I need to repair my roof after solar is installed?
This is a key consideration. If a repair is needed under the panels, a solar technician must first remove and reinstall them. This service can cost $5,000 to $10,000. This is why a new or like-new roof is so important before installation. Some solar racking systems are designed for easier removal than others. Discuss this with your installer during the planning phase.
4. How does hail or severe weather affect a solar roof?
Modern solar panels are very durable. Most are tested to withstand 1-inch hail at 50+ mph. Many, like those from SunPower, have even higher ratings. Integrated systems like Tesla's have a Class 4 hail rating (the highest). Your homeowner's insurance should cover solar panels as part of the dwelling. Check with your insurance agent and ensure your policy reflects the increased value of your home.
5. Do solar panels work during a power outage?
Standard grid-tied solar systems automatically shut off during a power outage for safety. This protects utility workers repairing lines. To have power during an outage, you need a solar battery storage system like the Tesla Powerwall or Generac PWRcell. The battery stores excess solar energy for use when the grid is down. This adds to the cost but provides valuable backup power.
6. How does a solar roof affect my home's resale value?
Studies show solar panels increase home value. The U.S. Department of Energy cites research indicating home value increases by about $15,000 for a typical solar system. Buyers appreciate the lower utility bills. Ensure the system is owned, not leased, for the cleanest transfer of value. Provide documentation on system performance and warranties to potential buyers.
Conclusion and Your Next Steps
A house with a solar panel roof is a powerful upgrade. It reduces your carbon footprint and your energy bills. It can increase your property value and provide energy independence. However, success depends on careful planning and expert execution. Do not rush the process. Start with a thorough roof inspection by a licensed roofing contractor. Get multiple quotes from qualified solar-roof integrators. Ask detailed questions about their experience, warranties, and process. Review your financing options and available incentives. Use the Database of State Incentives for Renewables & Efficiency (DSIRE) to find local rebates. This investment will serve your family for decades. Take the time to get it right. Your future self will thank you for the comfort, savings, and peace of mind a well-built solar roof provides.