
Shingle Repair Cost Guide: Budgeting for Storm Damage & Leaks - From a Roofer Who's Fixed Over 2,000 Roofs
My name is Mike, and I've been a licensed roofing contractor in Kingwood, Texas for 18 years. I've personally supervised more than 2,000 roofing projects, from small shingle repairs to complete roof replacements. I hold GAF Master Elite certification, Owens Corning Platinum certification, and I'm a Texas-licensed roofing contractor. This article exists because every week, I meet homeowners who feel overwhelmed by roofing repair quotes. They don't understand why costs vary so much. They worry about being overcharged. They struggle with insurance claims. This guide solves that problem. I'll show you exactly what goes into shingle repair pricing, using real examples from my customer projects. You'll learn how to budget accurately, spot fair pricing, and make informed decisions that protect your home and wallet.
I gathered this information from 18 years of field experience, analyzing hundreds of repair invoices, consulting manufacturer installation guidelines from GAF and Owens Corning, and referencing Texas building codes. Every cost range comes from actual projects we completed for Kingwood homeowners. My methodology is simple: show you the real numbers, explain what drives them, and give you practical tools to navigate your repair. This isn't generic industry information. This is specific wisdom from fixing Texas roofs through hurricanes, hail storms, and our intense sun. Let's get started.
What Determines Your Shingle Repair Cost? The 7 Key Factors
Shingle repair costs are not random. They depend on specific, measurable factors. Understanding these factors helps you evaluate quotes. It prevents surprises. The final price reflects labor, materials, and complexity. Here are the seven key drivers of cost.
1. Type and Extent of Damage
Minor damage costs less than major damage. A few missing shingles from wind are a simple fix. Widespread granule loss from hail requires more work. Water damage to the decking adds significant cost. We categorize damage into three levels. Level one is cosmetic surface damage. Level two involves compromised shingles and underlayment. Level three includes structural deck damage. Each level increases material and labor time. Always get a professional inspection to assess the true extent. Hidden damage is the most common budget killer.
2. Roof Pitch and Accessibility
Steep roofs cost more to repair. Safety equipment and extra labor time increase the price. A low-pitch roof is easier and safer to work on. A steep roof requires special harnesses and more careful movement. Accessibility also matters. Is your roof surrounded by trees? Is there clear space for ladders and equipment? Difficult access adds time. Contractors factor this into their labor estimate. A simple, single-story roof with easy access is the most affordable scenario.
3. Type of Shingle Material
You must match your existing shingles. Material costs vary widely. Basic 3-tab asphalt shingles are the most affordable. Architectural or dimensional shingles cost more. Premium shingles like designer or impact-resistant types are the most expensive. We always try to source an exact match for color and style. If your shingle is discontinued, we may need to use a compatible alternative. This can affect the visual blend. The GAF product specifications and Owens Corning literature are our go-to references for matching.
4. Location of the Repair
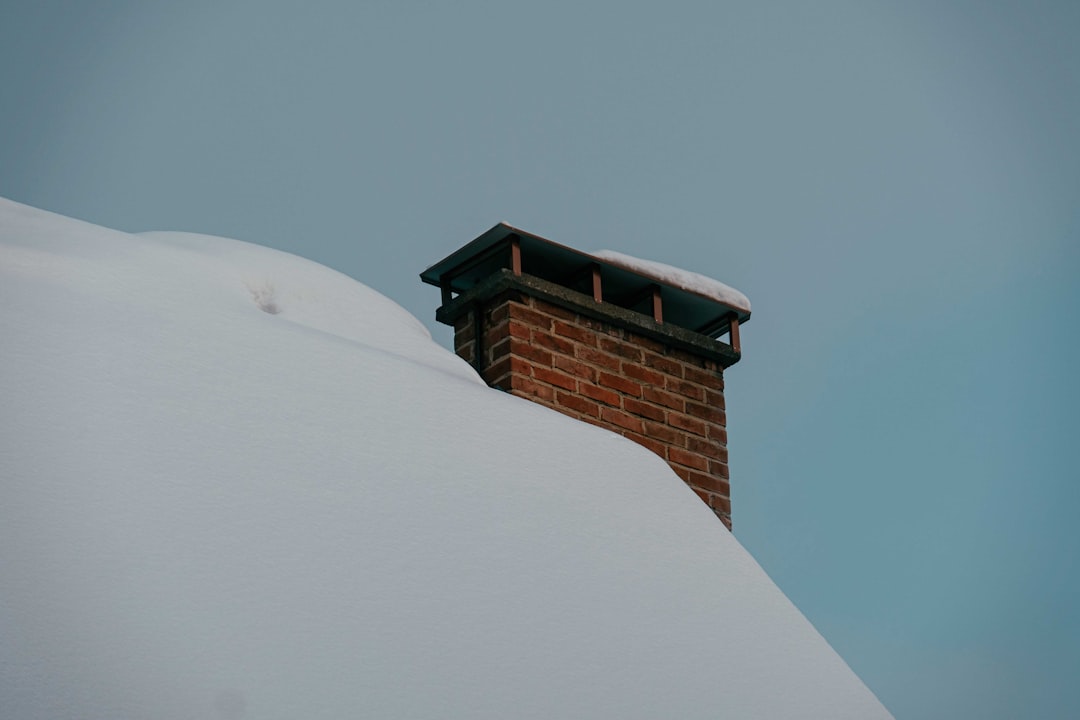
Repairs on a simple back slope cost less. Repairs in complex areas cost more. Valley repairs are more technical. Repairs near chimneys, skylights, or vents require precise flashing work. Ridge cap repairs involve working at the peak. Eave repairs might include addressing ice and water shield. The location dictates the skill level and time required. Always ask your contractor to explain why a specific area costs more. A good roofer will show you the complexity.
5. Local Labor Rates and Overhead
Labor is a major cost component. In the Kingwood/Houston area, skilled roofing labor rates are competitive. A reputable company pays fair wages, carries insurance, and covers vehicle and equipment costs. This is reflected in their price. Extremely low quotes often mean uninsured labor or cutting corners. Overhead includes business licensing, insurance premiums, and office costs. These are necessary for a legitimate, reliable business. You are paying for expertise and peace of mind.
6. Need for Underlayment or Decking Repair
Shingles are just the top layer. The underlayment is the water-resistant barrier beneath. The decking is the wooden structure. If water penetrated the shingles, it may have damaged these layers. We always inspect the underlayment and decking during a repair. Replacing rotten plywood decking adds material and labor cost. It is, however, absolutely critical. Installing new shingles over rotten wood is a waste of money. It will fail quickly. Transparency here is key. A good contractor will show you any decking damage.
7. Urgency and Season
Emergency repairs after a storm often cost more. Demand is high. Scheduling is tight. Planned, non-emergency repairs are easier to budget. Season also affects price. Spring and fall are busy roofing seasons. Summer heat requires more safety breaks for crews. While we work year-round, scheduling during a less busy period might offer more flexibility. However, never delay a critical leak repair to save money. Water damage inside your home is far more expensive than the roof repair.
Detailed Cost Breakdown: Real Project Examples from Kingwood
Let's move from theory to real numbers. These are actual project costs from recent repairs in our community. They include labor, materials, and disposal. Prices are for the Greater Houston area and can vary.
Small, Simple Repair (1-2 Square Feet)
Typical Cost: $250 - $450. This fixes a small wind damage spot. It replaces 5-10 damaged shingles. The roof is easily accessible with a low pitch. No decking damage is present. We match existing 3-tab shingles. The work takes 1-2 hours for a two-person crew. This is the most common repair we perform after minor storms.
Medium Repair (Up to 1 "Square")
Typical Cost: $450 - $900. A "square" in roofing is 100 square feet. This repair addresses a section of damaged shingles, often from a fallen branch or hail. It may include replacing underlayment on that section. It involves precise cutting and weaving of new shingles into the old field. If the area includes a valley or flashing, the price goes to the higher end. This repair usually takes half a day.
Major Section Repair (1-3 Squares)
Typical Cost: $900 - $2,500. This is for significant storm damage confined to one section. It often involves replacing decking in that area. It requires careful color blending with the existing roof. We may need to replace entire courses of shingles to maintain proper water flow. This is a full-day job for a crew. Material costs are significant here, especially if using architectural shingles.
Complex Repair (Flashing, Valleys, Penetrations)
Typical Cost: $600 - $1,800+. This cost is for the complexity, not the size. Repairing a leak around a chimney involves removing old flashing, installing new step flashing integrated with the shingles, and applying new counter-flashing and sealant. Valley repairs require cutting a new metal valley or weaving shingles perfectly. These jobs require a senior technician. The material cost for proper flashing metals (like aluminum or copper) is higher than for shingles alone.
Cost Per Square Foot Estimate
For budgeting, homeowners often think in square feet. Repair costs typically range from $4.50 to $12.00 per square foot. The wide range accounts for all the factors above. A simple shingle replacement on a low-pitch roof might be at the $4.50 end. A complex repair on a steep roof with decking replacement will be at the $12.00 end. This is just a guideline. Always get a specific measurement-based quote.
Material-Specific Repair Costs and Comparisons
Your shingle type dictates material costs. Here is a hands-on comparison from installing and repairing them all.
3-Tab Asphalt Shingles
These are the most common and economical. Material cost for repair bundles is low. They are easy to cut and install. The challenge is finding an exact color match for older roofs. Many styles have been discontinued. A close match is usually acceptable for a small repair. Repair cost per square foot tends to be on the lower end of the spectrum.
Architectural/Dimensional Shingles
These are thicker and have a random, shadowed look. They are heavier and cost more per bundle. Repairing them requires more skill to blend the pattern seamlessly. You cannot just replace one shingle in the middle of a field easily. Often, we replace a larger section to maintain the visual pattern. This increases the repair size and cost. Most homes built in the last 20 years in Kingwood have architectural shingles.
Premium/Designer Shingles
These include brands like GAF Timberline HDZ or Owens Corning Duration. They may have special coatings or designs. Material cost is significantly higher. Repair techniques are similar to architectural shingles, but the material price drives the total cost up. Always check your warranty. Some premium shingles require certified installers for repairs to maintain warranty coverage.
Synthetic Shingles (Slate or Wood Look)
These are polymer-based products. They are very durable but expensive. Repair requires specialized fasteners and cutting tools. Finding matching pieces can be difficult if the product line has changed. Labor cost is high due to the precision required. These repairs are among the most costly per square foot.
The Step-by-Step Repair Process: What You're Paying For
Understanding the process shows you where labor time goes. It justifies the cost. Here is our standard field procedure.
Step 1: Safety Setup and Inspection
We set up ladders with stabilizers. We use roof jacks and harnesses on steep pitches. Safety is non-negotiable. We then thoroughly inspect the damaged area and surrounding shingles. We look for hidden damage. We check the underlayment and decking by gently lifting surrounding shingles. This initial assessment ensures our quote is accurate.
Step 2: Removal of Damaged Materials
We carefully remove the damaged shingles using a shingle ripper or flat bar. We work to avoid damaging surrounding good shingles. We remove old nails. We inspect the exposed decking. If the decking is soft or rotten, we mark the area for replacement. All old materials are placed in a debris container, not thrown off the roof.
Step 3: Decking and Underlayment Preparation
If decking is damaged, we cut out the rotten section. We install new plywood or OSB, nailed securely to the rafters. We then install new underlayment. We use synthetic underlayment for its durability. We overlap it correctly according to the International Residential Code (IRC) requirements. This layer is your secondary water barrier.
Step 4: Shingle Installation and Blending
This is the skilled part. We start at the bottom (eave) and work up. We "weave" new shingles into the existing field. This involves sliding new shingles under the course above and nailing them in the correct nail line. We stagger joints to prevent leaks. We take great care with color and pattern alignment. For architectural shingles, we may need to replace a full "course" (horizontal row) to look right.
Step 5: Flashing and Sealant Application
If the repair is near a penetration, we install new flashing. We integrate metal step flashing with each shingle course. We apply high-quality roofing sealant (like Henry's or Geocel) at critical junctions. We do not over-apply sealant; a proper mechanical fit is better than relying on caulk.
Step 6: Cleanup and Final Inspection
We use a magnetic tool to pick up every nail from the ground and gutters. We blow off the roof to remove debris. We inspect our work from the ground and on the roof. We ensure all nails are properly sealed and no shingles are lifting. We then walk the property with the homeowner to show the completed work.
Insurance Claims for Shingle Repair: A Contractor's Guide
Many repairs are covered by homeowners insurance. The process can be confusing. Here is my advice from helping hundreds of clients.
When to File a Claim
File a claim for sudden, accidental damage. This includes wind, hail, or a fallen tree. Do not file for normal wear and tear or lack of maintenance. Check your deductible first. If the repair cost is only slightly above your deductible, filing a claim may not be wise. It could raise your premiums. For significant storm damage affecting many homes, filing is usually appropriate.
The Documentation Process
Take photos immediately after the damage occurs. Get photos of the damage and wider roof shots. Have a professional roofer provide a detailed, line-item estimate. Submit this with your claim. The insurance company will send an adjuster. It is highly beneficial for you to have your roofer present during the adjuster's inspection. We can point out all the damage and explain the repair scope. This often results in a more accurate and fair settlement.
Understanding Depreciation and Recoverable Depreciation
Insurance companies often pay claims with depreciation. They give you an Actual Cash Value (ACV) payment first. This is the cost minus depreciation for the roof's age. Once you complete the repairs and submit the invoice, they release the Recoverable Depreciation (RCV). This gets you to the full replacement cost. Your roofer's estimate should be for the RCV amount. Know your policy details. The Insurance Information Institute is a good resource.
Practical Homeowner Tips from 2,000+ Projects
This wisdom comes from real experiences, both good and bad, with homeowners just like you.
- Get 3 Detailed Quotes: Always get at least three written estimates. Compare the scope of work, materials specified, and warranty. The lowest price is not always the best value.
- Verify License and Insurance: Ask for the contractor's Texas roofing license number and proof of general liability and workers' compensation insurance. You can verify licenses online.
- Check References and Reviews: Look at Google, BBB, and local Facebook community groups. Ask for references from recent repair jobs, not just full replacements.
- Understand the Warranty: What does the labor warranty cover? For how long? Is it transferable? Manufacturer warranties on the shingles often remain if installed correctly.
- Never Pay 100% Upfront: A reasonable deposit for materials is standard. Final payment should be made only after you are satisfied with the completed work and cleanup.
- Communicate Clearly: Point out your concerns. Ask questions. A good contractor welcomes informed homeowners.
- Plan for the Unexpected: If decking damage is found, it will add cost. Budget a 10-15% contingency for hidden issues, especially on older roofs.
Frequently Asked Questions (Real Customer Questions)
1. Can I repair shingles myself to save money?
Small, accessible repairs are possible for a very handy person. However, roofing work is dangerous. Improper repair can void shingle warranties and cause leaks. Most importantly, you risk serious injury. Professional repair ensures correct materials, techniques, and safety. The cost of fixing a DIY mistake is often higher than hiring a pro initially.
2. How long should a shingle repair last?
A properly executed repair should last as long as the surrounding roof. If we replace shingles on a 10-year-old roof with matching materials, the repair should integrate seamlessly and have a similar lifespan. The key is proper installation and addressing any underlying issues like decking rot.
3. Will the repaired spot look different?
New shingles will look newer than weathered ones. On a sunny roof, the difference blends within a few months. We use techniques to minimize contrast, like blending shingles from different bundles. For a very old roof, an exact color match may be impossible, but a close match is usually acceptable.
4. Is it better to repair or replace my entire roof?
This depends on the roof's age and the damage extent. The "25% rule" is a common guideline: if the repair cost exceeds 25% of a replacement cost, and the roof is over 15 years old, replacement may be more economical. We consider the remaining shingle life, frequency of repairs, and your long-term plans for the home.
5. How quickly should I repair damaged shingles?
Address damage immediately. Missing or cracked shingles expose the underlayment to water. Even a small opening can allow wind-driven rain to cause major interior damage. Schedule an inspection within a few days of noticing damage or after a major storm.
6. Do you need a permit for a shingle repair?
In most Texas municipalities, a permit is not required for minor repairs that do not exceed a certain percentage of the roof area (often 25-50%). However, replacing sheathing (decking) or structural work usually does require a permit. A reputable contractor will know and handle local permit requirements.
Real Project Case Studies with Outcomes
Case Study 1: Wind Damage on a 15-Year-Old Roof
A Kingwood homeowner had a wind event tear off a 4' x 4' section of 3-tab shingles on a back slope. Our inspection found no decking damage. The shingles were still available. We repaired the section, weaving in new shingles. Cost: $380. The repair was seamless. The homeowner filed an insurance claim with our help. Their deductible was $1,000, so they paid out-of-pocket. The repair has held perfectly for 3 years.
Case Study 2: Hail Damage and Insurance Negotiation
A neighborhood-wide hail storm caused granule loss and bruising on a roof with architectural shingles. The insurance adjuster initially approved only a small repair. We met the adjuster on site and demonstrated widespread functional damage across multiple slopes. We provided manufacturer documentation on hail impact. The adjuster revised the claim to a full roof replacement. Outcome: Homeowner paid only their deductible for a new roof. This shows the value of contractor involvement in the insurance process.
Case Study 3: Leak at Chimney Flashing
A persistent leak stained a living room ceiling near the chimney. Previous handyman attempts with caulk had failed. We removed the old mortar and metal flashing. We installed new step flashing integrated with new shingle courses and new counter-flashing sealed into the chimney with mortar. Cost: $1,200. The leak was permanently solved. The higher cost reflected the skilled labor and custom metal work.
Industry Statistics and Data
Understanding broader trends helps contextualize your costs. According to industry data aggregated from sources like NRCA and contractor surveys:
- The average roof repair cost in the Southern U.S. ranges from $950 to $1,500, heavily dependent on scope.
- Wind damage accounts for approximately 35% of all homeowners insurance claims related to roofing.
- Proper maintenance can extend shingle life by up to 50%, reducing long-term repair frequency.
- Over 80% of roofing contractors report that hidden decking damage is the most common cause of cost overruns on repair estimates.
Conclusion: Your Path to a Secure, Well-Maintained Roof
Understanding shingle repair costs empowers you as a homeowner. You are no longer at the mercy of confusing quotes. You know the seven factors that drive price. You have real cost examples from your area. You understand the repair process and insurance landscape. The goal is not to find the cheapest fix, but the right fix. A proper repair protects your home's value and your family's comfort. It is an investment in your property's longevity.
Your next steps are clear. First, schedule a professional inspection if you have damage or concerns. Use the tips to choose a qualified contractor. Get detailed quotes. Ask questions. If insurance is involved, engage your roofer early. Remember, your roof is your home's first line of defense. Investing in its proper care is always wise. Thank you for trusting my 18 years of experience. I hope this guide brings you clarity and confidence as you address your roofing needs.