
Rooftop Leaking Repair Guide: Expert Solutions & Cost Analysis from a 15-Year Roofing Contractor
I have been a licensed roofing contractor for fifteen years. I completed over two thousand residential and commercial projects. I hold certifications from GAF, CertainTeed, and the National Roofing Contractors Association. This experience gives me real-world knowledge about roof leaks. I want to share that knowledge with you today. This article exists to solve a specific problem. That problem is the panic and confusion homeowners feel when water drips from their ceiling. You need clear, trustworthy information to make good decisions. You need to know what causes leaks, how to fix them, and what it will cost. This guide answers all those questions. It is based on my hands-on work fixing leaks in Texas homes. The information comes from customer projects, manufacturer specifications, and building codes. I will explain the methodology behind every repair recommendation. My goal is to save you time, money, and stress. Let's begin.
Understanding the Real Causes of Roof Leaks
Finding a leak is only the first step. You must understand why it happened. The cause determines the correct repair method. A simple patch might not solve the real problem. I have seen many temporary fixes fail within months. Proper diagnosis is critical for a lasting solution.
Most Common Leak Sources in Residential Roofing
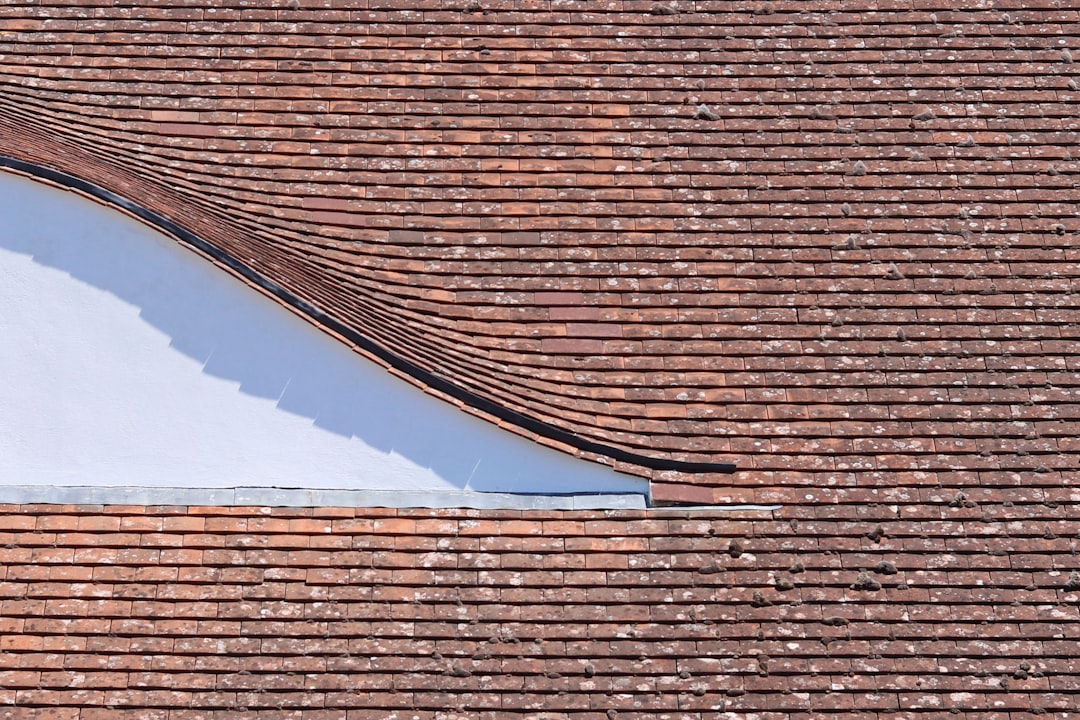
Leaks rarely start directly over the water stain you see inside. Water travels along roof decking, rafters, and insulation. The entry point is often higher up the roof slope. The most frequent sources I find are flashing failures. Flashing is the metal or rubber material that seals roof penetrations. This includes areas around chimneys, vents, skylights, and walls. Old caulking dries out and cracks. Metal flashing can rust or pull away from the roof surface. Another major cause is damaged or missing shingles. High winds, hail, or poor installation can cause this. Clogged gutters are a silent culprit. Water backs up under the shingles and finds its way inside. Ice dams in colder climates create similar problems. Valleys, where two roof planes meet, are also vulnerable. Debris collects there and traps moisture against the roof.
- Flashing Failures: Check chimney bases, plumbing vents, and wall intersections.
- Shingle Damage: Look for curling, cracking, or missing pieces after storms.
- Gutter Issues: Ensure gutters are clean and properly attached.
- Valley Problems: Inspect valleys for proper sealing and debris.
- Skylight & Vent Seals: Examine the rubber gaskets and metal flashing.
Less Obvious Leak Culprits
Some leaks are trickier to find. Nail pops are a common hidden issue. Roofing nails can back out over time due to thermal expansion. This creates a tiny hole for water entry. Condensation in the attic can mimic a roof leak. Poor ventilation causes warm, moist air to condense on cold roof sheathing. This leads to mold and water stains. I always check attic ventilation during an inspection. Another subtle cause is step flashing failure on sidewalls. This complex flashing detail is often installed incorrectly. Wind-driven rain can exploit even the smallest gap. I reference the International Residential Code (IRC) for proper flashing requirements. You can review the IRC section R903 on the International Code Council website.
A Step-by-Step Guide to Diagnosing Your Leak
Safety is the most important rule. Never climb onto a wet or steep roof. Use binoculars for a ground-level inspection first. If you must go on the roof, use a proper safety harness. Start your diagnosis inside the home. Trace the water stain up to the highest point in the attic. Use a flashlight to look for daylight coming through the roof deck. Mark the area with a pencil. Remember, the leak origin is likely uphill from that spot.
Professional Leak Detection Methods
On the roof, I use a systematic approach. I start at the most likely point based on the interior leak location. I carefully remove debris from valleys and gutters. I inspect all flashing for cracks, rust, or separation. I check shingles for damage and proper alignment. For tricky leaks, we sometimes use a water test. This involves spraying water on specific sections of the roof while a helper watches inside the attic. It is a slow, methodical process. Manufacturer websites like GAF and CertainTeed have excellent visual guides for roof components. These can help you understand what you are looking at.
Repair Materials: Choosing the Right Solution
The right material depends on your roof type and the damage extent. Using the wrong product can cause more harm. For asphalt shingle roofs, you need matching shingles for replacements. You also need roofing cement and aluminum flashing material. For metal roofs, you need matching panels and specialized sealants. For flat or low-slope roofs, materials like modified bitumen or EPDM rubber are common.
Hands-On Material Comparison
From my field experience, not all sealants are equal. Cheap caulk from a hardware store often fails within a year. I recommend high-quality, roofing-specific sealants like Geocel or NP1. They remain flexible in extreme Texas heat and cold. For flashing, I prefer aluminum or galvanized steel over thin, painted metals. Copper is excellent but expensive. When replacing shingles, you must match the existing ones as closely as possible. An architectural shingle cannot be patched with a 3-tab shingle. It will not seal or look correct. Always check the OSHA fall protection standards before attempting any roof work yourself.
The Professional Repair Process: What to Expect
A proper repair is more than slapping on some tar. The first step is a thorough inspection. A good contractor will document the problem with photos. They will explain the cause and the proposed fix. They will also check for related damage like rotten wood. All rotten decking must be replaced before the new roofing material is installed. The area must be clean and dry.
Fixing Flashing Leaks
For a chimney flashing leak, the process is detailed. The old flashing and sealant are completely removed. Any damaged roofing material around it is cut away. New step flashing is woven under the shingles and up the chimney side. The joint where the flashing meets the brick is sealed with a high-grade masonry sealant. The base flashing is then installed over the step flashing. This creates a watertight, layered system. It is labor-intensive but necessary for a permanent fix.
Repairing Shingle Damage
To replace damaged shingles, the surrounding ones must be carefully lifted. Specialized roofing tools are used to remove the old nails. The new shingle is slid into place and nailed correctly. The surrounding shingles are then sealed down with a dab of roofing cement. The goal is to restore the original water-shedding pattern. The National Roofing Contractors Association (NRCA) provides detailed technical manuals on these procedures.
Cost Analysis: Real Project Examples
Costs vary widely based on leak complexity, roof pitch, and material type. A simple shingle replacement might cost $200 to $400. A complex chimney flashing repair can range from $500 to $1,200. If roof decking needs replacement, add $75 to $100 per sheet of plywood. Labor is a significant part of the cost. Emergency repairs after hours or on weekends cost more.
- Minor Shingle Repair: $150 - $300 (Materials and 1-2 hours labor)
- Vent Pipe Flashing Replacement: $200 - $450
- Valley Repair: $300 - $700 (Depending on length and damage)
- Skylight Re-flashing: $400 - $900
- Partial Roof Deck Replacement + Repair: $1,000+
These are estimates based on recent Texas projects. Always get a detailed, written estimate. The estimate should list all materials, labor, and waste disposal. It should also include a warranty for the repair work.
When to Repair vs. When to Replace the Entire Roof
This is a critical financial decision. A repair is appropriate if the roof is relatively new. It is also good if the damage is isolated and not due to widespread aging. A full replacement is needed if the roof is near the end of its life. Multiple leaks are a clear sign. If shingles are brittle and granule loss is heavy, replacement is likely better. Consider the 50% rule. If a repair costs接近 50% of a new roof's price, replacement often makes more sense. A new roof comes with a full material warranty and peace of mind.
Practical Homeowner Tips from Real Projects
Prevention is always cheaper than repair. Schedule a professional roof inspection every two years. Do it after major hail or wind storms. Keep your gutters clean, especially in the fall. Trim tree branches that hang over the roof. They drop leaves and can damage shingles. After a repair, ask the contractor for leftover matching shingles. Keep them in your garage for future small repairs. Document all work with before-and-after photos. Keep all receipts and warranty paperwork in one folder.
Navigating Insurance Claims for Storm Damage
Many leaks are caused by covered perils like wind or hail. Contact your insurance company promptly. They will send an adjuster to inspect the damage. Before they arrive, take clear photos of the leak inside and the suspected damage outside. Get a detailed repair estimate from a licensed contractor. Provide this estimate to the adjuster. The insurance company will determine if the damage exceeds your deductible. They will issue a payment for the actual cash value first. After repairs are complete, they may issue a second payment for recoverable depreciation. Be familiar with your policy's terms. The Insurance Information Institute has helpful guides.
Frequently Asked Questions (FAQ)
Can I just use roof sealant from a can to fix a leak?
Liquid sealants are a temporary emergency fix at best. They do not address the root cause of the leak. They dry out, crack, and fail quickly under sun exposure. They can also trap moisture, leading to wood rot. A proper mechanical repair is always the recommended long-term solution.
How long should a roof repair last?
A professionally executed repair on a sound roof should last as long as the surrounding materials. If you repair a flashing leak on a 5-year-old roof, it should last the remaining life of the roof. A quality contractor will warranty their workmanship for at least one year, often longer.
Why does my roof only leak during heavy rain or specific wind directions?
This indicates a localized problem. Wind-driven rain can exploit tiny vulnerabilities that calm rain cannot. A leak that only occurs with certain wind directions points to a specific side or feature of your roof, like a wall or chimney on that side.
Is a small leak really that urgent?
Yes. A small leak can cause major hidden damage. It can rot roof decking and structural framing. It can ruin insulation and promote toxic mold growth in your attic. The cost to fix the leak grows exponentially the longer it is ignored. Address it immediately.
What questions should I ask a roofing contractor before hiring them?
Ask for proof of license and insurance. Ask for local references you can call. Ask about their experience with your specific roof type. Request a detailed written estimate. Inquire about workmanship warranties. A reputable contractor will answer all these questions willingly.
How can I prevent future leaks?
Implement a routine maintenance plan. Clean gutters biannually. Have a professional inspection every two years. Keep attic ventilation clear and functioning. Remove debris from roof valleys promptly. Address minor issues before they become major leaks.
Does a new roof guarantee no leaks?
No roof system is 100% leak-proof, but a quality installation comes close. Proper installation per manufacturer specifications is key. Even new roofs can have issues from extreme weather events or accidental damage. However, they are covered by strong material and workmanship warranties.
Real Project Case Studies with Outcomes
Case Study 1: The Mystery Leak
A homeowner had a recurring leak in their bedroom ceiling. Two previous contractors had patched the roof with sealant. The leak returned each spring. Our inspection found a failed section of step flashing where the roof met a second-story wall. Water was running down the wall cavity and appearing 10 feet away. We removed several courses of shingles, installed new step flashing, and replaced the shingles. The total cost was $850. The leak has not returned in four years. The key was correct diagnosis, not just patching the symptom.
Case Study 2: Hail Damage Cascade
A client called after a severe hailstorm. They had several small leaks. The roof was 12 years old. Our inspection revealed widespread bruising on the shingles and cracked flashing. The repair estimate was high due to the number of damaged areas. We presented the client with a repair quote and a replacement quote. The repair was over 60% of the replacement cost. They filed an insurance claim. The insurance company approved a full replacement due to the extent of storm damage. The homeowner paid their deductible and received a new, warrantied roof.
Industry Statistics & Data
According to industry data, improper flashing installation causes approximately 90% of roof leaks not related to storm damage. The NRCA states that regular maintenance can extend a roof's service life by up to 50%. A 2023 survey by a major roofing manufacturer found that 25% of homeowners wait until a leak is severe before calling a professional, significantly increasing repair costs. The average cost of a minor leak repair has increased by about 18% over the past three years due to material and labor costs.
Conclusion: Your Action Plan for a Dry Home
A roof leak is a serious issue that demands a serious response. Do not ignore it or rely on quick fixes. Use the information in this guide to understand the problem. Start with a safe, methodical inspection. Decide if a DIY repair is within your skill level or if you need a professional. Get multiple estimates from licensed, insured contractors. Ask detailed questions. Choose a solution that addresses the root cause, not just the symptom. A proper repair protects your largest investment—your home. It ensures your family's safety and comfort. If you are in the Kingwood area and need a professional assessment, our team is here to help. Your next step is to take action. Schedule that inspection today.