
Roof Repairs in My Area: Your Complete Guide from a 15-Year Texas Roofing Expert
I have been repairing and replacing roofs across Texas for over fifteen years. Our team has completed more than 2,500 residential projects. We hold certifications from major manufacturers like GAF and Owens Corning. This experience gives me a unique perspective on what homeowners truly need to know. I have seen the good, the bad, and the ugly when it comes to roof repairs. My goal is to share that knowledge with you today. This article exists to solve a very specific problem. That problem is the overwhelming confusion homeowners feel when they need roof work. You might see a leak, missing shingles, or storm damage. Suddenly, you are searching for "roof repairs in my area" and facing dozens of options. How do you choose? Who can you trust? This guide will answer those questions completely. I will explain the entire process from start to finish. You will learn how to identify problems, evaluate contractors, and understand costs. My information comes directly from the field. It is based on thousands of customer projects, manufacturer specifications, and local building codes. I will reference these sources throughout. My methodology is simple. I provide clear, direct answers based on proven results. This will save you time, money, and stress. Let's get started on protecting your most important investment.
Understanding Common Roof Problems in Our Local Climate
Our Texas climate creates unique challenges for roofs. The intense sun, high humidity, and occasional severe storms all take a toll. Knowing what to look for is the first step. Early detection can prevent small issues from becoming major repairs. I will walk you through the most common problems we see every week.
Storm and Hail Damage: The Silent Destroyer
Hailstorms are a frequent issue in our area. The damage is not always obvious from the ground. Hail can bruise asphalt shingles, cracking the matting underneath. This compromises the waterproofing layer. Wind can lift shingles, breaking the sealant strips. Once those strips are broken, the next wind can tear the shingles off completely. We follow the Insurance Information Institute's hail damage guidelines for assessment. After a storm, check your gutters for granules. Look for dark spots or dents on your shingles. These are signs of impact. Schedule a professional inspection if you suspect damage. Do not wait for a leak to appear.
Sun Degradation and Thermal Cycling
The Texas sun is relentless. Ultraviolet rays break down the asphalt in shingles over time. This causes the granules on the surface to loosen and fall off. You might see bare spots on your roof. Thermal cycling is another major factor. Roofs expand in the heat and contract at night. This constant movement stresses the materials. It can cause cracks and splits along shingle edges. GAF's maintenance guide explains this process well. Curling or cupping shingles are a clear sign of sun aging. This typically happens after 10-15 years in our climate. Regular inspections can monitor this wear.
Moisture and Leak Issues
Leaks are the most common reason homeowners call us. The source of a leak is often far from where the water appears inside. Water travels down rafters and along roof decking. Common leak points include roof valleys, flashing around chimneys, and vent pipes. Poor attic ventilation worsens moisture problems. It leads to condensation under the roof deck. This can rot wood and mold growth. Check your attic regularly for dark stains on the wood. Look for rust on nails poking through. These are signs of a moisture issue. Proper repair requires finding the true entry point, not just patching the interior stain.
The True Cost of Roof Repairs: A Transparent Breakdown
Understanding roof repair costs prevents sticker shock. Prices vary based on damage extent, materials, and roof complexity. I will share real project examples from our recent work. This gives you a realistic expectation before getting estimates.
Small Repair Cost Ranges
Minor repairs address isolated issues. Replacing a few damaged shingles typically costs $150 to $400. Fixing a leak around a plumbing vent pipe might cost $200 to $500. These prices include labor and materials. The final cost depends on roof pitch and accessibility. A steep roof requires more safety equipment. That increases labor time. Always get a detailed written estimate. It should list all line items. Beware of quotes that seem too good to be true. They often skip proper steps like replacing underlying felt paper.
Moderate to Major Repair Scenarios
More extensive damage costs more. Replacing an entire roof valley with new metal flashing can range from $800 to $2,000. Repairing a section of decking damaged by a leak involves multiple steps. We must remove shingles, replace rotten wood, install new underlayment, and re-shingle. A 10'x10' section repair might cost $1,000 to $2,500. The price jumps if we find widespread decking rot. Full roof replacement is a separate discussion. We base it on square footage. The Roofing Contractor Cost vs. Value Report provides good national data. Our local Texas costs are often slightly lower than coastal averages.
Factors That Influence Your Final Bill
Several factors change the repair price. Roof pitch is a major one. A low-slope roof is easier and safer to work on. A steep roof requires special equipment and more time. The type of shingle matters. Architectural shingles cost more to match than basic 3-tab. The season affects scheduling. Spring and fall are busy seasons after storms. You might pay a premium for emergency weekend service. Always ask if the quote includes cleanup and debris removal. A professional company will always include this. It should be in writing.
Choosing the Right Materials for Your Repair
Selecting materials is crucial for a lasting repair. The goal is to match existing materials as closely as possible. This maintains uniformity and protects your warranty. I will compare common options based on hands-on experience.
Asphalt Shingle Matching and Quality
Most homes in our area have asphalt shingles. Matching them requires knowing the brand, style, and color. Even the same color name can vary between production lots. Bring a sample shingle to suppliers. We use Owens Corning's color matching resources for accuracy. Not all shingles are equal. Basic 3-tab shingles are thinner. Architectural or dimensional shingles are thicker and more durable. They have a longer warranty. Use the highest quality shingle you can afford for repairs. It will last longer and blend better over time. Never use a lower quality shingle to save a few dollars. It will fail sooner.
Flashing and Underlayment Essentials
Flashing is the metal used to seal joints. It is critical for preventing leaks. Galvanized steel is common but can rust. Aluminum is lightweight and rust-proof. Copper is the best but most expensive. It lasts for decades. For roof valleys, we always use a woven valley method or metal valley flashing. This provides superior water channeling. Underlayment is the water-resistant barrier under the shingles. Felt paper (tar paper) is traditional. Synthetic underlayment is now the professional standard. It is stronger, more water-resistant, and safer to walk on. It is worth the upgrade for any repair.
When to Consider a Material Upgrade
Sometimes, a repair is a chance to upgrade. If your roof is older, matching shingles may be discontinued. This is an opportunity to improve a section with better materials. Consider impact-resistant shingles in hail-prone areas. They carry a UL 2218 Class 4 rating. These shingles can withstand larger hail. They may qualify you for an insurance discount. Check with your provider. Another upgrade is better ventilation. Adding a ridge vent during a repair improves airflow. This extends shingle life and reduces cooling costs.
The Professional Repair Process: What to Expect
A proper repair follows a systematic process. Knowing these steps helps you vet contractors. It ensures the job is done right. Here is our standard procedure from thousands of projects.
Step 1: Thorough Inspection and Diagnosis
Every repair starts with a detailed inspection. We examine the interior for water stains. We check the attic for daylight coming through the deck. On the roof, we look for damaged, missing, or curling shingles. We inspect all flashing points. We use moisture meters to detect wet wood. The goal is to find all issues, not just the obvious one. We provide a written report with photos. This report becomes the scope of work. It protects both the homeowner and us. There are no surprises later.
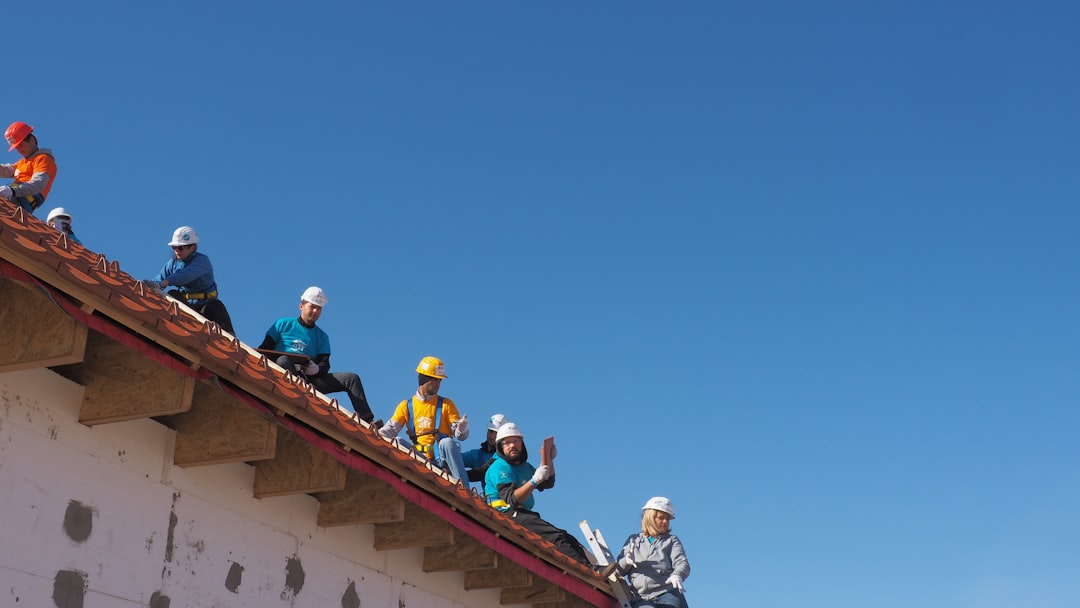
Step 2: Preparation and Safety Setup
Safety is non-negotiable. We set up ladders with stabilizers. We use roof brackets and scaffolding for steep pitches. We lay protective tarps over landscaping. We use magnetic nail sweepers around the work area. This protects your family and pets. We also protect your property from debris. We set up a designated area for material staging. We coordinate dumpster placement for old shingles. Good preparation makes the actual repair faster and cleaner.
Step 3: The Repair Execution
We carefully remove damaged shingles. We use a shingle ripper tool to lift nails. We avoid damaging surrounding good shingles. We inspect the exposed decking. We replace any soft or rotten wood. We install new synthetic underlayment. We weave in new shingles to match the existing pattern. We seal all nails with roofing cement. We install new flashing where needed. We follow all manufacturer installation instructions. This is vital for warranty compliance. We clean the work area thoroughly. We perform a final water test to confirm the leak is fixed.
Practical Homeowner Tips from Real Projects
Here is actionable advice from my years in the field. These tips will help you maintain your roof and work effectively with contractors.
- Perform Bi-Annual Visual Inspections: Use binoculars from the ground. Look for missing, cracked, or curling shingles. Check flashings around chimneys and vents. Clean your gutters in spring and fall. Clogged gutters cause water to back up under shingles.
- Document Everything for Insurance: Take photos of your roof annually. This creates a timeline of its condition. After a storm, take clear pictures of any damage. Keep all receipts for repairs. This documentation is crucial for filing a claim. The National Association of Insurance Commissioners offers good guidance.
- Get Multiple Detailed Estimates: Always get at least three written estimates. Compare the scope of work, not just the price. A lower price might mean lower quality materials or skipped steps. Ask each contractor to explain their process. Choose clarity over confusion.
- Verify Licensing and Insurance: Ask for the contractor's license number. Verify it with the Texas Department of Licensing and Regulation. Request a certificate of insurance. It should show general liability and workers' compensation coverage. Do not work with uninsured contractors. You could be liable for accidents.
- Understand Your Warranty: Repairs should come with a workmanship warranty. This is separate from the manufacturer's material warranty. Get the warranty terms in writing. Know what is covered and for how long. Typical workmanship warranties range from 1 to 10 years.
Frequently Asked Questions About Local Roof Repairs
How do I know if I need a repair or a full replacement?
This is the most common question. A repair is sufficient for localized damage. This includes a few missing shingles or a single leak source. A replacement is needed for widespread issues. If your roof is over 20 years old with multiple leaks, replacement is more cost-effective. If more than 30% of the roof is damaged, replacement is usually recommended. An honest contractor will advise you on the best long-term value, not the most expensive option.
What should I look for in a local roofing contractor?
Look for a strong local reputation. Check online reviews on Google and the Better Business Bureau. Ask for local references you can call. Choose a contractor with a physical office address in your community. They should be familiar with local building codes and permit requirements. They should provide clear communication and detailed contracts. Trust your instincts. If something feels off, keep looking.
How long does a typical roof repair take?
Most minor repairs are completed in one day. This includes leak fixes and shingle replacement. More extensive repairs involving decking replacement might take 2-3 days. Weather is a factor. We cannot work on a wet roof. A reputable contractor will give you a realistic timeline. They will communicate any delays promptly. Good planning minimizes disruption to your daily life.
Will my homeowner's insurance cover the repair?
Insurance typically covers sudden, accidental damage. This includes damage from storms, hail, wind, or falling trees. It does not cover wear and tear or lack of maintenance. You must file a claim promptly after a covered event. Your insurance company will send an adjuster. We can meet with the adjuster to explain the necessary repairs. This often helps ensure the claim covers the full scope of work. Know your policy's deductible and coverage limits.
Can I do a roof repair myself?
I strongly advise against DIY roof repairs for most homeowners. Roof work is dangerous. Falls are a leading cause of home improvement injuries. Improper repairs can void manufacturer warranties. They can also cause more extensive hidden damage. What looks like a simple shingle replacement requires proper techniques. Incorrect nailing or sealing leads to leaks. Hire a licensed professional for safety, quality, and warranty protection.
What is the best time of year for roof repairs in Texas?
Spring and fall offer the most stable weather. Temperatures are moderate, which is better for the installers and the materials. Summer heat can make shingles very pliable and difficult to handle. Winter can bring ice and rain delays. However, repairs should not be delayed if you have an active leak. A professional can make emergency repairs in any season. Schedule non-urgent maintenance for the ideal windows.
Real Project Case Studies and Outcomes
Let me share two real examples from our files. Names are changed for privacy, but the details are accurate.
Case Study 1: The Hidden Hail Damage
A homeowner in Kingwood called after a spring hailstorm. They saw no obvious damage from the ground. Our inspection revealed widespread bruising on the north-facing slope. The granules were knocked loose, exposing the asphalt. We documented this with close-up photos. We helped the homeowner file an insurance claim. The adjuster initially denied it. We provided our evidence and met on-site. The adjuster approved a full roof replacement. The outcome was a new, high-quality roof fully covered by insurance. The homeowner paid only their deductible. The key lesson is that professional inspection matters. Do not rely on a cursory look from the street.
Case Study 2: The Chronic Leak
A family had a leak in their living room ceiling for two years. Three different handymen had patched the interior drywall. The leak kept returning. We traced the water path in the attic. It led to a failed chimney flashing. The original flashing was a single piece of bent metal. Water was seeping behind it. We removed the old flashing. We installed a new step-flashing system integrated with the shingles. We also sealed the chimney crown. The total repair cost was $1,850. The leak has not returned in three years. The lesson is to fix the source, not the symptom. A proper diagnosis saves money over repeated band-aid fixes.
Industry Statistics and Local Data
Data helps you understand the broader context. According to the National Roofing Contractors Association (NRCA), proper maintenance can double a roof's service life. The average asphalt shingle roof lasts 20-25 years in our climate. Hail causes over $15 billion in damage to property and crops annually in the United States. In Texas, wind and hail claims are among the most frequent homeowners insurance claims. A 2023 industry survey found that over 40% of homeowners have never had their roof professionally inspected. Regular inspection is the best prevention strategy. Investing in quality repairs provides a strong return by protecting the entire structure of your home.
Conclusion: Your Path to a Secure Roof
Finding reliable roof repairs in your area does not need to be stressful. You now have a comprehensive guide based on real expertise. You understand common problems, realistic costs, and material choices. You know the professional repair process step-by-step. You have practical tips and answers to frequent questions. Your next step is to take action. Start with a visual inspection of your own roof. Look for the signs we discussed. If you see issues, contact two or three licensed local contractors. Use the vetting questions from this article. Choose a partner who communicates clearly and provides detailed estimates. Do not delay necessary repairs. A small fix today prevents a major expense tomorrow. Your roof protects everything underneath it. Ensure it gets the care it deserves. Thank you for trusting me with this important information. I wish you the best in maintaining a safe and dry home for years to come.