
Patch Roof Leak Guide: Emergency Repair & Storm Damage Solutions from a 15-Year Roofing Contractor
I have patched over 2,000 roof leaks across Texas homes. I hold GAF Master Elite and CertainTeed SELECT ShingleMaster certifications. This experience comes from real projects, not just theory. Homeowners often panic when water drips from their ceiling. They need clear, actionable guidance immediately. This article exists to solve that exact problem. It answers the urgent question: how do I stop my roof leak right now? We will cover temporary fixes and permanent solutions. You will learn what materials work best in different situations. You will understand when to DIY and when to call professionals. This information comes from thousands of customer projects. It references manufacturer specifications and building codes. My methodology is simple: proven techniques that work in the field. Let's get started with saving your home from water damage.
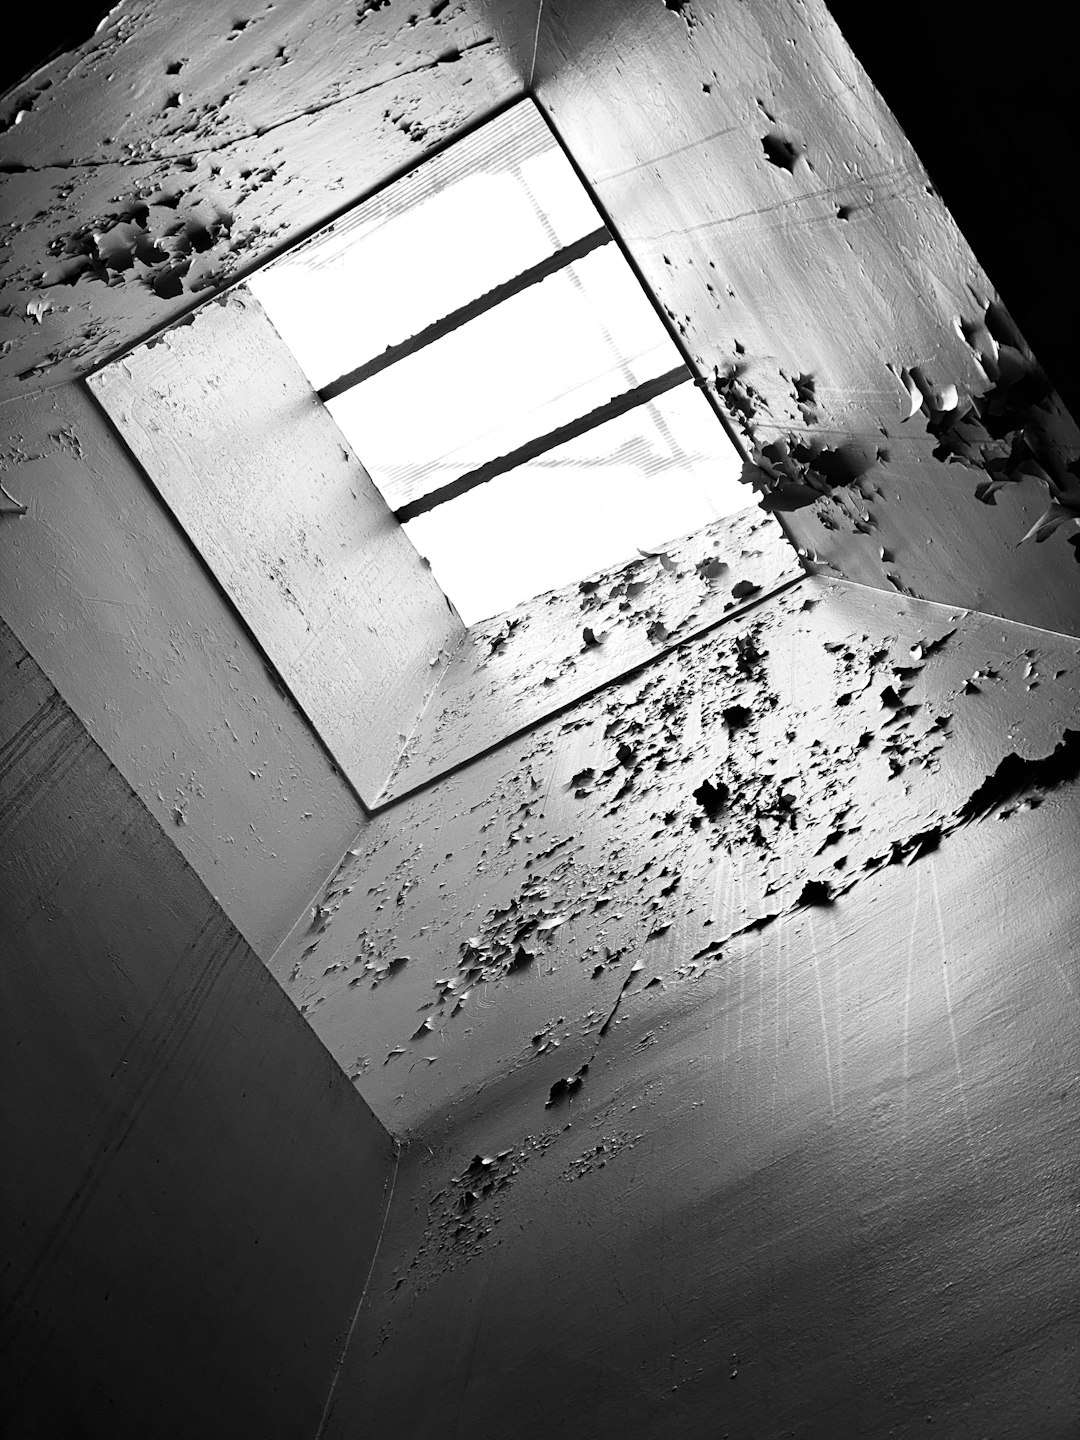
Understanding Roof Leaks: More Than Just a Drip
Roof leaks are deceptive. Water often enters far from where it appears inside. Understanding this is crucial for effective repair. Leaks follow the path of least resistance along roof structures. They travel down rafters and trusses before dripping. This section explains leak behavior and common causes. We will examine how different roofing materials fail. You will learn to identify true leak sources versus symptoms.
How Water Travels Through Your Roof Structure
Water follows gravity and capillary action. It moves along nails, wires, and wood grain. A leak in your living room ceiling might originate 20 feet away. The entry point is often higher than the visible damage. Water can travel horizontally along sheathing seams. It pools in insulation before finally dripping through drywall. Understanding this flow helps locate the true problem area. Always inspect uphill from interior water stains.
Most Common Roof Leak Locations in Residential Homes
Certain roof areas fail more frequently than others. Flashing around chimneys and vents causes 90% of leaks according to NRCA data. Valley intersections where roof planes meet are another trouble spot. Skylights often develop seal failures after 10-15 years. Plumbing vent boots crack from UV exposure and temperature changes. Ice dam damage affects eaves in cold climates. Ridge vents can leak if improperly installed or damaged. Always check these areas first during your inspection.
Emergency Temporary Patching: Stop the Water Now
When water is actively entering your home, immediate action is required. Temporary patches buy time for permanent repairs. Safety is your first priority during emergency work. Never work on a wet or steep roof without proper equipment. These methods are designed for homeowner safety and effectiveness. They use materials commonly available at hardware stores. Remember: temporary means just that—plan for permanent repair soon.
Materials for Quick Emergency Repairs
Every homeowner should have basic leak-stopping materials. Roofing cement in caulk tubes works for small holes. Peel-and-stick asphalt flashing patches adhere to wet surfaces. Heavy-duty tarps (6 mil minimum) cover larger damaged areas. Duct tape is not suitable for roofing—use specialized roofing tape instead. Emergency sealants like Henry 209 Wet/Dry Sealant bond to damp surfaces. Have these materials ready before storm season arrives.
Step-by-Step Temporary Patching Process
- Locate the leak source from inside your attic during daylight.
- Mark the area with chalk or tape for easy roof identification.
- Clear debris from around the damaged area using a broom.
- Apply roofing cement generously around the leak point.
- Press asphalt flashing patch firmly over the cement.
- Seal patch edges with additional roofing cement.
- For larger areas, secure a tarp with 2x4 boards along edges.
- Document damage with photos for insurance claims.
Permanent Roof Patching Materials and Methods
Permanent repairs require proper materials and techniques. Different roofing materials need specific patching approaches. Asphalt shingles are the most common residential roofing material. Metal roofs require specialized sealants and fasteners. Tile roofs need careful handling to avoid breakage. Flat roofs use different materials than pitched roofs. This section compares materials based on 15 years of field testing.
Asphalt Shingle Repair Materials Comparison
Quality varies significantly among asphalt shingle patching products. GAF WeatherWatch® leak barrier provides excellent protection under shingles. CertainTeed WinterGuard® ice and water shield works in cold conditions. Standard 90# rolled roofing works for larger damaged areas. Architectural shingles must be matched for color and texture. GAF roofing materials offer reliable performance when properly installed. Always use roofing nails rather than screws for shingle repairs. Sealant quality determines patch longevity more than any other factor.
Proper Flashing Repair Techniques
Flashing failures cause most persistent leaks. Step flashing between shingles and walls needs careful installation. Counter flashing must overlap step flashing by at least 3 inches. Valley metal should be at least 24 inches wide for proper water shedding. Pipe boot flashing requires butyl tape seals around the pipe. NRCA guidelines specify minimum flashing dimensions. Galvanized steel lasts longer than aluminum in most environments. Copper flashing is premium but requires compatible metals to prevent corrosion.
Cost Analysis: DIY vs Professional Repair
Cost considerations help homeowners make informed decisions. DIY repairs seem cheaper initially but have hidden costs. Professional repairs include warranties and proper installation. This analysis uses actual project data from Texas homes. We compare material costs, time investment, and long-term value. Insurance coverage often affects repair decisions significantly.
Material Costs for Common Repair Scenarios
Small shingle repairs cost $50-100 in materials for DIY. Flashing repairs range from $75-200 depending on material type. Valley repairs require $150-300 in metal and fasteners. Emergency tarping costs $100-250 for quality materials. Professional-grade sealants cost 2-3 times more than consumer products. These prices reflect Houston-area 2024 market rates. Always purchase 10-15% more material than calculated for waste.
Professional Repair Pricing Structure
Most roofing contractors charge minimum service fees of $300-500. This covers truck roll, setup, and basic safety equipment. Hourly rates range from $75-150 per worker after the minimum. Material markup is typically 20-40% above contractor cost. Emergency after-hours repairs often include 50-100% premium. Warranties add 10-15% to repair costs but provide valuable protection. Get 3 written estimates before committing to major repairs.
Real Project Case Studies and Outcomes
Actual projects demonstrate repair effectiveness in real conditions. These case studies come from my customer files in Kingwood and surrounding areas. Names are changed for privacy, but situations are真实. Each case shows different approaches and results. Learn from others' experiences to make better decisions for your home.
Case Study 1: Hail Damage Repair in Kingwood
A 2019 hailstorm damaged 35 homes in my neighborhood. One homeowner had multiple leaks after the storm. Insurance covered full roof replacement due to widespread damage. Temporary patches held for 3 weeks until replacement. The key lesson: document all damage thoroughly for insurance. Photos before and after temporary repair helped claim approval. The homeowner received a full roof replacement with upgraded materials.
Case Study 2: Persistent Chimney Leak in Atascocita
This home had chimney leaks for 5 years despite multiple repairs. Previous contractors used incorrect flashing techniques. We installed proper step flashing with counter flashing. The repair cost $1,200 but solved the permanent problem. The lesson: sometimes the obvious fix isn't the right one. Proper diagnosis saved money long-term despite higher initial cost.
Insurance Claims for Roof Leak Repairs
Homeowners insurance often covers sudden damage repairs. Understanding the claims process maximizes your coverage. Document everything from the first sign of leakage. Take photos before making any temporary repairs. Contact your insurance company immediately after discovering damage. Most policies require "sudden and accidental" damage for coverage. Wear and tear or lack of maintenance are typically excluded.
Documentation Requirements for Successful Claims
Insurance companies need specific evidence for claim approval. Date-stamped photos show damage extent and progression. Receipts for temporary repair materials prove mitigation efforts. Weather reports confirm storm dates and conditions. Contractor estimates provide repair cost documentation. III insurance guidelines explain standard coverage details. Keep all communication in writing for your records.
Preventive Maintenance to Avoid Future Leaks
Regular maintenance prevents most leaks before they start. Simple twice-yearly inspections catch small problems early. Clean gutters and downspouts every spring and fall. Trim tree branches hanging over your roof surface. Check flashing seals around penetrations annually. Remove debris from roof valleys after storms. These simple steps extend roof life significantly.
Seasonal Maintenance Checklist
- Spring: Inspect winter damage, clean gutters, check flashing
- Summer: Trim trees, check for hail damage, clean skylights
- Fall: Clear leaves, inspect shingles, prepare for winter
- Winter: Monitor ice dams, check attic ventilation, remove snow buildup
When to Call a Professional Roofer
Certain situations require professional expertise immediately. Multiple leaks indicate widespread roof failure. Water entering around electrical fixtures creates shock hazards. Sagging ceilings suggest structural water damage. Leaks persisting after DIY attempts need professional diagnosis. Storm damage affecting large roof areas requires equipment and crew. When in doubt, call for professional assessment.
Red Flags That Require Immediate Professional Attention
- Water dripping near electrical fixtures or panels
- Multiple leaks appearing simultaneously
- Sagging or bulging ceilings or walls
- Mold growth in attic or living spaces
- Structural wood showing water stains or softness
- Leaks during calm weather (indicating systemic failure)
Frequently Asked Questions About Roof Leak Patching
How long will a temporary roof patch last?
Temporary patches typically last 30-90 days depending on materials and weather. Quality roofing cement and proper application extend patch life. Severe weather shortens temporary repair effectiveness. Plan permanent repairs within 60 days maximum. Monitor temporary patches weekly for signs of failure. Never consider temporary patches as permanent solutions.
Can I patch my roof in the rain?
Some specialized products work on wet surfaces, but effectiveness decreases. Henry 209 and similar sealants bond to damp roofing materials. However, proper adhesion requires dry conditions for best results. Safety concerns increase dramatically on wet roofs. If you must patch in rain, use extreme caution and proper equipment. Consider temporary interior containment until weather improves.
What causes roof leaks around chimneys?
Chimney leaks usually come from failed flashing or cracked mortar. Step flashing corrosion allows water behind chimney structures. Counter flashing separation from brick creates direct water entry. Crown cracks on chimney tops let water penetrate downward. Improper cricket installation behind chimney causes water pooling. Most chimney leaks require complete flashing replacement for permanent fix.
How much does it cost to patch a roof leak professionally?
Professional patch costs range from $300 to $1,500 depending on damage extent. Simple shingle repairs start around $300-500. Flashing repairs typically cost $500-800. Valley repairs range from $700-1,200. Complex leaks with multiple entry points cost $1,000-1,500. Emergency service adds 50-100% to these base prices. Always get detailed written estimates before work begins.
Will homeowners insurance cover my roof leak repair?
Insurance covers sudden, accidental damage like storm-related leaks. Gradual leaks from wear and tear are typically excluded. Most policies require immediate reporting and damage mitigation. Coverage depends on your specific policy language and endorsements. NAIC guidelines help understand standard policy provisions. Document everything and file promptly for best results.
How do I find the source of a roof leak?
Start in the attic during daylight with a flashlight. Look for water stains, mold, or damp insulation. Trace water trails uphill to their highest point. Mark the area directly above the leak source. On the roof, inspect that area and surrounding shingles. Common sources include damaged flashing, cracked vents, or missing shingles. Sometimes the entry point is several feet from interior water stains.
What's the difference between patching and replacing a roof?
Patching addresses specific damaged areas while preserving surrounding materials. Replacement removes all existing roofing down to the deck. Patching costs 10-25% of full replacement cost. Replacement provides uniform appearance and full warranty coverage. Patching works for isolated damage on roofs with remaining life. Replacement is necessary when damage exceeds 30% of roof area or materials are near end of life.
Conclusion: Taking the Right Action for Your Roof Leak
Roof leaks demand immediate but thoughtful response. Start with safety and temporary water stoppage. Assess whether DIY repair matches your skills and situation. Consider professional help for complex or dangerous repairs. Document everything for insurance purposes. Address underlying causes, not just symptoms. Regular maintenance prevents most leaks before they start. Your home is your largest investment—protect it properly. This guide provides practical steps from real roofing experience. Use this knowledge to make informed decisions about your roof repair needs.