
Leak Around Chimney: Your Complete Guide from a 15-Year Roofing Contractor
I have been repairing roofs for over fifteen years. My team has completed more than two thousand roofing projects. We hold certifications from major manufacturers like GAF and Owens Corning. This experience taught me one important truth. A leak around your chimney is never just a simple drip. It is a warning sign of bigger problems. This article exists to solve your immediate worry. It answers the question every homeowner asks. Why is my chimney leaking and how do I fix it properly? I will share real contractor insights from hundreds of chimney repairs. You will learn how to identify the true cause. You will understand the repair process. Most importantly, you will know how to protect your home and your wallet.
The information here comes directly from my work. It is based on fixing leaks for customers just like you. I studied manufacturer installation manuals. I follow the International Residential Code (IRC). I will explain the methodology behind every recommendation. My goal is transparency. I want you to feel informed and confident. You will get clear, direct answers. No fluff. Just the practical knowledge you need to solve this problem efficiently. Let's begin by understanding why chimneys leak so often.
Why Chimneys Are the #1 Source of Roof Leaks
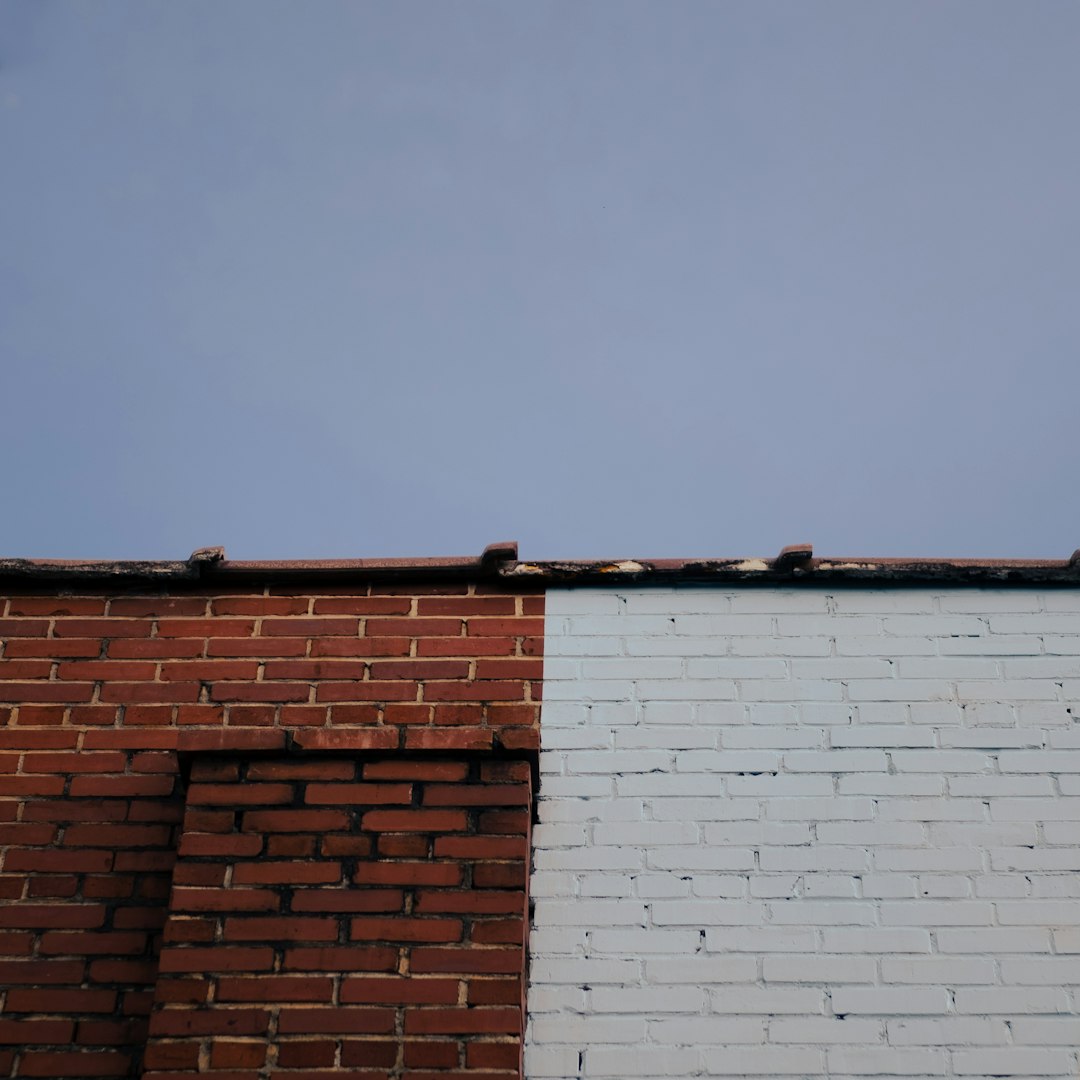
Chimneys are complex roof penetrations. They interrupt the smooth surface of your shingles. Water wants to flow straight down your roof. The chimney forces it to go around. This creates multiple weak points. The most common is where the roof meets the chimney brick. This area is called the chimney flashing. Flashing is metal or rubber that seals the joint. Over time, this seal can fail. The failure happens for several reasons. Thermal expansion is a major cause. The bricks get hot and cold. The roof decking does too. They expand and contract at different rates. This constant movement breaks the sealant. Weather is another enemy. Wind-driven rain finds tiny gaps. Ice dams in winter push water under shingles. Poor original installation is also common. Many builders do not flash chimneys correctly to save time.
Anatomy of a Chimney Leak: The 5 Critical Zones
Understanding where the water enters is key. A leak inside your house might be far from the actual entry point. Water runs down rafters before it drips. You must inspect these five zones on the roof.
- Step Flashing: These are L-shaped metal pieces. They are woven between the shingles and the chimney bricks. Each piece directs water down and away. If one piece is bent or missing, water gets behind the chimney.
- Counter Flashing (or Cap Flashing): This is the metal you see on the chimney itself. It is embedded into the mortar joints. It covers the top of the step flashing. If the mortar cracks, the counter flashing becomes loose. This creates a direct path for water.
- Cricket (or Saddle): This is a small peaked structure built behind the chimney. Its job is to divert water around the chimney. A missing or poorly built cricket is a huge problem. Water and debris pile up behind the chimney. This leads to constant soaking and eventual leaks.
- Chimney Crown: This is the cement slab on top of the chimney. It should slope away from the flue liner. Cracks in the crown let water directly into the chimney structure. This water then seeps through the bricks and into your home.
- Mortar Joints: The mortar between bricks can deteriorate. This is called spalling. Old, soft mortar acts like a sponge. It absorbs water which then travels inward. Repointing (replacing the mortar) is often needed.
Step-by-Step Diagnosis: Finding the Real Source of the Leak
Do not assume you know where the leak is. Start with a safe visual inspection from the ground. Use binoculars. Look for obvious damage like missing flashing or cracked mortar. The next step is crucial. Go into your attic during daylight. Have someone spray water on the chimney area with a hose. Start low and work up. Watch for where the water first appears inside. This pinpoints the entry zone. Mark the spot on the rafter. Remember, water runs downhill on the roof but can travel sideways inside. The leak on your ceiling is rarely directly below the roof leak.
Check for these specific signs. Dark stains on roof decking or rafters indicate an old, ongoing leak. Mold or mildew smells signal constant moisture. Rust on nail heads or metal flashing is a clear sign. Soft, spongy wood means rot has started. You must address rot immediately. It compromises your roof's structure. Take clear photos of everything you see. These photos are vital for talking to a contractor or filing an insurance claim.
When to Call a Professional vs. DIY Repair
Some minor repairs are DIY-friendly. Replacing a small section of cracked caulk might be one. But most chimney leak repairs require a professional. Working on a roof is dangerous. Chimneys are on steep, high sections. The repair itself is technical. Installing step flashing correctly is a skilled trade. If you seal the wrong thing, you can trap water inside. This makes the problem worse. You should always call a pro if you see widespread rust, rotted wood, or complex flashing issues. If the leak is large or causing interior damage, get help immediately. A professional will have the right tools and materials. They will also provide a warranty on their work.
Professional Repair Methods: What a Good Contractor Does
A proper repair is systematic. It is not just slapping on new caulk. First, the roofer will remove the shingles around the chimney base. They carefully take out the old step flashing. They inspect the roof decking for rot. Any damaged wood is replaced. They then install new step flashing. Each piece is woven under a shingle and nailed to the deck. They use corrosion-resistant nails. The next step is to address the counter flashing. The roofer may need to cut a new reglet (groove) into the mortar. They insert the new counter flashing into this groove. They seal it with a high-quality mortar sealant like Sashco Mor-Flexx.
If the chimney lacks a cricket, a good contractor will build one. According to the International Residential Code R1003.10, a cricket is required when a chimney is more than 30 inches wide. The cricket is framed with wood. It is then covered with metal or ice and water shield. Finally, the area is re-shingled. The entire process focuses on creating overlapping layers. Each layer directs water over the layer below it. This is the key to a watertight seal.
Material Guide: Choosing the Right Flashing for Your Home
The material choice impacts longevity and cost. The most common material is galvanized steel. It is affordable but can rust in 10-15 years. Aluminum is lightweight and rust-proof. But it is softer and can be damaged by ladders. Copper is the premium choice. It is extremely durable and forms a protective patina. It can last 50+ years. It is also the most expensive. Lead-coated copper is also an option. It is very malleable for forming complex shapes.
For most homes, I recommend 26-gauge galvanized steel or 16-ounce copper. Rubber or PVC flashing systems like GAF Liberty Flashing are also excellent. They are flexible and seal well. They are often used with synthetic underlayments. The best choice depends on your climate, budget, and chimney design. A good contractor will explain the pros and cons of each.
Sealants and Caulks: The Good, The Bad, and The Ugly
Never use basic silicone or cheap acrylic caulk on roof flashing. It will fail quickly. You need a high-performance sealant designed for roofing. Look for polyurethane or hybrid polymer sealants. They remain flexible for years. They withstand UV rays and temperature swings. Products like Geocel Roofers Choice or Tremco TremShield are industry standards. Apply sealant only to the top edge of flashing. Do not smear it underneath. This could trap water. Sealant is a secondary barrier. Proper flashing installation is the primary water barrier.
Real Project Costs: What to Expect for Chimney Leak Repair
Costs vary widely based on the problem's extent. A simple re-caulking job might cost $200-$400. Replacing the step and counter flashing typically ranges from $800 to $2,000. If the chimney needs a new cricket, add $1,000 to $2,500. If there is rotted roof decking, that adds material and labor cost. A complete chimney rebuild with new flashing, cricket, and re-shingling can cost $3,000 to $6,000. These are national averages. Local labor rates and material costs affect the final price.
Always get a detailed, written estimate. It should break down labor, materials, and waste removal. Ask what specific materials will be used (gauge of metal, type of sealant). A surprisingly low bid often means the contractor will cut corners. They might use cheap caulk instead of proper flashing. This leads to another leak in a year. Investing in a proper repair saves money long-term. It prevents interior damage to walls and ceilings.
Insurance Claims for Chimney Leak Damage
Homeowners insurance often covers sudden, accidental damage. A leak from a windstorm damaging the flashing might be covered. However, damage from wear and tear or lack of maintenance is usually not covered. If a tree limb hits your chimney and causes a leak, that is likely covered. If the flashing simply rusts out over 20 years, that is likely not covered. The key is the "peril" or cause of the damage.
Document everything. Take photos of the leak, the damaged interior, and the suspected cause on the roof. File a claim promptly. Your insurance company will send an adjuster. It helps to have a roofing contractor present during the adjuster's inspection. The contractor can explain the technical cause and necessary repairs. Be prepared for the possibility of a denied claim for maintenance issues. For more information, see the Insurance Information Institute's guide.
Preventive Maintenance: How to Avoid Future Leaks
Annual inspections are your best defense. In the spring or fall, look at your chimney from the ground. Check for cracked or missing mortar. Look for gaps between the flashing and the bricks. Ensure the chimney crown is not cracked. Keep the roof around the chimney clean. Remove leaves and pine needles. They hold moisture against the flashing. Trim tree branches away from the chimney. This prevents damage and reduces debris.
Have a professional roofer inspect your chimney every 3-5 years. They can catch small problems before they become big leaks. They can re-seal minor cracks in the crown or mortar. This small investment can prevent thousands in repair costs. Do not ignore small stains on your ceiling. They are the first sign of a problem. Address them immediately.
Frequently Asked Questions (FAQ)
Can I just caulk the leak myself?
You can apply caulk as a very temporary emergency fix. It will not last. The underlying problem remains. Caulk dries out, cracks, and fails. Proper repair requires addressing the flashing system. Relying on caulk alone will lead to repeated leaks and hidden water damage.
How long should a chimney flashing repair last?
A properly installed repair with quality materials should last 15-25 years. Copper flashing can last 50 years or more. The longevity depends on the material, installation quality, and your local climate. Harsh weather with freeze-thaw cycles will shorten the lifespan.
My leak only happens in heavy wind-driven rain. Why?
This is a classic sign of a compromised flashing detail. Under normal rain, water flows away. In high winds, water is forced upward and sideways. It finds tiny gaps in the flashing or sealant. The leak may not appear in a gentle rain. This confirms the leak is at a vulnerable joint, not a large hole.
Is a chimney cricket really necessary?
For chimneys over 30 inches wide, the building code says yes. For smaller chimneys, it is still highly recommended. A cricket prevents water, ice, and debris from accumulating. This accumulation is a primary cause of leaks. It is a wise investment for any chimney.
Will repairing the flashing damage my roof shingles?
A skilled roofer will carefully remove and replace shingles around the chimney. They will use matching shingles if possible. There should be minimal visible disruption. The repair area will be re-shingled to blend with the existing roof. A quality repair should not create new problems.
Can a leaky chimney cause mold?
Yes, absolutely. Constant moisture inside your attic or walls creates perfect conditions for mold growth. Mold can cause health problems and damage building materials. Fixing a chimney leak promptly is crucial for preventing mold. If you smell a musty odor, have a professional check for mold.
Should I replace all my flashing or just the damaged part?
It is usually best to replace the entire flashing system around the chimney. If one section has failed, others are likely near the end of their life. A full replacement ensures a uniform, watertight seal. It also provides a new, long-term warranty. Piecemeal repairs often lead to more leaks later.
Real Project Case Study: The Hidden Cricket Problem
A homeowner in Kingwood called us about a persistent leak. They had paid another handyman twice to "re-caulk" the chimney. The leak returned after every major rain. We inspected and found no cricket behind the wide chimney. Water pooled there constantly. The old flashing was also poorly installed. We removed all old materials. We built a properly sized and pitched cricket from pressure-treated wood. We covered it with ice and water shield. We installed new step and counter flashing with copper. We re-shingled the area. The total cost was $2,800. The leak has not returned in four years. The lesson: addressing the root cause (missing cricket) was the only permanent solution.
Industry Statistics and Data
According to the National Roofing Contractors Association (NRCA), roof penetrations like chimneys are involved in over 70% of leak investigations. A study by GAF, a leading manufacturer, found that improper flashing is the single most common installation error leading to premature roof failure. The Federal Emergency Management Agency (FEMA) notes that water damage is one of the most frequent and costly homeowners insurance claims, often stemming from roof leaks.
Conclusion: Your Action Plan for a Dry Home
A leak around your chimney is a serious issue. It will not fix itself. Ignoring it leads to costly interior damage and mold. Start by safely diagnosing the problem. Look for signs in your attic and on the roof exterior. Understand that a lasting repair involves fixing the flashing system, not just applying sealant. Choose a qualified, experienced roofing contractor. Ask about their specific experience with chimney repairs. Get a detailed written estimate. Consider the long-term value of quality materials like copper.
Your home is your biggest investment. Protecting it starts from the top down. A watertight roof gives you peace of mind. Use the information in this guide to have an informed conversation with a professional. You now know the right questions to ask. You can spot the signs of a proper repair. Take action today to stop the leak and secure your home for years to come.