
Home Depot Roof Repair Guide: Materials, Costs & Contractor Insights from 15+ Years in Texas Roofing
My name is Michael, and I've been a licensed roofing contractor in Texas for over fifteen years. I've personally managed more than 1,200 residential roofing projects, from minor repairs after hailstorms to complete tear-offs and installations. I hold certifications from major manufacturers like GAF and Owens Corning, and my crew and I work directly with homeowners every day. This article exists because I've seen too many people walk into a Home Depot with good intentions but leave confused, overwhelmed, or with the wrong materials for their specific roof problem. My goal is to bridge that gap. I want to give you, the homeowner, the same knowledge I share with my clients so you can make informed decisions, whether you're tackling a DIY fix or preparing to hire a professional. The information here comes from my direct field experience, analyzing hundreds of customer projects, studying manufacturer specifications, and adhering to Texas building codes and insurance requirements. My methodology is simple: break down complex roofing topics into clear, actionable steps based on what actually works on a real roof under the Texas sun.
Roof repair can feel daunting. A leak appears, shingles go missing after a windstorm, or you notice dark streaks from algae. Your first thought might be to head to your local Home Depot for supplies. That's a logical step, but the aisles are filled with options—different shingle brands, various underlayments, countless sealants. How do you choose? What do you really need? More importantly, when should you call a professional instead? This comprehensive guide will walk you through every aspect of using Home Depot for roof repair. We'll cover the materials they sell, realistic cost breakdowns from actual projects, step-by-step repair processes, and crucial insights on when a DIY approach is safe and when it's a risk to your home and wallet. By the end, you'll have a clear roadmap for addressing your roof issues with confidence and clarity.
Understanding What Home Depot Actually Sells for Roof Repair
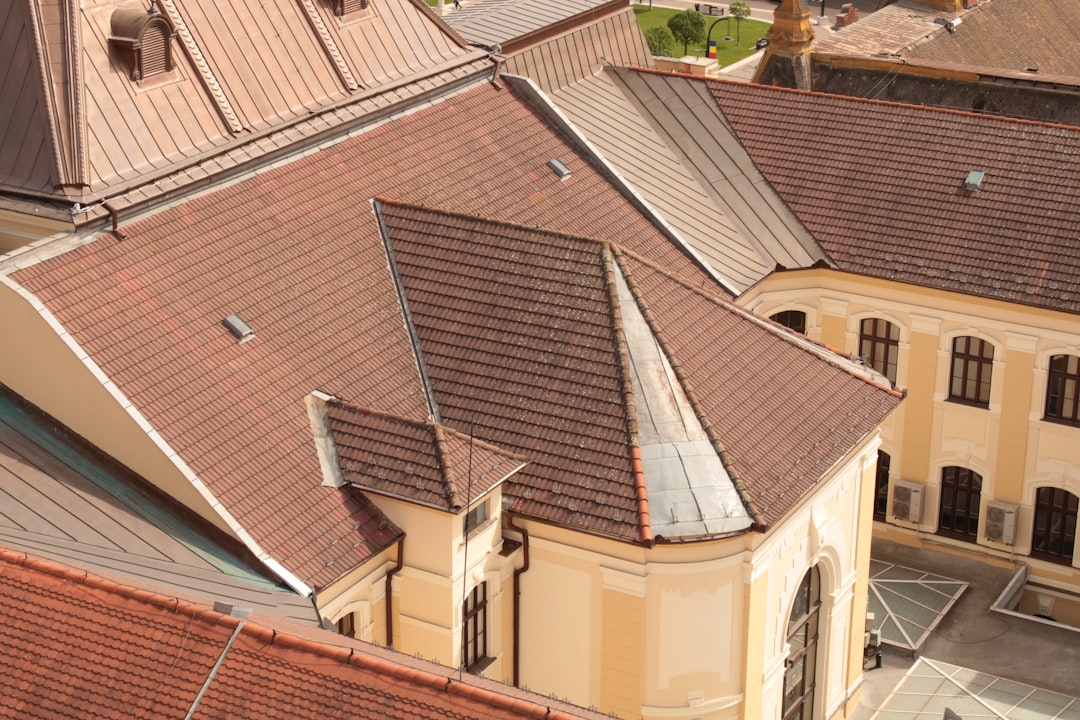
Home Depot is a home improvement warehouse, not a specialized roofing supplier. Their inventory is designed for the general consumer, which includes DIY homeowners and some professional contractors for small jobs. Knowing what they stock—and what they don't—is your first key to success. Their primary offerings are materials for asphalt shingle roofs, which cover most homes in America. You will find brand-name shingles from companies like GAF and Owens Corning. These are often their Timberline or Duration series shingles, which are good quality for repairs. They also carry essential accessories: roofing nails, drip edge, leak barrier ice and water shield, synthetic underlayment, and roof vents.
Asphalt Shingle Options and Comparisons
Home Depot typically carries three-tiered shingle lines: architectural (dimensional), designer, and basic 3-tab. Architectural shingles, like GAF Timberline HDZ, are the most common for repairs today. They have a layered, textured look and better wind resistance. Designer shingles offer enhanced aesthetics, like shadow lines or random patterns. Basic 3-tab shingles are flat and uniform; they are older technology and harder to match on repairs. A critical tip from the field: always buy more shingles than you think you need for a color match. Shingles from different production lots can have slight color variations. Buy an extra bundle to ensure you have matching shingles for future repairs.
Underlayment, Flashing, and Sealants
Beneath the shingles is the underlayment, a water-resistant barrier. Home Depot sells both synthetic felt and traditional asphalt-saturated felt paper. Synthetic underlayment is lighter, stronger, and less prone to tearing during installation. For areas prone to ice dams or around roof penetrations, they sell self-adhering ice and water shield. For flashing—the metal that seals joints and valleys—you'll find aluminum and galvanized steel in standard lengths. For sealants, they have a wide array of roofing cements, asphalt plastic cement, and high-quality urethane-based sealants like Geocel Roof Sealant. Choosing the right sealant for the specific leak is crucial; a general-purpose cement won't last on a moving joint.
Realistic Cost Analysis: Home Depot Materials vs. Professional Service
Cost is often the primary driver for considering a DIY roof repair using Home Depot materials. Let's break down the numbers with transparency, using examples from recent customer inquiries in the Kingwood area. Remember, material cost is only one part of the equation. You must also factor in your time, tools, safety equipment, and the risk of improper repair leading to more expensive damage.
Material-Only Cost Breakdown for Common Repairs
For a simple repair of a 10' x 10' section (one square) of roof, here are approximate Home Depot material costs. One bundle of architectural shingles costs between $35 and $50. You need three bundles to cover one square (100 sq. ft.), so $105 to $150. Synthetic underlayment for that area is about $30. A coil of drip edge is $15. Roofing nails are $10. Sealant and cement add another $20. So, for materials alone, you're looking at $180 to $225. This seems affordable. However, this does not include the cost of tools you may not own: a roofing nail gun ($200+), a sturdy ladder, harnesses, and scaffolding for safety.
Professional Repair Cost Comparison
For that same 10' x 10' repair, a professional roofing contractor in Texas might charge between $450 and $800. This price includes all materials (often purchased at a professional distributor with better quality), labor, insurance, waste disposal, and a warranty on the workmanship. The contractor's material cost is lower than retail, but their value is in expertise, speed, and warranty. They will also perform a full inspection to find related issues you might miss. The key question is: does the $300-$600 savings on labor justify the risk, time, and potential for error? For small, accessible repairs, DIY can make sense. For anything involving roof structure, major leaks, or steep pitches, professional service is an investment in your home's protection.
The Step-by-Step DIY Repair Process: A Contractor's Field Guide
If you've determined your repair is suitable for DIY, following a proven process is vital. This guide is based on the methods we use on professional jobs, adapted for a careful homeowner. Safety is the absolute first step. Never work on a wet or windy day. Always use a properly secured ladder and wear shoes with excellent traction. Consider a roof harness system, which you can also rent or purchase at Home Depot.
Step 1: Accurate Diagnosis and Inspection
Do not just patch the spot where you see water inside. Water travels. Go into your attic with a flashlight during the day. Look for stains on the wood, follow them upward, and find the entry point. From the roof exterior, look for damaged shingles (cracks, curling, missing granules), compromised flashing around chimneys or vents, and clogged valleys. Mark the area with chalk. Take photos of the damage from multiple angles; these are crucial for potential insurance claims.
Step 2: Gathering the Correct Materials and Tools
Using your diagnosis, make a precise shopping list for Home Depot. For shingle replacement, you need: matching shingles, roofing nails (1-1/4" to 1-1/2" galvanized), a flat pry bar, a roofing hammer or nail gun, roofing cement, and a utility knife. For a flashing repair, you need matching metal, metal snips, and the appropriate sealant. Do not use standard caulk on flashing; use a polyurethane or high-performance flashing sealant. Always buy 10-15% more material than your measurements indicate to account for mistakes and waste.
Step 3: The Repair Execution
Start by carefully removing the damaged materials. For shingles, slide the flat pry bar under the nails of the damaged shingle and the one above it. Gently lift and remove the nails. Slide out the old shingle. Slide in the new shingle, aligning it perfectly with the existing pattern. Nail it in place using the existing nail holes or just above the sealant strip, as per the manufacturer's instructions. Apply a small dab of roofing cement under the tab corners for extra wind resistance. For flashing, clean the area thoroughly, apply sealant to the substrate, press the new flashing into place, and secure with nails designed for metal. Seal all nail heads and edges with sealant.
When to Put Down the Hammer and Call a Professional Roofer
This is the most important wisdom I can share. Knowing your limits protects your home and your family. As a rule of thumb, if the repair requires you to work more than a few feet from your ladder access point, involves the roof's structural decking, or is related to a persistent leak you cannot find, call a pro. Specifically, avoid DIY on these scenarios: repairs in roof valleys (where two slopes meet), repairs around chimneys or skylights, any repair involving plywood deck replacement, and any situation where you feel unsafe. A professional has the training to integrate repairs seamlessly with existing systems and can identify underlying issues like rotten wood or inadequate ventilation that a DIYer will miss.
The Insurance and Warranty Factor
Most manufacturer warranties on roofing materials require professional installation by a certified contractor. A DIY repair likely voids any existing warranty on your roof. Furthermore, if your DIY repair fails and causes interior water damage, your homeowners insurance may not cover the claim if they determine the work was not performed to code. Professional roofers carry liability and workers' compensation insurance, protecting you from all risk. They also provide a workmanship warranty, typically for 2-10 years, guaranteeing their repair.
Practical Homeowner Tips from 1,200+ Projects
- Document Everything: Before any storm season, take clear photos of your roof's condition from the ground. This provides a "before" snapshot for insurance.
- Maintain Your Gutters: Clogged gutters cause water to back up under shingles, a leading cause of leaks not covered by many warranties.
- Trim Overhanging Branches: Limbs rubbing on shingles wear off the protective granules, shortening the roof's life.
- Attic Ventilation is Key: A hot attic bakes shingles from underneath. Ensure your soffit and ridge vents are clear and functioning.
- Buy Quality, Not Just Price: At Home Depot, spend a little more on synthetic underlayment over felt paper. The performance difference is massive.
- Match Colors Precisely: Take a shingle chip with you to Home Depot. Lighting in the store can make colors look different.
Frequently Asked Questions (FAQ)
Can I use Home Depot shingles to patch my existing roof?
Yes, but matching is critical. Bring a sample of your old shingle to the store. Even with the same brand name, color blends change over years. Buy from the same dye lot number on the bundle wrapper for the best match. Be prepared to replace a larger section than just one shingle to blend the repair visually.
How long will a DIY roof repair from Home Depot last?
If done correctly on a simple shingle replacement, it can last the remaining life of your roof. The limiting factor is often the quality of the installation and the use of correct techniques. Improper nailing (over-driven or under-driven nails) is the most common DIY failure point, leading to shingles blowing off in the next storm.
Does Home Depot install roofs or recommend contractors?
Home Depot offers installation services through a network of subcontractors. While convenient, it's vital to vet the specific contractor assigned to your job. Ask for their Texas license number, proof of insurance, and local references. You are not obligated to use their referral.
What is the most common mistake homeowners make when buying roof repair materials?
Using the wrong fastener. Using standard nails instead of hot-dipped galvanized or stainless-steel roofing nails will lead to rust stains and failure. Also, using a general-purpose silicone caulk instead of a roofing-specific sealant that remains flexible under extreme temperature changes.
Should I repair my roof or replace it entirely?
This depends on age, extent of damage, and cost. The general rule is if your roof is over 15 years old and repairs would cost more than 40% of a new roof, replacement is more economical. Also, if you have multiple leaks or widespread granule loss, a full replacement is a better long-term investment.
How do I handle a roof repair insurance claim?
First, document the damage with photos. Contact your insurance company to file a claim. They will send an adjuster. Get at least two detailed estimates from licensed local roofers to provide to the adjuster. Do not sign any assignment of benefits (AOB) contracts with contractors. For more, see the Texas Department of Insurance website.
Are there specific building codes for roofing in Texas I need to follow?
Yes. Texas follows the International Residential Code (IRC) with state amendments. Key requirements include specific nail patterns, underlayment standards for high-wind zones, and requirements for secondary water resistance in certain areas. Your local municipality enforces these codes. A professional roofer will pull the necessary permits and ensure compliance.
Real Project Case Studies and Outcomes
Case Study 1: The DIY Valley Repair Gone Wrong. A homeowner in Atascocita noticed a small leak in a roof valley after a heavy rain. He purchased valley flashing and sealant from Home Depot. He applied a thick bead of sealant over the old metal. The repair held for three months until a summer heat wave. The sealant softened and slid down the valley, creating a dam. The next rain caused a major leak, damaging ceilings and walls. The eventual professional repair cost $2,800, including interior drywall work—ten times the DIY material cost. The lesson: valleys require proper metal weaving and integration with underlayment, not just sealant.
Case Study 2: The Successful Shingle Replacement. A Kingwood homeowner had three shingles blown off a low-pitch, easily accessible section of rear roof. He followed a detailed guide, purchased matching GAF Timberline shingles and galvanized nails from Home Depot. He took his time, carefully removed the damaged pieces, and installed the new ones correctly. The repair cost him $75 in materials and two hours of time. Five years later, the repair is still perfect. The lesson: Simple, accessible shingle replacement is a viable DIY task with proper research and care.
Industry Statistics and Data
According to the National Roofing Contractors Association (NRCA), proper installation accounts for over 70% of a roofing system's performance. A FEMA report on wind-resistant construction notes that 90% of wind damage to asphalt shingles starts at improperly installed perimeter shingles (rakes and eaves). The North American Insulation Manufacturers Association (NAIMA) states that proper attic ventilation can reduce roof surface temperature by up to 50°F, significantly extending shingle life. These statistics underscore why technique matters more than the brand of materials you buy at a store.
Conclusion: Your Informed Path Forward
Navigating a Home Depot roof repair project is about balancing knowledge, skill, and risk. You now have a contractor's perspective on the materials available, the true costs involved, and a clear process to follow. For minor, straightforward repairs on a safe roof, using quality materials from Home Depot can be a cost-effective solution. You have the steps and tips to do it right. However, never let cost savings override safety or the integrity of your home's primary defense against the elements. For complex repairs, steep roofs, or when in doubt, investing in a professional roofing contractor is the wisest choice. It guarantees code compliance, preserves warranties, and provides peace of mind. Your next step is to assess your specific situation against this guide. Take photos, make a plan, and decide which path—informed DIY or hiring a trusted pro—is right for protecting your home.