
Storm Damage Roof Insurance Claim: Your Complete Guide from a 15-Year Roofing Contractor
I have been a licensed roofing contractor for over fifteen years. I have completed more than two thousand roofing projects across Texas. I hold certifications from major manufacturers like GAF and Owens Corning. I have helped hundreds of homeowners navigate insurance claims after severe storms. This article exists because I see homeowners struggle with this process every year. You face a damaged roof, confusing paperwork, and pressure to make quick decisions. This guide will answer your most urgent questions. It will give you the knowledge to protect your home and your wallet. I gathered this information from real customer projects and industry training. I reference manufacturer specifications and building codes. My goal is to save you time, stress, and money. Let's get started.
Understanding Storm Damage to Your Roof
Storm damage is not always obvious from the ground. High winds, hail, and flying debris cause different types of problems. You need to know what to look for after a storm passes. This knowledge helps you communicate effectively with your insurance company. It also helps you understand what repairs are truly necessary.
Common Types of Storm Damage
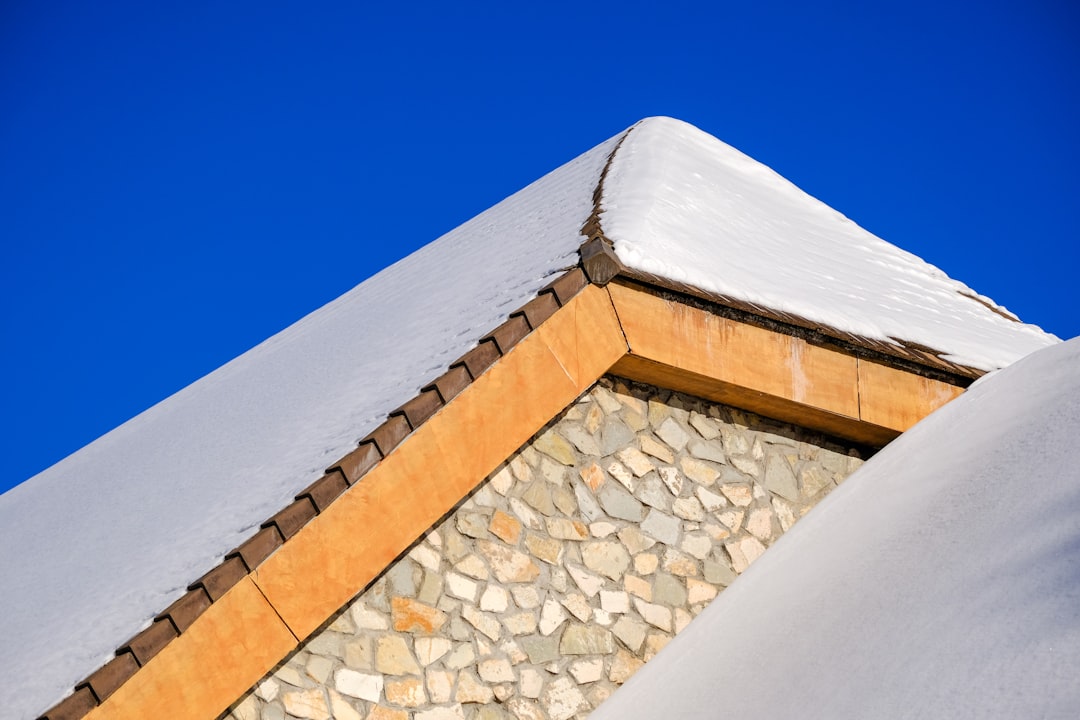
Wind damage often lifts or tears shingles. It can break the sealant strips that hold shingles together. Missing shingles are easy to spot. Creased or lifted shingles are harder to see. Hail damage creates circular dents or bruises on asphalt shingles. It knocks off the protective granules. This exposes the asphalt mat underneath to sun damage. You might find granules in your gutters after a hailstorm. Debris damage includes broken tree limbs puncturing the roof. It also includes damage from flying objects. Water damage often follows if the roof barrier is broken. You might see stains on your ceiling or walls inside.
How to Perform a Safe Initial Inspection
Your safety is the most important thing. Never climb onto a wet or damaged roof. Start your inspection from the ground using binoculars. Walk around your entire property. Look for visible debris on the roof or in the yard. Check your gutters and downspouts for granules or shingle pieces. Look at your siding and windows for dents or cracks. These can indicate the storm's intensity. Take clear photographs of anything you find. Document the date and time. These photos are crucial evidence for your insurance claim.
The Insurance Claim Process: Step-by-Step
Filing a claim can feel overwhelming. Following a clear process reduces stress. It also increases your chance of a fair settlement. I have guided clients through this process for years. Here is the proven method we use.
Step 1: Immediate Actions After the Storm
First, prevent further damage to your home. This is often required by your insurance policy. Place a tarp over any visible holes or leaks from inside your attic. You can use heavy-duty plastic sheeting. Secure it from the inside if possible. Move valuable items away from water stains. Contact a reputable roofing contractor for a professional inspection. Do not wait for the insurance adjuster first. A roofer can provide a detailed damage report. This report supports your claim. Review your homeowners insurance policy. Understand your deductible and coverage limits. Most policies cover "sudden and accidental" damage from storms.
Step 2: Filing the Claim and Working with the Adjuster
Contact your insurance company to start the claim. Provide your policy number and a brief description. They will assign a claim number and an adjuster. The adjuster will contact you to schedule an inspection. Be present for the adjuster's visit. Have your roofing contractor present too. This creates a team approach. The contractor can point out damage the adjuster might miss. Show the adjuster your photos and the contractor's report. Ask questions if you do not understand something. The adjuster will write an estimate called a "scope of loss." This document lists what repairs are covered and for how much money.
Step 3: Understanding Your Insurance Estimate and Depreciation
The insurance estimate can be confusing. It often includes two payment parts. The first check is for the Actual Cash Value (ACV). This is the replacement cost minus depreciation for the age of your roof. The second payment is for Recoverable Depreciation. You receive this after the work is complete and you submit the final invoice. Your policy must have Replacement Cost Value (RCV) coverage for this. Some policies only pay ACV. Know which one you have. The estimate should line-item all necessary repairs. It should include materials, labor, and waste removal. Compare it carefully with your contractor's estimate.
Choosing the Right Roofing Contractor
This is one of your most critical decisions. A good contractor makes the process smooth. A bad one can create nightmares. Insurance companies often have "preferred" vendors. You are not required to use them. You have the right to choose your own contractor.
Vetting and Interviewing Potential Contractors
Always choose a licensed, insured, and local contractor. Ask for their license number and proof of insurance. Verify this information with your state licensing board. Look for manufacturers' certifications like GAF Master Elite or Owens Corning Platinum. These require proper training and insurance. Ask for local references from recent storm repair jobs. Drive by those homes to see the work. Read online reviews on Google and the Better Business Bureau. Get at least three detailed written estimates. The estimates should be based on the insurance scope of work. Beware of door-to-door storm chasers. They often leave town after taking deposits.
The Role of Your Contractor in the Insurance Process
A good contractor acts as your advocate. They should meet with the insurance adjuster. They should help you understand the scope of work. They can request a re-inspection if the initial estimate is too low. This is called a "supplement." Contractors know local building codes. For example, the International Residential Code (IRC) requires specific underlayment and fastening in high-wind zones. The insurance estimate must include code-compliant repairs. Your contractor ensures this happens. They handle the paperwork and communication with the insurance company. This takes a huge burden off your shoulders.
Materials, Repairs, and Building Codes
Not all roof repairs are equal. Using the right materials and methods is essential. It affects your home's protection and your insurance payout. Building codes set the minimum standard for safety.
Matching Materials and Dealing with Upgrades
Insurance typically pays to repair your roof with "like kind and quality" materials. If you have a 30-year architectural shingle, they will pay for that. You cannot be forced to accept a 3-tab shingle. Sometimes, your exact shingle color or style is discontinued. In this case, the insurance should pay for a comparable replacement across the entire roof plane for a consistent appearance. This is a common point of negotiation. If you want to upgrade materials, you pay the difference. For example, upgrading from standard shingles to impact-resistant shingles like GAF Timberline HDZ may cost more. Discuss this with your contractor early.
Code Compliance and the Importance of Permits
Your city or county requires a building permit for a roof replacement. The contractor usually pulls this permit. The permit ensures the work meets current building codes. Codes have changed over the years. A common issue is roof decking attachment. Older homes may have nails every 12 inches. Current IRC codes often require nails every 6 inches in high-wind zones. The insurance estimate must include the cost to bring the deck attachment up to code. This is known as a "code upgrade." It is a covered part of the loss. Your contractor must know these details.
Real Project Case Studies and Outcomes
Let me share two real examples from my work. These show how the process can unfold. Names and specific addresses are changed for privacy.
Case Study 1: Hail Damage and a Successful Supplement
The Johnson family had a severe hailstorm. Their 12-year-old roof showed granule loss and bruising. The insurance adjuster's initial estimate was for a repair of only the most damaged slopes. I inspected the roof and found damage on all slopes. I used a hail damage detection mat to prove it. I met with the adjuster and showed the evidence. The adjuster agreed and wrote a supplement. The final settlement covered a full roof replacement. The Johnsons paid their deductible and got a new, code-compliant roof. The key was the contractor's detailed documentation.
Case Study 2: Wind Damage and a Denied Claim
The Martinez home had shingles blown off in a windstorm. The insurance adjuster said the damage was due to "wear and tear," not the storm. The shingles were older. I helped the Martinez family document that neighboring homes of the same age had no damage. We provided weather service data showing high winds on the loss date. We filed a formal appeal with the insurance company. After two months, the claim was approved for repair. This case shows persistence and proper evidence are vital.
Frequently Asked Questions (FAQ)
Will filing a claim raise my insurance rates?
It might, but not always. A single storm-related claim is often considered an "act of God" event. It may not affect your rate as much as a liability claim. However, multiple claims in a short period can lead to higher premiums or non-renewal. Discuss this with your insurance agent before filing if you have minor damage.
What if my insurance claim is denied?
You have the right to appeal. First, request a detailed explanation in writing. Review your policy language. Hire a public adjuster or consult with an attorney who specializes in insurance law. You can also file a complaint with your state's department of insurance. Do not give up immediately after a denial.
How long does the entire process take?
From filing to completed repair typically takes 4 to 8 weeks. The timeline depends on the storm's severity and contractor availability. Major regional storms can cause delays of several months. Temporary repairs should be made immediately to prevent interior damage.
Can I keep the leftover money from the insurance check?
No, not ethically or legally. The insurance money is to restore your property. If the repair costs less than the estimate, the difference typically goes back to the insurance company or is applied to your deductible. Keeping it could be considered insurance fraud.
Should I get multiple estimates from roofers?
Yes, always get at least three written estimates. However, base them all on the same insurance scope of work. This allows you to compare the contractors' professionalism, warranties, and communication skills, not just the price. The price should be very close if they are bidding on the same scope.
What is a "depreciation holdback"?
This is the recoverable depreciation mentioned earlier. It is the portion of the replacement cost withheld for the age of your roof. The insurance company holds this money until the work is complete. Once you submit the final invoice from your contractor, they release this second payment to you.
Does insurance cover repairing my gutters or siding if they were also damaged?
Yes, your homeowners policy typically covers all damaged components of your home from the same storm event. The adjuster should include dented gutters, damaged siding, broken windows, and even damaged fencing in the same claim. Point out all damage during the inspection.
Practical Tips from a Roofer's Perspective
- Document Everything: Take dated photos and videos before and after the storm. Keep a log of all conversations with your insurance company and contractor.
- Read Your Policy: Know your deductible, coverage limits, and whether you have RCV or ACV coverage before you need it.
- Avoid Upfront Cash Payments: Reputable contractors do not need large deposits before work begins. Payment schedules should align with material delivery and completion milestones.
- Understand the Warranty: Your new roof should have two warranties: the manufacturer's warranty on the materials and the contractor's warranty on the workmanship. Get both in writing.
- Check for Lien Waivers: When you make the final payment, get a lien waiver from the contractor. This proves they have paid their suppliers and subcontractors, protecting you from future liens.
Conclusion and Your Next Steps
Dealing with storm damage is stressful. You must act quickly but also carefully. Your roof is your home's first line of defense. A proper repair is an investment in your safety and your property's value. Use this guide as your roadmap. Start by safely inspecting your property and documenting damage. Contact a trusted, local roofing contractor for a professional assessment. Then, file your claim with your insurance company. Remember, you are not alone in this process. A good contractor is your partner and advocate. They bridge the gap between you and the insurance company. Their expertise ensures you get a quality, code-compliant repair that restores your home. Do not let the complexity scare you. Take it one step at a time. Protect your home, understand your rights, and choose your team wisely.