
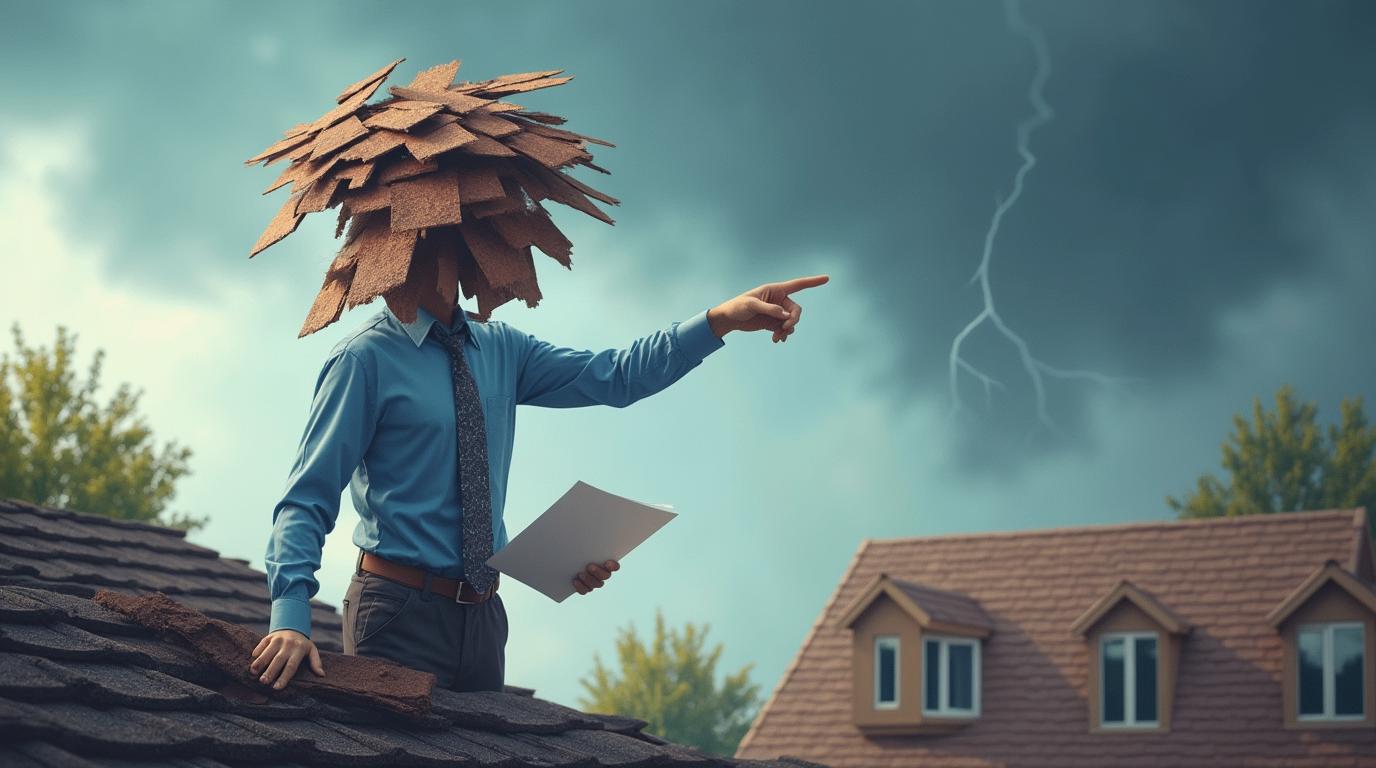
Roofing Contractors and Insurance Adjusters: Navigating Storm Damage Claims from a Contractor Who's Been There
I've been a licensed roofing contractor in Texas for over 15 years. I've completed more than 2,000 roofing projects. I hold certifications from major manufacturers like GAF and Owens Corning. I've worked directly with hundreds of insurance adjusters. This experience gives me a unique perspective on the homeowner's journey after storm damage. This article exists because I've seen too many homeowners struggle with insurance claims. They feel confused and overwhelmed after hail or wind damage. They don't know who to trust or what steps to take first. This guide will answer your most pressing questions. It will help you navigate the complex relationship between roofing professionals and insurance companies. You'll learn how to protect your home and your wallet. The information here comes from real customer projects across Kingwood and surrounding areas. It's based on actual insurance claim data and manufacturer specifications. I reference building codes and industry standards throughout. My methodology is simple: share what actually works in the field. I'll explain why certain approaches succeed where others fail. This isn't theoretical knowledge. This is practical wisdom gained from being on thousands of roofs.
After a major storm hits, homeowners face immediate stress. You need to secure your property from further damage. You must document everything properly for your insurance company. You have to choose a contractor who won't take advantage of the situation. Meanwhile, you're dealing with the emotional toll of home damage. This guide addresses all these challenges systematically. I'll walk you through the entire process from initial damage assessment to final payment. You'll learn how roofing contractors and insurance adjusters really work together. More importantly, you'll learn how to ensure they work for YOUR best interests. I'll share insider tips on documentation that strengthens your claim. I'll explain common contractor red flags to avoid. I'll demystify insurance terminology that confuses most homeowners. By the end, you'll feel confident and prepared. You'll know exactly what to do when storm clouds gather over your neighborhood again.
The Critical Roles: Understanding Who Does What
After storm damage, two key professionals enter your life. The roofing contractor assesses repair needs and provides estimates. The insurance adjuster evaluates damage for coverage determination. Their roles are distinct but interconnected. Understanding this dynamic is crucial for a successful claim.
The Roofing Contractor's Responsibilities
A qualified roofing contractor does much more than install shingles. After storm damage, their first job is a thorough inspection. They examine your entire roofing system, not just visible shingle damage. This includes checking decking, flashing, vents, and gutters. They document all damage with detailed photographs and measurements. They provide a comprehensive repair estimate based on current material and labor costs. A good contractor explains damage in terms you understand. They help you understand what repairs are immediately necessary versus cosmetic. They can perform emergency tarping to prevent interior water damage. They coordinate with other trades if needed, like siding or window contractors. Most importantly, they serve as your advocate during the insurance process. They can meet with your adjuster to point out damage that untrained eyes might miss. They understand local building codes like the International Residential Code (IRC). They ensure repairs meet or exceed these standards for your safety.
The Insurance Adjuster's Role and Limitations
Insurance adjusters work for the insurance company, not for you. This is a crucial distinction many homeowners misunderstand. Their primary responsibility is to assess damage according to your policy terms. They determine what is covered and calculate the settlement amount. Most adjusters are generalists who handle many types of property claims. They may not have specialized roofing knowledge. They typically look for obvious, direct damage from a covered peril. They might miss subtle damage like cracked shingle mats or compromised seals. Adjusters use software like Xactimate to generate estimates. These estimates are based on regional pricing databases. They often differ from contractor estimates based on actual material costs and labor rates. The adjuster's estimate is an offer, not a final decree. You have the right to negotiate if you believe damage is undervalued. Understanding their process helps you prepare better documentation. It helps you ask the right questions during their inspection.
The Insurance Claim Process: A Step-by-Step Guide from Experience
Navigating an insurance claim feels overwhelming when you're in the middle of it. Having a clear roadmap reduces stress significantly. I've guided hundreds of homeowners through this exact process. Follow these steps in order for the best results.
Step 1: Immediate Post-Storm Actions
Safety is your absolute first priority after a storm. Do not go on your roof if it's wet, icy, or damaged. Wait until conditions are safe. From the ground, document visible damage with photographs. Take wide shots showing the entire roof line. Take close-ups of specific damaged areas. Photograph any debris like fallen branches or missing shingles in your yard. Check your attic for signs of water intrusion like stains or damp insulation. Place buckets under active leaks. Cover damaged areas from the inside if possible. Contact your insurance company to start the claim process. Most companies have 24/7 claim reporting. Be prepared with your policy number and basic information about the damage. Request a claim number and adjuster contact information. Do not make permanent repairs until the adjuster has inspected. However, you must take reasonable steps to prevent further damage. This is called "mitigating your loss" and is typically required by your policy. Temporary measures like tarping are usually covered.
Step 2: Selecting and Working with Your Roofing Contractor
Choose your contractor before the adjuster's inspection if possible. This gives you a professional advocate during the critical damage assessment. Avoid contractors who door-knock aggressively after storms. Research local companies with established reputations. Check their licensing with the Texas Department of Licensing and Regulation. Verify they carry both liability insurance and workers' compensation. Look for manufacturer certifications like GAF Master Elite or Owens Corning Preferred Contractor. These indicate training and commitment to quality. Ask for references from recent insurance claim projects. A reputable contractor will provide a free, detailed inspection. They should explain their findings clearly without pressure. They should provide a written estimate that matches insurance claim scope formats. Have them present during the adjuster's inspection. They can point out technical damage the adjuster might overlook. This collaboration often results in more accurate and complete settlements. Ensure any contract you sign includes a right to cancel period. Texas law provides specific cancellation rights for home repair contracts.
Step 3: The Adjuster Meeting and Damage Documentation
Prepare thoroughly for the adjuster's visit. Have your contractor present if possible. Create a packet with your initial photos, the contractor's inspection report, and your policy information. Walk the adjuster around the exterior, pointing out all damage areas. Don't assume they'll see everything. Show them granule loss in gutters and downspouts. This indicates shingle wear from hail impact. Point out any functional damage like cracked vent pipes or bent flashing. Discuss interior damage if water entered your home. The adjuster will take their own photos and measurements. They may use a ladder to inspect the roof surface closely. Ask questions during their inspection. If they say something isn't covered, ask them to show you the policy exclusion. Request a copy of their estimate before they leave. Review it carefully for completeness. Common missing items include proper waste removal, underlayment replacement, and code upgrades. Your contractor can help you compare their estimate to the adjuster's. Identify any significant discrepancies in scope or pricing.
Decoding the Estimate: Line Items and Negotiation Strategies
Insurance estimates look like complicated spreadsheets. Understanding key line items empowers you during negotiations. I'll explain the most important sections and common disputes.
Understanding Depreciation and Actual Cash Value
Most homeowners policies use Replacement Cost Value (RCV) for roof claims. The initial payment is often Actual Cash Value (ACV). ACV is RCV minus depreciation. Depreciation is reduction for age and wear. For example, a 15-year-old roof with a 20-year lifespan has significant depreciation. The insurance company holds back the depreciated amount initially. You recover this recoverable depreciation after repairs are complete. You must submit proof of completion and often a final invoice. Some policies have different structures, so read your documents carefully. Depreciation is a major point of confusion. Many homeowners think the ACV payment is their full settlement. They don't realize they can recover more money later. Your contractor can help you understand the depreciation schedule applied to your materials. They can also ensure proper documentation for recovering withheld funds.
Common Line Item Disputes and Solutions
Disagreements often arise on specific estimate items. Roofing squares are a standard measurement (100 square feet). Ensure the square count matches your contractor's measurement. Underlayment is the water-resistant barrier under shingles. Most building codes require replacing it when removing existing roofing. Insurance estimates sometimes omit this critical component. Drip edge metal protects roof edges from water. Modern codes require it, but older estimates might exclude it. Waste removal covers disposing of old roofing materials. This is a significant cost that should be included. Code upgrades are required if local codes have changed since your roof was installed. For example, current IRC requirements for nail patterns or ice barrier installation. Your policy may cover these necessary upgrades. If your adjuster's estimate misses items, prepare a supplement request. Your contractor can provide documentation showing why items are necessary. This includes manufacturer installation instructions and local building code references. Submit this in writing to your adjuster with photos and explanations. Most legitimate supplements are approved through this professional process.
Material Selection: Beyond Insurance Minimums
Your insurance settlement provides funds to replace your roof. You have choices about materials that affect longevity, appearance, and value. Don't just accept the cheapest option. Consider these factors for long-term satisfaction.
Insurance-Grade vs. Upgraded Materials
Insurance estimates typically calculate for "like kind and quality" replacement. This means similar materials to what you had. For asphalt shingles, this often means basic 3-tab or architectural shingles. You can use your settlement to upgrade to better materials. You pay only the difference in cost. Upgrading to impact-resistant shingles can lower future insurance premiums. Many insurers offer discounts for Class 4 impact-resistant products. These shingles withstand hail better, reducing future claim risk. Brands like GAF Timberline HDZ and Owens Corning Duration offer advanced warranties. Consider upgraded synthetic underlayment instead of traditional felt. It provides better water resistance and longer durability. Discuss options with your contractor. They can show you samples and explain performance differences. Remember that material choices affect your home's curb appeal and resale value.
Ventilation and Accessory Considerations
A roof is more than just shingles. Proper ventilation extends shingle life and improves energy efficiency. Insurance estimates often include basic ridge and soffit vents. You might consider upgrading to smart ventilation systems. These maintain optimal airflow automatically. They prevent heat buildup in summer and moisture in winter. Upgraded flashing around chimneys and vents provides better leak protection. Consider stainless steel or copper for critical areas. Gutters and downspouts are usually separate from roof claims. However, if they were damaged by falling debris, include them in your claim. Coordinate gutter replacement timing with your roofing project. This ensures proper integration and water management. Discuss ice and water shield with your contractor. This self-adhering membrane protects vulnerable areas. Many contractors recommend it in valleys and along eaves, even if not required by code. It's relatively inexpensive insurance against ice dam damage.
Red Flags and Warning Signs: Protecting Yourself
Storm damage brings out both reputable contractors and opportunistic operators. Protect yourself by recognizing warning signs early.
Contractor Red Flags
Be wary of contractors who demand upfront payment before work begins. Reputable companies typically require a deposit upon material delivery. Avoid those who pressure you to sign an assignment of benefits (AOB). This transfers your insurance rights to them. While legal in some circumstances, it removes your control over the claim. Texas has specific regulations regarding AOBs. Be cautious of estimates significantly lower than others. This often indicates inferior materials or hidden costs later. Question contractors who suggest committing insurance fraud. This includes asking you to claim damage from a different storm date. Such suggestions jeopardize your entire claim and could constitute fraud. Verify physical business addresses, not just P.O. boxes. Check for complaints with the Better Business Bureau. Ask for proof of insurance directly from their provider. Don't accept certificates you can't verify. Trust your instincts. If something feels wrong during initial conversations, walk away. There are plenty of honest contractors who will treat you fairly.
Insurance Process Warning Signs
If your adjuster refuses to meet with your contractor, that's a concern. Professional adjusters understand the value of contractor input. Be concerned if the adjuster's estimate seems unusually low compared to contractor estimates. Request a detailed line-by-line explanation. Watch for blanket denials without specific policy references. The adjuster should cite exact policy language when denying coverage. Delayed communications beyond reasonable timeframes are problematic. Most companies have guidelines for claim response times. If you feel your claim isn't being handled fairly, escalate. Ask to speak with the adjuster's supervisor. Contact your state insurance department if necessary. Texas Department of Insurance regulates insurance companies. They provide resources for consumer complaints. Document all communications with dates, times, and names. Keep emails and take notes during phone calls. This creates a paper trail if disputes arise later.
Real Project Case Studies: Lessons from the Field
Real examples illustrate how these principles work in practice. These cases from my project files show common scenarios and outcomes.
Case Study 1: Hail Damage in Kingwood Neighborhood
A homeowner contacted me after a severe hailstorm. Their neighbor's roof was being replaced, but their adjuster found only "cosmetic damage." I inspected and found widespread bruising on shingle mats. This bruising weakens shingles and leads to premature failure. The adjuster had only looked at the surface during his inspection. I met with the adjuster for a re-inspection. I demonstrated the bruising by gently pressing on shingles. The underlying damage became visible. I provided documentation from the Asphalt Roofing Manufacturers Association about hail impact testing. The adjuster revised his estimate to include full replacement. The homeowner received proper coverage. They upgraded to impact-resistant shingles for better future protection. The lesson: subtle damage requires expert identification. Homeowners benefit from contractor advocacy during inspections.
Case Study 2: Wind Damage and Code Compliance Issues
High winds tore shingles from a 20-year-old roof. The insurance estimate covered shingle replacement. However, local building codes had changed significantly in two decades. Current codes required different nailing patterns and additional fasteners. The initial estimate didn't include these code upgrade costs. The homeowner would have been responsible for the difference. We submitted the specific code sections from the International Residential Code. We showed that compliance was mandatory for any roof replacement. The insurance company reviewed the submission. They determined code upgrades were covered under the policy's ordinance or law coverage. They issued an additional payment for the required upgrades. The lesson: building code knowledge is essential. Contractors must understand current requirements to ensure proper estimates.
Frequently Asked Questions from Homeowners
These are the most common questions I receive from homeowners navigating insurance claims. The answers come from direct experience with these situations.
Should I get multiple estimates from contractors?
Get two or three detailed estimates from reputable contractors. This gives you comparison points for scope and pricing. However, the insurance estimate is what matters most financially. Focus on finding a contractor who provides thorough documentation. Choose one who communicates well and makes you comfortable. The lowest bid isn't always the best value when considering quality and service.
What if the insurance estimate is too low?
This is common. First, review the estimate with your contractor line by line. Identify missing items or underestimated quantities. Your contractor can prepare a supplement request with supporting evidence. This includes photos, measurements, and code references. Submit this formally to your adjuster. Most reasonable supplements are approved through this process. If the adjuster denies legitimate items, escalate to their supervisor.
Can I keep the insurance money and not repair my roof?
Technically, the money is yours once the claim is settled. However, your policy requires you to repair the damage. If you don't, future damage might not be covered. The insurance company could cancel your policy for failure to maintain the property. Also, unrepaired damage decreases your home's value and creates safety risks. Use the funds for their intended purpose: restoring your home.
How long does the entire process take?
Timelines vary based on storm severity and company workload. After a major regional storm, adjusters may take 7-14 days for inspection. Once inspected, initial payment typically comes within 10 business days. Contractor scheduling depends on their backlog. Material availability can affect timing after large storms. From claim filing to completed roof, plan for 4-8 weeks typically. Complex claims with disputes take longer.
What documentation should I keep?
Keep everything related to the claim. This includes all correspondence with your insurance company. Save emails and claim notes. Keep copies of estimates from both adjuster and contractor. Photograph all damage before, during, and after repairs. Keep receipts for any temporary repairs or emergency measures. Maintain a log of all phone calls with dates and summaries. This organized approach helps if questions arise later.
Will filing a claim increase my premiums?
Filing any claim can potentially affect your rates. However, storm damage claims are different from liability claims. Since they're weather-related and not your fault, the impact may be less. Some states prohibit premium increases for weather claims. Check with your agent about your specific situation. Consider your deductible versus potential premium increases for small claims.
What's the difference between repair and replacement?
Repair addresses specific damaged areas only. Replacement involves the entire roof surface. Insurance companies typically replace when damage exceeds certain thresholds. This is often when damage affects 25-30% of the roof. Matching existing shingles can also necessitate full replacement. If your shingles are discontinued, repairs with different shingles might not match. This can justify full replacement for cosmetic consistency.
Industry Statistics and Data Insights
Understanding broader industry trends helps contextualize your experience. These statistics come from reputable industry sources.
The Insurance Information Institute reports that wind and hail claims represent the largest homeowners insurance loss category. They account for nearly 40% of all homeowners claims. The average roof claim payment exceeds $11,000 according to recent data. Texas leads the nation in hail damage claims due to its storm patterns. The National Roofing Contractors Association emphasizes proper installation. They note that 90% of roofing problems stem from installation errors, not material failures. Manufacturer certifications reduce installation error rates significantly. GAF reports that their certified contractors have 50% fewer callbacks. Proper ventilation can extend shingle life by up to 25% according to building science research. Impact-resistant shingles can reduce hail damage claims by up to 40%. Many insurers offer premium discounts of 5-20% for these materials. Always verify discounts with your specific insurance carrier.
Conclusion: Your Path Forward After Storm Damage
Navigating roofing contractors and insurance adjusters requires knowledge and preparation. You now understand their distinct roles and how they interact. You have a step-by-step process to follow after storm damage. You can recognize quality contractors and avoid problematic ones. You understand how to read estimates and negotiate effectively. Most importantly, you know you're not alone in this process. A reputable roofing contractor serves as your guide and advocate. They bridge the gap between insurance requirements and quality repairs. They ensure your home receives proper restoration that lasts. Start by choosing a contractor before you need one. Research local companies during calm weather. Establish relationships with professionals you trust. Update your insurance policy review annually. Understand your coverage limits and deductibles. Document your home's condition with photos before storms hit. This makes damage assessment clearer later. When storms come, you'll be prepared. You'll act confidently to protect your home and family. You'll navigate the claim process efficiently. You'll end up with a properly installed roof that protects your investment for years. Your home deserves nothing less.