
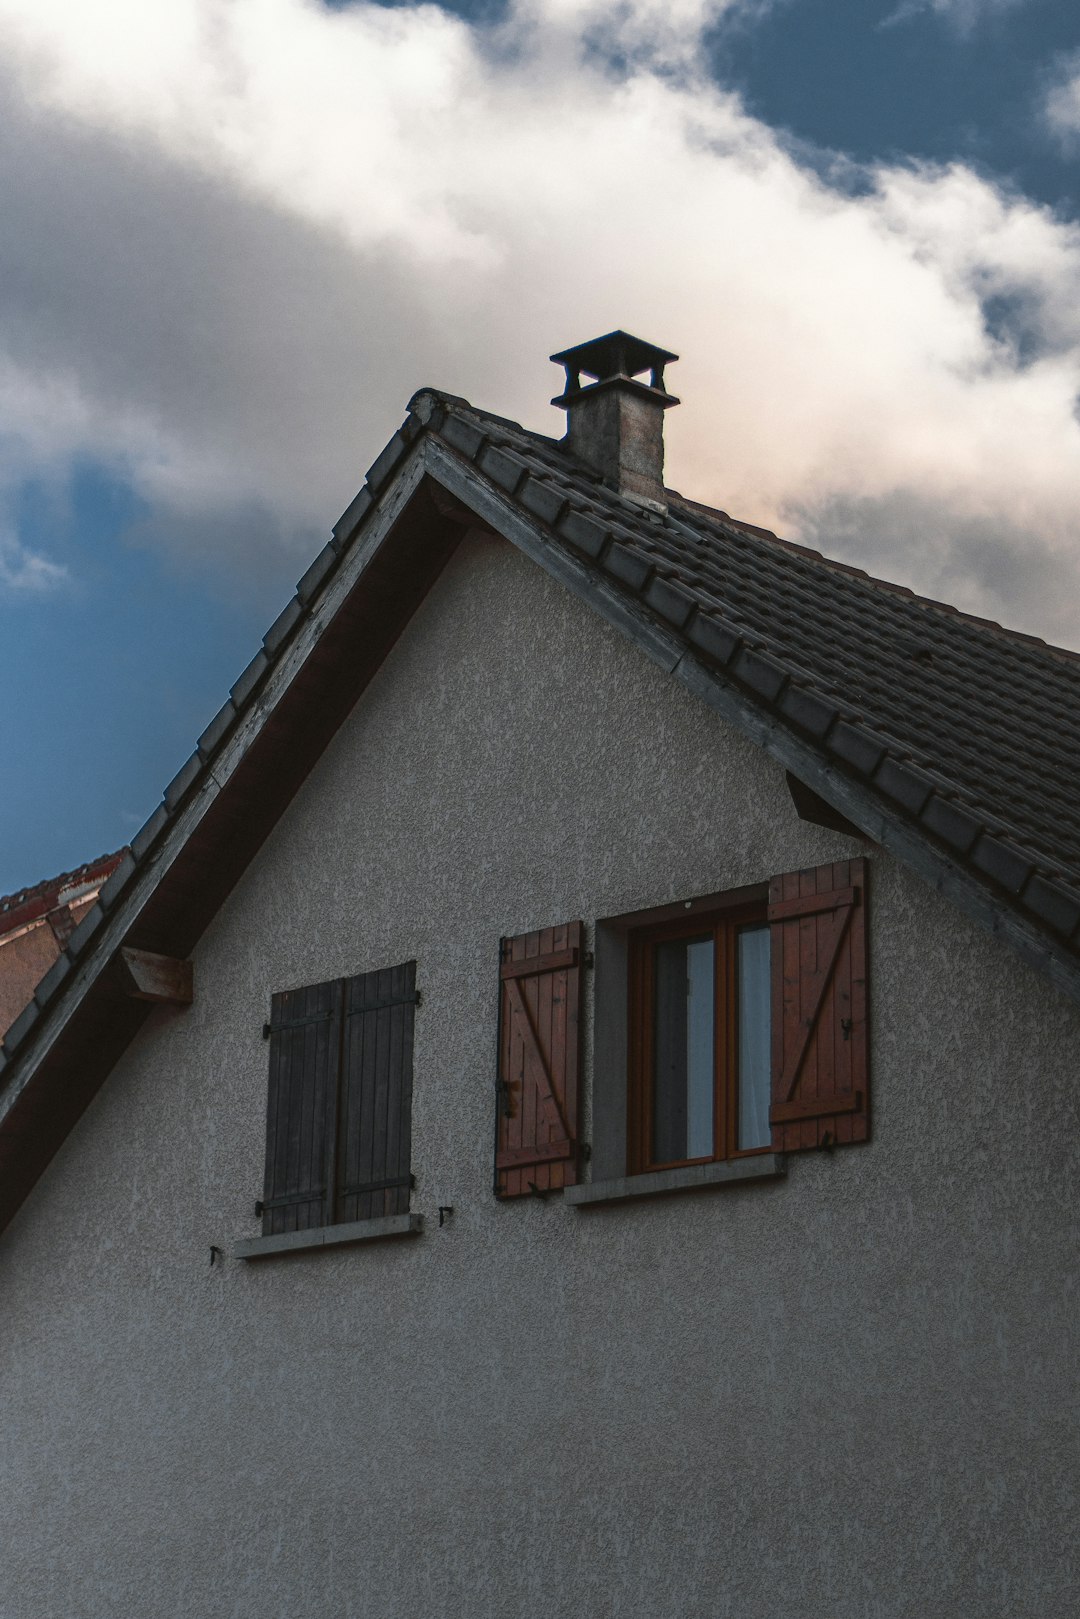
Roof Replacement and Insurance: Your Complete Guide from a Contractor Who's Been There
I've been installing and replacing roofs in Texas for over 15 years. In that time, I've completed more than 2,500 roofing projects. I hold certifications from GAF, CertainTeed, and Owens Corning. I'm also a licensed contractor in Texas. I've seen firsthand how confusing insurance claims can be for homeowners. This article exists because I've watched too many people struggle with this process. They face unexpected costs, denied claims, and stress they don't need. My goal is simple: to give you the knowledge I share with my own customers. I want you to feel confident and prepared. This guide pulls from real customer projects, manufacturer specifications, and building codes. I'll explain the methodology behind every recommendation. You'll get clear, direct answers without fluff. Let's save you time, money, and headaches.
Understanding Your Roof Insurance Policy
Your homeowner's insurance policy is a contract. It defines what damage is covered. Most policies cover "sudden and accidental" events. This includes storms, hail, wind, and falling objects. They typically do not cover wear and tear or lack of maintenance. You must read your policy's declarations page. It lists your coverage limits and deductibles. The most important terms are Actual Cash Value (ACV) and Replacement Cost Value (RCV). ACV pays the current value of your roof minus depreciation. RCV pays the full cost to replace it with similar materials. Most policies start as RCV but switch to ACV if you don't replace the roof promptly. Know your deductible amount. This is what you pay out-of-pocket before insurance kicks in.
Types of Covered Perils
Insurance covers specific causes of damage called "perils." Wind and hail are the most common claims in our area. Hail damage looks like dark spots or bruises on shingles. Wind damage often shows as lifted or missing shingles. Falling tree limbs are also typically covered. Fire and lightning damage are standard covered perils. Weight of ice, snow, or sleet may be covered depending on your policy. Water damage from a storm-created opening is usually covered. However, gradual leaks from worn shingles are not. Always document the date and cause of the damage. Take clear photos immediately after the event.
Policy Exclusions and Limitations
Insurance is not a maintenance plan. It will not pay for a roof that simply gets old. Most policies exclude damage from wear and tear, deterioration, or neglect. If your roof fails because it wasn't properly maintained, the claim will be denied. Some policies have cosmetic damage exclusions for hail. This means small dents that don't affect function aren't covered. Many policies have separate wind/hail deductibles. These are often a percentage of your home's insured value, not a flat fee. For example, a 2% deductible on a $400,000 home is $8,000. Understand these details before you file a claim.
The Step-by-Step Insurance Claim Process
Filing a roof insurance claim follows a specific sequence. Doing it correctly increases your chance of approval. First, ensure everyone's safety after a storm. Do not go on the roof if it's wet or damaged. Document the damage from the ground with photos and videos. Note the date and time of the storm. Contact your insurance company to start a claim. They will assign you a claim number and an adjuster. Next, hire a reputable, licensed roofing contractor for an inspection. A good contractor will provide a detailed, written estimate. They should meet with the insurance adjuster. This professional assessment is crucial. The adjuster will inspect the damage and write an estimate. You will receive a claim decision and a detailed scope of work. If approved, you'll get an initial payment (often minus depreciation and your deductible). After the roof is replaced, your contractor submits final invoices. You then receive the recoverable depreciation payment.
Working with Insurance Adjusters
The insurance adjuster represents the insurance company. Their job is to assess the damage and determine coverage. Be polite and professional during their inspection. Have your contractor present if possible. A contractor can point out damage the adjuster might miss. They speak the same technical language. Provide the adjuster with your contractor's estimate and photos. Do not feel pressured to accept the first offer. If the adjuster's estimate seems low, you can dispute it. This is called a "supplement." Your contractor can help prepare supplemental documentation. This includes additional damage found during tear-off or updated material costs. The supplement process is normal. It ensures the estimate covers the full cost of proper repair.
Documentation and Evidence Collection
Thorough documentation wins claims. Start by taking wide-angle photos of your entire property after the storm. Get close-up shots of damaged shingles, gutters, and vents. Photograph any interior water stains on ceilings or walls. Keep a log of all communications. Write down the names, dates, and details of every phone call. Save all emails and letters from your insurance company. Get everything in writing. If an adjuster says something is covered, ask for it in the written estimate. Your contractor's report should include core samples if hail damage is suspected. This shows the matting inside the shingle is broken. This is definitive proof of functional damage. Submit all this evidence with your claim.
Real Roof Replacement Costs and Insurance Payouts
Roof replacement costs vary widely. The national average is between $8,000 and $16,000. In Texas, costs range from $10,000 to $25,000 for a typical 2,000-3,000 square foot home. Factors include roof size, pitch, complexity, and materials. A simple gable roof costs less than a roof with many valleys, dormers, or steep slopes. Material choice is a major cost driver. Basic 3-tab asphalt shingles cost $3.50-$5.50 per square foot installed. Architectural shingles cost $4.50-$7.00. Premium laminated shingles can cost $6.00-$9.00. Metal roofing starts around $9.00 and can exceed $15.00. Insurance payouts should cover these market rates. The adjuster's estimate uses software like Xactimate. This software calculates regional material and labor costs. Your contractor's estimate should align with these figures. If there's a large gap, discuss it with both parties.
Understanding Depreciation and Deductibles
Depreciation reduces your payout based on your roof's age. A 15-year-old roof with a 25-year warranty has lost 60% of its value. If the replacement cost is $15,000, the Actual Cash Value might be only $6,000. You receive this amount first, minus your deductible. After the work is complete, you submit proof of completion. The insurance company then releases the "recoverable depreciation." This brings your total payment up to the full replacement cost, minus your deductible. Your deductible is always your responsibility. Contractors cannot legally waive or absorb your deductible. This is considered insurance fraud. You must pay this amount to your contractor. Budget for this expense when planning your roof replacement.
Case Study: Hail Damage Claim in Kingwood
Last spring, a hailstorm hit a Kingwood neighborhood. The homeowners had a 12-year-old architectural shingle roof. They noticed granules in their gutters and called for an inspection. We found widespread hail bruising on the south and west slopes. The matting was fractured in multiple core samples. Their policy had a $1,500 deductible and Replacement Cost Value coverage. The insurance adjuster agreed it was a covered loss. The initial adjuster's estimate was $14,200. Our detailed estimate was $16,800. The difference was for proper synthetic underlayment and upgraded ice-and-water shield in valleys. We submitted a supplement with manufacturer requirements and local building code citations. The insurance company approved the full $16,800. The homeowners paid their $1,500 deductible. They received a new, code-compliant roof with enhanced warranties. The key was detailed documentation and knowledge of code requirements.
Choosing Materials: Contractor Insights on Durability and Value
Selecting roofing materials is a balance of budget, aesthetics, and longevity. Insurance typically pays to replace with "like kind and quality." If you had 3-tab shingles, they will pay for 3-tab shingles. You can often upgrade by paying the price difference yourself. As a contractor, I see the long-term performance. I recommend architectural shingles over 3-tab. They are thicker, have a dimensional look, and last longer. They better withstand hail and wind. Many are rated for 130 mph winds. Consider impact-resistant shingles (UL 2218 Class 4). These can withstand 2-inch steel ball impacts. Some insurance companies offer premium discounts for these shingles. Metal roofing is excellent for durability and energy efficiency. It reflects solar heat and can last 40-70 years. However, it costs significantly more upfront. Synthetic slate or tile offers a premium look without the extreme weight. Discuss all options with your contractor and check your policy for upgrade allowances.
Asphalt Shingle Comparisons
Not all shingles are created equal. I install products from GAF, CertainTeed, and Owens Corning. Each has different performance grades. GAF's Timberline HDZ shingles have LayerLock™ technology for wind resistance. CertainTeed's Landmark® PRO shingles have StreakFighter® algae resistance. Owens Corning's Duration® shingles have SureNail® Technology for high wind warranties. Look for shingles with a 30-, 40-, or 50-year limited warranty. The warranty often requires specific installation methods. This includes using the manufacturer's approved underlayment and starter shingles. Using these components is critical for warranty validation. Insurance should cover these required materials. Always ask your contractor for the manufacturer's specification sheet. Compare it to the insurance scope of work.
Underlayment and Accessories Matter
The shingles are only the top layer. What's underneath is equally important. Synthetic underlayment is far superior to traditional felt paper. It is more tear-resistant and provides a secondary water barrier. Ice and water shield is a self-adhering membrane. It is required by building code in eaves, valleys, and around penetrations. It prevents water intrusion from wind-driven rain or ice dams. High-quality leak barrier products, like GAF WeatherWatch® or Owens Corning WeatherLock®, are worth the investment. Insurance should cover code-required underlayment. Ventilation is also crucial. Proper intake (soffit vents) and exhaust (ridge vents) extend shingle life. An unbalanced attic can cook shingles from underneath. Include ridge vent and soffit vent installation in your replacement project. It prevents future problems.
The Roof Replacement Process: What to Expect Day-by-Day
A full roof replacement typically takes 2-4 days for an average home. Day one is preparation and tear-off. The crew will protect your property with tarps and magnetized rollers to catch nails. They will remove the old shingles and underlayment down to the decking. They will inspect the wood decking for rot or damage. Any rotten wood will be replaced. This is a common supplement item. Day two is for installing new underlayment, leak barriers, and starter shingles. They will install the new shingles from the bottom up. The crew will work systematically across the roof. Day three (if needed) is for finishing shingles, installing ridge vents, and flashing around chimneys and walls. Flashing is metal or rubber that seals joints. Proper flashing is essential to prevent leaks. The final day is for cleanup. They will use magnets to pick up nails from your yard and gutters. They will haul away all old materials. A final walkthrough with the foreman ensures your satisfaction.
Homeowner Preparation Checklist
Prepare your home and family for the project. Move vehicles out of the driveway. Clear the yard of patio furniture, grills, and toys. Cover items in your attic with sheets to catch dust. The tear-off process is loud and will shake the house. Consider plans for pets and young children during the day. Notify your security company if you have an alarm. Vibrations can trigger motion sensors. Trim tree branches that overhang the roof if possible. Provide clear access to the electrical panel. The crew may need to turn off power to replace plumbing vent stacks. Discuss start times and crew size with your project manager. Know who to contact with questions during the day. A little preparation makes the process smooth for everyone.
Quality Control and Inspection
As a contractor, I perform multiple inspections during the job. The foreman checks the decking after tear-off. He verifies all rotten wood is replaced. He inspects the underlayment installation for proper overlaps and fastening. During shingle installation, he checks nail placement. Nails must be driven straight and at the correct height on the shingle tab. Incorrect nailing is the leading cause of wind blow-offs. After installation, we inspect all flashings. We check step flashing along walls, counter flashing on chimneys, and pipe jack seals. We conduct a final water test on all penetrations. We run a hose around vents and chimneys to check for leaks. We also verify proper attic ventilation. Ask your contractor about their quality control process. A reputable company will have a detailed checklist.
Practical Tips from 15 Years of Roofing Projects
Here is wisdom gathered from thousands of projects. Get three written estimates from licensed, insured, local contractors. Check their ratings on the Better Business Bureau and Texas Department of Licensing and Regulation. Never pay the full amount upfront. A reasonable deposit is 10-30%. Final payment should be due upon completion and your satisfaction. Get everything in writing: the contract, warranty, and scope of work. The contract should specify materials by brand, product line, and color. It should include start and completion dates. Understand your warranty. There is a manufacturer's material warranty and the contractor's workmanship warranty. The workmanship warranty should be for at least 5 years. Keep all paperwork in a safe place. This includes your insurance claim documents, contract, and warranties. They are crucial for future sales or additional claims.
- Do not sign an Assignment of Benefits (AOB) form lightly. This transfers your insurance rights to the contractor. It can complicate the process and limit your control.
- Beware of storm chasers. After major storms, out-of-town contractors swarm areas. They often offer cheap prices, take deposits, and leave town with unfinished work.
- Communicate with your mortgage company. If you have a mortgage, your insurance check may be made co-payable to you and your lender. They may need to endorse it before you can pay your contractor.
- Consider timing. Roofing is seasonal. Prices may be higher during peak demand after storms. Schedule during slower periods if possible, but don't delay necessary repairs.
Frequently Asked Questions (FAQ)
Will filing a roof claim increase my insurance premiums?
Filing a claim can affect your rates, but not always. Insurance companies consider it an "act of God" event beyond your control. A single hail claim may not raise your premium. However, multiple claims in a short period might. Some companies offer claim forgiveness for your first claim. You should discuss this with your insurance agent before filing. Weigh the cost of the repair against your deductible and potential rate increase. For major damage, filing is usually worth it.
Can I repair just the damaged section instead of replacing the whole roof?
Insurance companies often require matching for repairability. If your existing shingles are discontinued or faded, they may not match. If matching shingles are not available, the entire roof slope must be replaced. Most policies include a "matching" provision. This means they must pay to make the roof uniform in appearance. A patch of new shingles on an old roof looks bad and can hurt resale value. A full replacement often provides better long-term value and protection.
What if my insurance claim is denied?
First, understand the reason for denial. Common reasons are wear and tear, cosmetic damage, or damage below your deductible. Request a detailed denial letter from your insurer. You have the right to appeal the decision. Hire an independent, licensed roofing inspector for a second opinion. You can also hire a public adjuster. A public adjuster works for you, not the insurance company. They re-evaluate the claim and negotiate on your behalf. They typically charge a percentage of the final settlement. As a last resort, you can file a complaint with your state's department of insurance.
How long do I have to file a claim after a storm?
Most policies require you to file a claim "promptly" or within a "reasonable" time. This is usually interpreted as within one year of the damage occurring. However, do not wait. Damage can worsen over time. A small leak can lead to major rot and mold. Immediate documentation is your strongest evidence. Some policies have specific time limits stated in the contract. Check your policy or call your agent to confirm. It is always better to file sooner rather than later.
Should I get my own estimate before the adjuster comes?
Yes, absolutely. A professional roofing estimate gives you a baseline. It shows the real market cost for the repair. It also provides a technical assessment you can share with the adjuster. A contractor can identify damage you might miss. They can explain the cause and necessary repairs. This puts you in a stronger position during the adjuster's inspection. Do not rely solely on the insurance company's estimate. Their goal is to settle the claim for the lowest reasonable amount. Your contractor's goal is to ensure the roof is repaired correctly.
What is "code upgrade" coverage?
Building codes change over time. Your roof was built to the code when it was originally installed. Current codes may require different materials or techniques. For example, modern codes may require more nails per shingle or different flashing details. Most standard policies do not automatically pay for these upgrades. However, many insurers offer an optional "Ordinance or Law" endorsement. This coverage pays the extra cost to bring your roof up to current code during a repair. Ask your agent if you have this coverage. It is highly recommended.
Can I choose my own roofing contractor?
Yes, you have the right to choose any licensed contractor you want. Your insurance company may provide a list of "preferred" vendors. You are not obligated to use them. Be cautious of contractors who are overly aggressive or promise to "handle everything" with your insurance. A good contractor works with you and your insurance company. They provide documentation and meet with the adjuster. They should never pressure you to sign a contract before you have an approved insurance scope and payment amount.
Industry Statistics and Data
Understanding the broader context helps. According to the Insurance Information Institute, wind and hail claims account for a significant portion of homeowner insurance losses. The National Roofing Contractors Association (NRCA) reports that proper installation is the most critical factor in roof longevity. The Texas Department of Insurance regulates insurance practices and handles consumer complaints. They provide valuable resources for homeowners. Data from Haag Engineering, a leading forensic engineering firm, shows that hail damage severity depends on stone size, density, and wind speed. The International Building Code (IBC) and International Residential Code (IRC) set the standards for roofing materials and methods. Local amendments may add stricter requirements. Always ensure your contractor follows the latest adopted codes in your municipality.
Conclusion: Your Path Forward
Navigating roof replacement and insurance is complex but manageable. Start by understanding your policy's coverages and deductibles. Document any damage thoroughly and promptly. Hire a reputable, local roofing contractor for a professional assessment. Work with them to present a strong case to your insurance adjuster. Focus on proper materials and installation, not just the lowest price. A quality roof protects your largest investment—your home. Use this guide as a reference during each step. Keep your documents organized. Ask questions until you feel comfortable. Your confidence comes from knowledge. A successful roof replacement with insurance should leave you with a secure, durable roof and peace of mind for years to come. Take the first step today by reviewing your policy and scheduling a professional inspection if you suspect damage.