
Paramount Roof Claims: Your Complete Guide from a Texas Roofing Expert
I have been a licensed roofing contractor in Texas for over 15 years. In that time, my team and I have completed more than 2,500 roofing projects. We hold certifications from major manufacturers like GAF, Owens Corning, and CertainTeed. This experience has given me a unique perspective on the most critical part of roof ownership: navigating insurance claims after storm damage. This article exists because I have seen too many homeowners struggle with this complex process. They face confusion, delays, and sometimes unfair settlements. My goal is to give you the knowledge I share with my own customers. I want you to feel confident and prepared. This guide is built from hundreds of real customer projects and thousands of interactions with insurance adjusters. I reference manufacturer specifications, Texas building codes, and industry best practices. My methodology is simple: explain the process clearly, highlight common pitfalls, and provide actionable steps. This will save you time, stress, and potentially thousands of dollars.
Why is this information paramount? Your roof is your home's first line of defense. When hail, wind, or a fallen tree damages it, you need a fair and fast resolution. The insurance claim process can feel overwhelming. This guide breaks it down into clear, manageable steps. You will learn how to document damage properly. You will understand what your policy covers. You will know how to work effectively with both your insurance company and your chosen roofing contractor. This is not generic advice. This is field-tested wisdom from the rooftops of Texas. Let's begin this journey together.
Understanding What Makes a Roof Claim "Paramount"
A paramount roof claim is one that is handled correctly from start to finish. It ensures your home is fully restored to its pre-damage condition. It protects your investment and your family's safety. The stakes are high. A poorly handled claim can lead to leaks, mold, and structural issues. It can also decrease your home's value. The key is understanding that this is a three-party process. You, the homeowner, are at the center. Your insurance company provides the financial coverage. Your roofing contractor provides the repair expertise. Success requires all three to work in alignment.
The Anatomy of Roof Damage: What Insurance Looks For
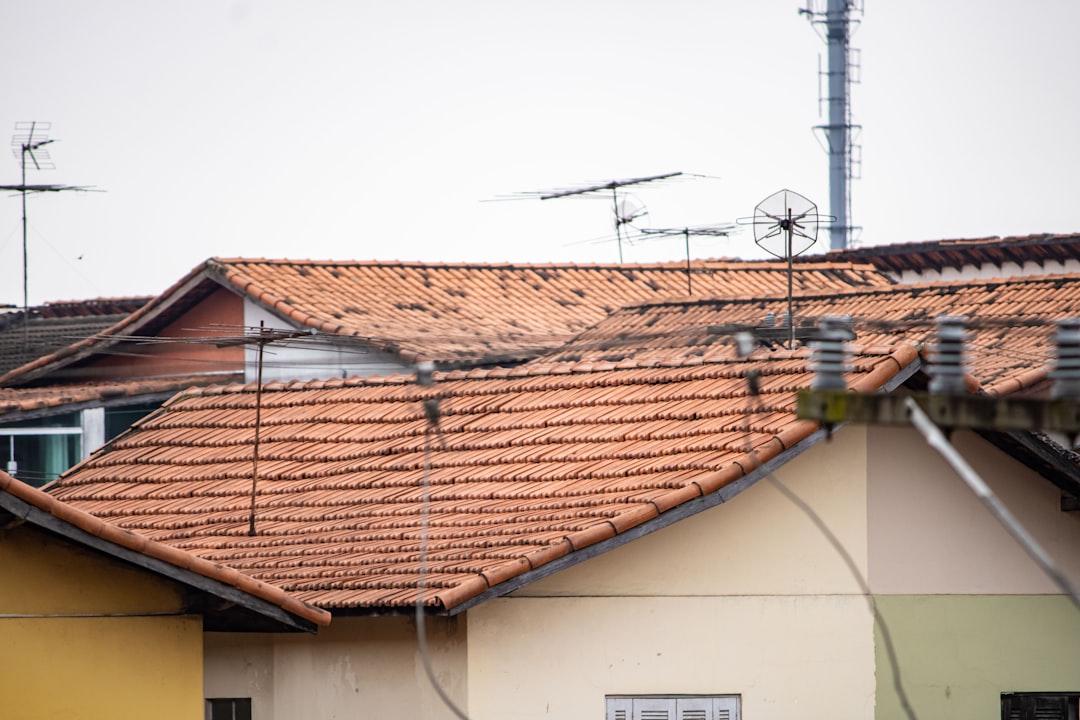
Insurance companies assess damage based on specific criteria. Not all damage is covered. The most common covered perils are wind and hail. Wind damage often appears as missing shingles, lifted flashing, or damaged vents. Hail damage is more subtle. It looks like dark bruises or dimples on asphalt shingles. It knocks off the protective granules. You can check your gutters for granules after a storm. According to the National Roofing Contractors Association (NRCA), functional hail damage compromises the shingle's ability to shed water. Insurance adjusters are trained to identify this. They use tools to measure hail spatter patterns on soft metals. They also look for collateral damage to siding, gutters, and window screens. This helps them confirm the storm's severity.
Policy Language You Must Know: ACV vs. RCV
Your insurance policy is a contract. Two critical terms are Actual Cash Value (ACV) and Replacement Cost Value (RCV). Most policies today are RCV for your dwelling. ACV pays you the depreciated value of your roof. It factors in age and wear. RCV pays the full cost to replace it with a new roof of like kind and quality. However, payment often happens in two parts. You get the ACV amount first, minus your deductible. After the work is complete, you submit the final invoice. Then you receive the recoverable depreciation. Understanding this difference is paramount. It affects your out-of-pocket costs. Always review your policy's declarations page. Know your deductible amount and your coverage limits.
The Step-by-Step Guide to Filing Your Roof Claim
Following a proven process prevents mistakes. Do not rush to call your insurance company first. Take a systematic approach. This guide is based on the method we use to assist our customers. It leads to better outcomes and less frustration for everyone involved.
Step 1: Initial Safety and Documentation
Safety is your first priority. Do not climb onto a damaged roof. You can document damage from the ground using binoculars or a zoom lens. Take clear, wide-angle photos of your entire property. Capture the street view, all sides of the house, and the roof lines. Then, take close-up photos of any visible damage. Photograph damaged shingles, dented gutters, and downed branches. Also, take photos inside your attic. Look for daylight coming through the roof deck, water stains, or wet insulation. Create a detailed list of all observed damage. Include the date and time of the storm. This visual evidence is crucial for your claim file.
Step 2: The Professional Roof Inspection
Before you file the claim, get a professional inspection. Contact two or three reputable, local roofing contractors. Look for companies with strong online reviews and proper licensing. In Texas, verify they are registered with the Texas Department of Licensing and Regulation (TDLR). A good contractor will provide a free, thorough inspection. They will walk the roof, take measurements, and document all damage. They should provide a detailed written report with photos. This report is your expert second opinion. It tells you if you have a legitimate claim worth filing. It also gives you a contractor's scope of work and repair cost estimate. This information is powerful when speaking with your insurance adjuster.
Step 3: Filing the Claim and Meeting the Adjuster
Now, call your insurance company to file the claim. Have your policy number ready. Be factual and calm. Report the date of loss and the type of damage (e.g., "hail and wind damage from the storm on April 15th"). They will assign you a claim number and an adjuster. The adjuster will contact you to schedule an inspection. When the adjuster arrives, have your roofing contractor present. This is the single most important tip in this guide. Your contractor can point out damage the adjuster might miss. They can discuss repair methods and material costs. This collaboration often leads to a more accurate and complete scope of loss from the insurance company. The adjuster will then write an estimate, often using software like Xactimate.
Navigating the Insurance Estimate and Scope of Work
The insurance estimate is not a final invoice. It is the insurance company's assessment of the cost to repair the damage. It is based on regional pricing data. Your contractor's estimate may differ. The key is to compare the two documents line by line. Look for discrepancies in the quantity of materials, the type of materials, and necessary work items.
Common Shortfalls in Insurance Estimates
From my experience, insurance estimates often miss certain items. They may underestimate the amount of starter shingles, hip and ridge cap, or ice and water shield. They might not include code upgrades required by your local building department. For example, after a certain amount of repair, the International Residential Code (IRC) may require additional roof deck fastening. The insurance estimate might also omit the cost of a dumpster, permits, or overhead and profit for the contractor. These are legitimate costs of doing business. Your contractor can help you prepare a supplement request. This is a formal request for additional funds from the insurance company to cover missing items. It is a normal part of the process.
Choosing Materials: Matching and Upgrading
Your policy typically pays to replace your roof with materials of "like kind and quality." If you have a 30-year architectural shingle, that's what you'll get. However, you may want to upgrade. Perhaps you want a impact-resistant shingle rated for hail, like those from GAF or Owens Corning. Or maybe you want to change the color. You can usually do this by paying the price difference between the insurance-allowance material and your chosen upgrade. Discuss this with your contractor. They can provide samples and pricing. Also, ensure the estimate includes all necessary synthetic underlayment, proper ventilation, and quality flashing details. These components are critical for a long-lasting roof.
Selecting the Right Roofing Contractor for Your Claim
Your choice of contractor will make or break your claim experience. Avoid door-knockers who show up right after a storm. They are often storm chasers from out of state. They may do low-quality work and disappear when problems arise. Choose a local, established company. They have a reputation to protect in your community.
Vetting Questions for Your Roofer
- Are you licensed and insured in Texas? Ask for proof of both general liability and worker's compensation insurance.
- What is your physical business address? A P.O. box is a red flag.
- Can you provide local references? Ask for addresses of recent jobs you can drive by.
- Do you offer a workmanship warranty? Manufacturer warranties cover materials. You need a separate warranty on the installation labor.
- Will you handle the insurance supplements and communication? A good contractor will manage this for you.
- Who will be my project foreman? Get a direct point of contact.
The Danger of Signing an Assignment of Benefits (AOB)
Some contractors may ask you to sign an Assignment of Benefits. This document legally transfers your insurance claim rights to them. I strongly advise against this. It removes you from the financial process. The contractor can then negotiate directly with your insurer and collect payment. This can lead to conflicts and even lawsuits. You should always remain the owner of your claim. You should receive the insurance checks directly. You then pay the contractor upon satisfactory completion. This maintains your control and leverage.
Real Project Case Studies and Outcomes
Let me share two real examples from our files. These show how the process works in practice.
Case Study 1: The Hail Damage Supplement
A homeowner in Kingwood had a hail storm. The insurance adjuster's initial estimate was for $12,500. It included shingle replacement but only 10 squares of synthetic underlayment. Our inspection showed the entire roof deck (30 squares) needed new underlayment per manufacturer requirements. It also missed code-required drip edge on the rakes. We prepared a detailed supplement with photos and code references. After review, the insurance company approved an additional $3,800. The final scope was complete, and the homeowner got a full, code-compliant roof system.
Case Study 2: The Wind Damage Discovery
After a wind event, a homeowner only noticed a few missing shingles. The insurance estimate was minimal, just for spot repairs. During our inspection, we found that the wind had compromised the adhesive seals on dozens of shingles across the roof. They were not lying flat. This created a high risk for future leaks and further wind uplift. We documented this with close-up photos and a video. We presented this to the adjuster, explaining the functional damage. The claim was re-scoped for a full roof replacement. The homeowner avoided a future, more severe leak that might not have been covered.
Frequently Asked Questions from Homeowners
Will filing a roof claim raise my insurance rates?
It might, but not always. Rate increases are often based on the number of claims in your area (catastrophe events) and your personal claim history. A single weather-related claim is less likely to cause a severe increase than an at-fault liability claim. However, you should discuss this with your insurance agent. They can explain your carrier's specific guidelines.
How long do I have to file a claim after a storm?
Most policies require you to file a claim within one year of the date of loss. However, do not wait. Damage can worsen over time. Evidence becomes harder to document. File as soon as you have a professional inspection confirming damage. Prompt action is always best.
What if my insurance claim is denied?
First, get the denial in writing with the specific reason. Often, denials state the damage is due to "wear and tear" or "lack of maintenance." If you have a professional inspection report that contradicts this, you can appeal. Provide your contractor's report and photos. You can also request a re-inspection with a different adjuster. As a last resort, you can hire a public adjuster or consult an attorney.
Can I keep the leftover money from my insurance check?
No. The insurance settlement is intended to indemnify you—to make you whole. It is to pay for the repairs. If the repair costs less than the estimate, you may need to return the difference. Keeping money for repairs not performed could be considered insurance fraud. Always use the funds for their intended purpose.
Should I get multiple bids from contractors?
Yes, you should get at least two or three detailed estimates. However, compare the scope of work, not just the bottom-line price. A very low bid might mean the contractor is cutting corners, using inferior materials, or does not understand the full scope. Choose the contractor you trust most, not necessarily the cheapest.
How long will the entire roof claim process take?
From inspection to completed installation, a typical claim takes 4 to 8 weeks. The timeline depends on the insurance company's responsiveness, weather delays, and material availability. Complex claims or disputes can take longer. A good contractor will manage the timeline and keep you informed at each step.
What is a "depreciation holdback" and when do I get it?
This is the difference between the RCV and ACV amounts on your estimate. It is held back until the work is complete. After the roof is installed, your contractor provides a certificate of completion or final invoice to your insurance company. They then release the depreciation check to you. You use this to make the final payment to your contractor.
Conclusion: Taking Control of Your Paramount Roof Claim
Navigating a roof insurance claim is a significant undertaking. It requires knowledge, patience, and the right partners. Remember, you are not alone in this process. Your role is to be an informed advocate for your home. Start by getting a professional inspection. Choose a local, reputable contractor to guide you. Never climb on a damaged roof yourself. Review all estimates carefully. Understand your policy's ACV and RCV terms. Do not sign an Assignment of Benefits. The goal is a complete restoration that protects your home for years to come.
Your roof is a paramount part of your home's structure and value. A well-handled claim ensures it continues to perform its vital function. Use this guide as your roadmap. Take notes, ask questions, and trust your instincts. If a situation feels wrong, it probably is. For further reading, I recommend resources from the Insurance Information Institute and your specific shingle manufacturer's website. Your home is your sanctuary. Protecting it starts from the top down. You now have the knowledge to manage this process with confidence.