
Insurance Claim Roofers: Your Guide to Storm Damage Repairs from a 15-Year Roofing Veteran
My name is Michael, and I've been a licensed roofing contractor for fifteen years. I've completed over 2,500 residential and commercial roofing projects across Texas. I hold certifications from major manufacturers like GAF and Owens Corning. I've seen firsthand how confusing the insurance claim process can be for homeowners. This article exists to solve that exact problem. When a storm damages your roof, you face a stressful situation. You need to file an insurance claim, find a trustworthy contractor, and ensure your home is properly repaired. This guide answers all your questions. I wrote it to give you the knowledge I share with my own customers. The information here comes from my direct experience on hundreds of insurance claim jobs. It is based on real customer projects, manufacturer installation specifications, and local building codes. My goal is to save you time, reduce your stress, and help you get a quality roof repair that protects your home for years to come.
Understanding the Role of Insurance Claim Roofers
Insurance claim roofers are specialized contractors. They help homeowners navigate the complex process of storm damage repairs. They work directly with your insurance company. Their expertise goes beyond simple installation. They understand insurance policies, claim procedures, and damage assessment. A good roofer acts as your advocate. They ensure you receive a fair settlement for necessary repairs. They bridge the gap between you and the insurance adjuster. This service is crucial for a successful outcome.
What Makes a Roofer an "Insurance Claim" Specialist?
Not every roofer is equipped to handle insurance claims. Specialists have specific training and experience. They are familiar with the language of insurance policies. They know how to document damage thoroughly for claims. Many complete courses like those from the National Roofing Contractors Association (NRCA). They understand "scope of loss" documents from adjusters. They can read and interpret these documents accurately. This prevents underpayment for necessary repairs. They also maintain proper licensing and insurance themselves. This protects you during the project.
The Contractor's Perspective on Insurance Work
From my perspective, insurance jobs require extra diligence. Every detail must be documented with photos and notes. Communication with the homeowner and adjuster must be clear and consistent. The goal is to restore the home to its pre-storm condition. Sometimes, this means advocating for code upgrades required by local law. For example, if your roof decking needs replacement, current International Building Code (IBC) may require different fasteners. We must explain this to the insurance company. Our reputation depends on doing the job right, not just fast.
The Step-by-Step Insurance Claim Process with a Roofer
Knowing the process reduces anxiety. Here is the typical sequence from initial damage to completed repair. A good roofer will guide you through each step.
Step 1: Initial Inspection and Damage Documentation
After a storm, contact a reputable roofer for a free inspection. They will assess your roof for hail, wind, or water damage. They will take extensive photographs of all damaged areas. This includes close-ups of granule loss on shingles, dented metal, and cracked tiles. They will also inspect your attic for signs of water intrusion. This visual evidence is the foundation of your claim. Do not wait too long after a storm. Secondary water damage can occur if leaks are not addressed quickly.
Step 2: Filing the Claim and Meeting the Adjuster
Your roofer can advise you on filing the claim with your insurer. They often provide the photos and a preliminary report. The insurance company will then send an adjuster. It is highly beneficial for your roofer to be present during the adjuster's inspection. The roofer can point out damage the adjuster might miss. They can discuss repair methods and material matching. This meeting is critical for aligning on the scope and cost of repairs. I always make time to meet with adjusters for my clients.
Step 3: Reviewing the Insurance Scope and Estimate
The insurance company will send you a detailed scope of loss and a payment estimate. Your roofer should review this document line by line with you. They will check if it covers all necessary materials and labor. Common omissions include proper underlayment, ice and water shield in valleys, and adequate waste removal. If items are missing, your roofer will help you prepare a supplement request. This is a formal request for additional funds from the insurance company to complete the job correctly.
Step 4: Signing the Contract and Starting Work
Once the insurance scope is finalized and approved, you will sign a contract with your roofer. A good contract clearly outlines the work, materials, timeline, payment schedule, and warranty. Never sign a contract that asks for the entire insurance check upfront. Reputable contractors typically require a small deposit to schedule the job. Work begins after materials are delivered to your home. The crew will protect your property with tarps and use a magnetic nail sweeper to clean up.
Choosing the Right Insurance Claim Roofer: Red Flags and Green Flags
Your choice of contractor determines everything. Here is practical advice from my years in the field.
Green Flags: Signs of a Trustworthy Contractor
- Local and Established: They have a physical office in your community and a long track record. Check their business license.
- Proper Credentials: They are licensed, insured (liability and workers' compensation), and bonded. Ask for proof.
- Manufacturer Certifications: They are certified by major shingle manufacturers like GAF Master Elite or Owens Corning Platinum. This ensures training on proper installation.
- Detailed Estimates: They provide a written, detailed estimate that matches the insurance scope. It should list specific material brands and grades.
- Strong Communication: They answer your calls, show up on time, and explain things clearly. They don't use high-pressure sales tactics.
- Good Reviews: They have positive reviews on Google, BBB, and local sites. Read the reviews for patterns about communication and quality.
Red Flags: Warning Signs to Avoid
- Storm Chasers: Contractors who appear at your door uninvited right after a storm. They often lack local ties and may disappear after taking a deposit.
- Cash-Only Deals: They ask for cash payments or the entire insurance check before any work begins.
- No Physical Address: They operate only out of a truck with a PO box. This makes them hard to find if problems arise later.
- Vague Contracts: The contract lacks detail about materials, workmanship warranties, or cleanup procedures.
- Pressure to Sign Quickly: They claim the "insurance discount" or "deal" is only good today. This is a classic pressure tactic.
- Unmarked Vehicles: Their trucks have no company name or local phone number. Professional businesses brand their vehicles.
Roofing Materials and Insurance: What You Need to Know
Your insurance policy typically covers the cost to replace your roof with "like kind and quality" materials. Understanding materials helps you ensure a proper replacement.
Asphalt Shingles: The Most Common Claim
Most homes in Texas have asphalt shingles. Hail causes granule loss, which exposes the asphalt mat to UV damage. Wind can lift and tear shingles. Insurance should cover replacement if damage is widespread. There are different architectural grades. A 30-year architectural shingle is different from a 3-tab shingle. Your roofer should ensure the insurance pays for a comparable product. Matching color for partial repairs can be difficult due to sun fading. Sometimes a full roof replacement is the only aesthetic solution.
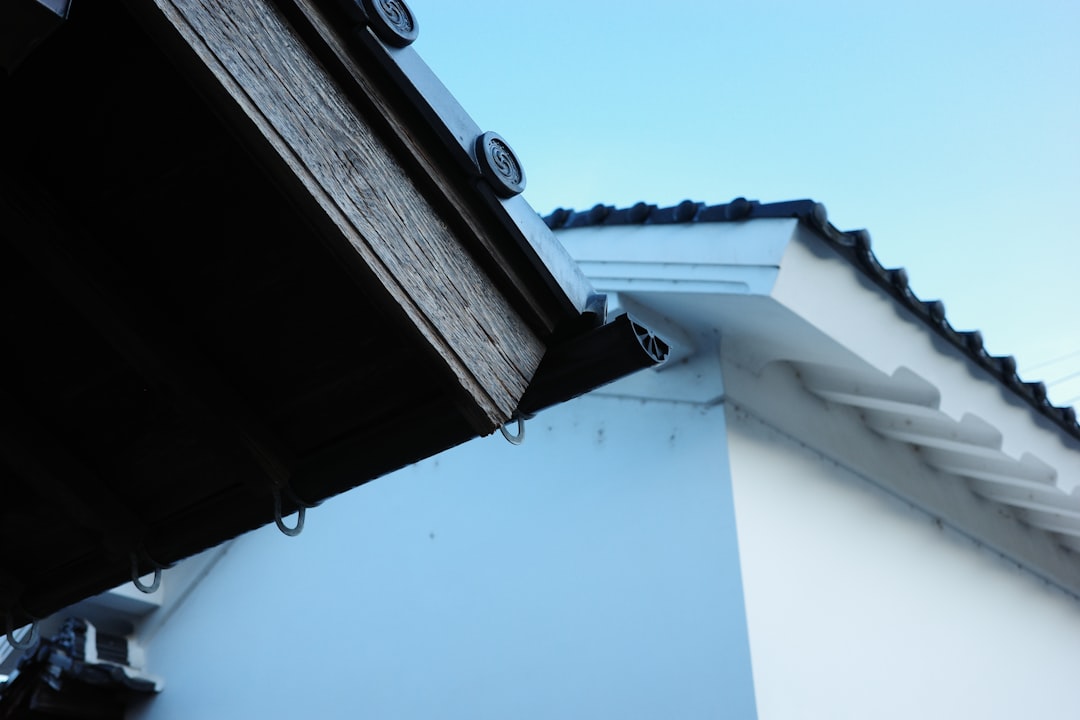
Metal, Tile, and Slate Roofs
These premium materials have different damage profiles. Hail can dent metal panels or crack clay tiles. Repairs are often more specialized and expensive. Insurance should cover the cost of matching the material's profile and color. For tile roofs, sourcing replacement tiles from the same batch can be a challenge. Your roofer's experience with these materials is crucial. They must know how to properly flash and install them to prevent leaks.
Understanding Depreciation and Recoverable Depreciation
Many policies have a provision for depreciation. The insurance company may pay you the Actual Cash Value (ACV) first. This is the replacement cost minus depreciation for the age of your roof. Once the work is complete and they receive the final invoice, they release the Recoverable Depreciation. This makes up the full replacement cost. Your roofer's final invoice must match the approved scope to get this second payment. Ask your insurance agent to explain your policy's specific terms.
Real Project Case Studies and Outcomes
Let me share two real examples from my work to illustrate the process.
Case Study 1: The Underpaid Hail Claim
A homeowner in Kingwood had significant hail damage. Their insurance adjuster initially approved only for a repair of the most visibly damaged slopes. My inspection found granule loss on all slopes, compromising the entire roof's lifespan. I met with the adjuster and showed him granular damage in the gutters and on every slope. I explained that patching would create an uneven appearance and leave weak areas. After submitting a detailed supplement with photos, the insurance company approved a full roof replacement. The homeowner paid only their deductible. The key was thorough documentation and professional advocacy.
Case Study 2: Wind Damage and Code Upgrades
After a severe wind event, a client had several shingles torn off. The insurance scope covered replacing the shingles. However, local building codes had changed since the home was built. The code now required stronger roof deck attachment in our wind zone. Simply replacing shingles on the old deck would not meet code. We submitted documentation on the International Code Council (ICC) requirements to the insurer. They agreed to pay for the additional labor to secure the decking properly. This ensured the home was not only repaired but also brought up to current safety standards.
Frequently Asked Questions (FAQ)
1. Will filing a roof claim increase my insurance premiums?
It might, but not always. Premium increases are often based on the number of claims in your area (catastrophe models) and your personal claim history. A single storm-related claim is typically viewed differently than frequent small claims. However, if your roof is old and has had multiple claims, the insurer might non-renew your policy. It's best to discuss this with your insurance agent before filing, but do not delay necessary repairs.
2. Can I keep the insurance money and not repair the roof?
This is very risky and often violates your mortgage agreement. The insurance money is intended to fix the damage. If you don't repair it, future damage may not be covered. Mortgage companies often require the work to be completed to protect their investment in the property. The insurer may also pay the contractor directly or issue checks co-payable to you and the mortgage company to ensure repairs are made.
3. What if the insurance estimate is too low to cover a reputable roofer's bid?
This is common. The insurance estimate is often a baseline. Reputable contractors include all necessary materials, proper labor rates, and code compliance. Your roofer should prepare a detailed supplement request showing the line-item differences. They will submit photos, manufacturer requirements, and local code citations to justify the higher cost. Most insurers will negotiate a fair price with a professional contractor.
4. How long does the entire insurance roof replacement process take?
From inspection to completion, it typically takes 4 to 8 weeks. The timeline depends on the insurer's response time, weather, and material availability. The initial claim filing and adjuster meeting usually happen within 1-2 weeks. Supplement negotiations can add another 1-2 weeks. Once approved, scheduling the actual installation takes 1-3 weeks, and the roof work itself usually takes 1-3 days for a standard home.
5. What warranty will I get on my new roof?
You should receive two warranties. The first is the manufacturer's material warranty on the shingles (often 25-50 years). This requires installation by a certified contractor to be valid. The second is the contractor's workmanship warranty (typically 2-10 years), covering installation errors like leaks. Get both warranties in writing. Understand what they do and do not cover, such as damage from lack of maintenance or extreme weather events.
6. Should I get multiple estimates from roofers for an insurance job?
Yes, but understand the context. Get 2-3 estimates from reputable, local roofers. The estimates should be based on the same insurance scope of work. The prices should be relatively close. A drastically lower bid often means the contractor is cutting corners on materials, using less crew, or skipping necessary steps. Choose based on reputation, communication, and credentials, not just the lowest price.
7. What is "assignment of benefits" and should I sign it?
An Assignment of Benefits (AOB) is a document that transfers your insurance claim rights to the contractor. This allows them to deal directly with your insurer and collect payment. Be very cautious. While it can simplify the process, it also gives the contractor significant control. Only consider an AOB with a highly trusted, established local contractor. Many states have regulations around AOBs due to potential for fraud. Always consult your insurance agent before signing one.
Industry Statistics and Data
Understanding the broader context can be helpful. According to the Insurance Information Institute, wind and hail damage account for the largest portion of homeowners insurance claims. The NRCA reports that proper installation is the single biggest factor in a roof's longevity, more important than the material itself. Data from my own company shows that for storm damage claims, supplements are requested on approximately 60% of jobs to secure adequate funding for code-compliant repairs. This highlights the importance of having an experienced roofer on your side.
Conclusion: Your Path to a Successful Roof Claim
Dealing with roof damage and insurance is stressful. But with the right knowledge and the right partner, you can navigate it successfully. Remember these key steps. First, get a thorough inspection from a reputable, local roofer. Second, involve that roofer in the meeting with your insurance adjuster. Third, review every document carefully before signing. Fourth, choose your contractor based on credentials and trust, not just price. Your home is your biggest investment. A properly installed roof protects everything inside it. Use this guide to ask informed questions and make confident decisions. The goal is to emerge from this process with a secure, well-built roof and peace of mind. If you're in the Kingwood area and have questions after reading this, feel free to reach out for a professional, no-pressure assessment. Stay safe and protect your home.