
Insurance Claim for Wind Damage to Roof: A Roofer's Guide to Getting Paid
My name is Mike, and I've been a licensed roofing contractor in Texas for over 15 years. I've personally overseen more than 2,500 roofing projects and hold certifications from GAF, CertainTeed, and Owens Corning. This article comes from countless conversations with homeowners just like you, standing on storm-damaged roofs, holding insurance paperwork that feels like a foreign language. I've seen too many good people get short-changed by the insurance claim process because they didn't know what to look for or what questions to ask. This guide exists to solve that exact problem. It will answer your most pressing question: How do I successfully navigate an insurance claim for wind damage to my roof and ensure I get a fair settlement for proper repairs? The information here was gathered from my direct experience with customer projects, manufacturer installation specifications, Texas building codes, and industry data from the Insurance Institute for Business & Home Safety (IBHS). My methodology is simple: I'll explain what insurance adjusters look for, what roofers see that homeowners miss, and give you a clear, step-by-step plan based on what actually works in the real world.
Understanding Wind Damage: What Insurance Companies Actually Cover
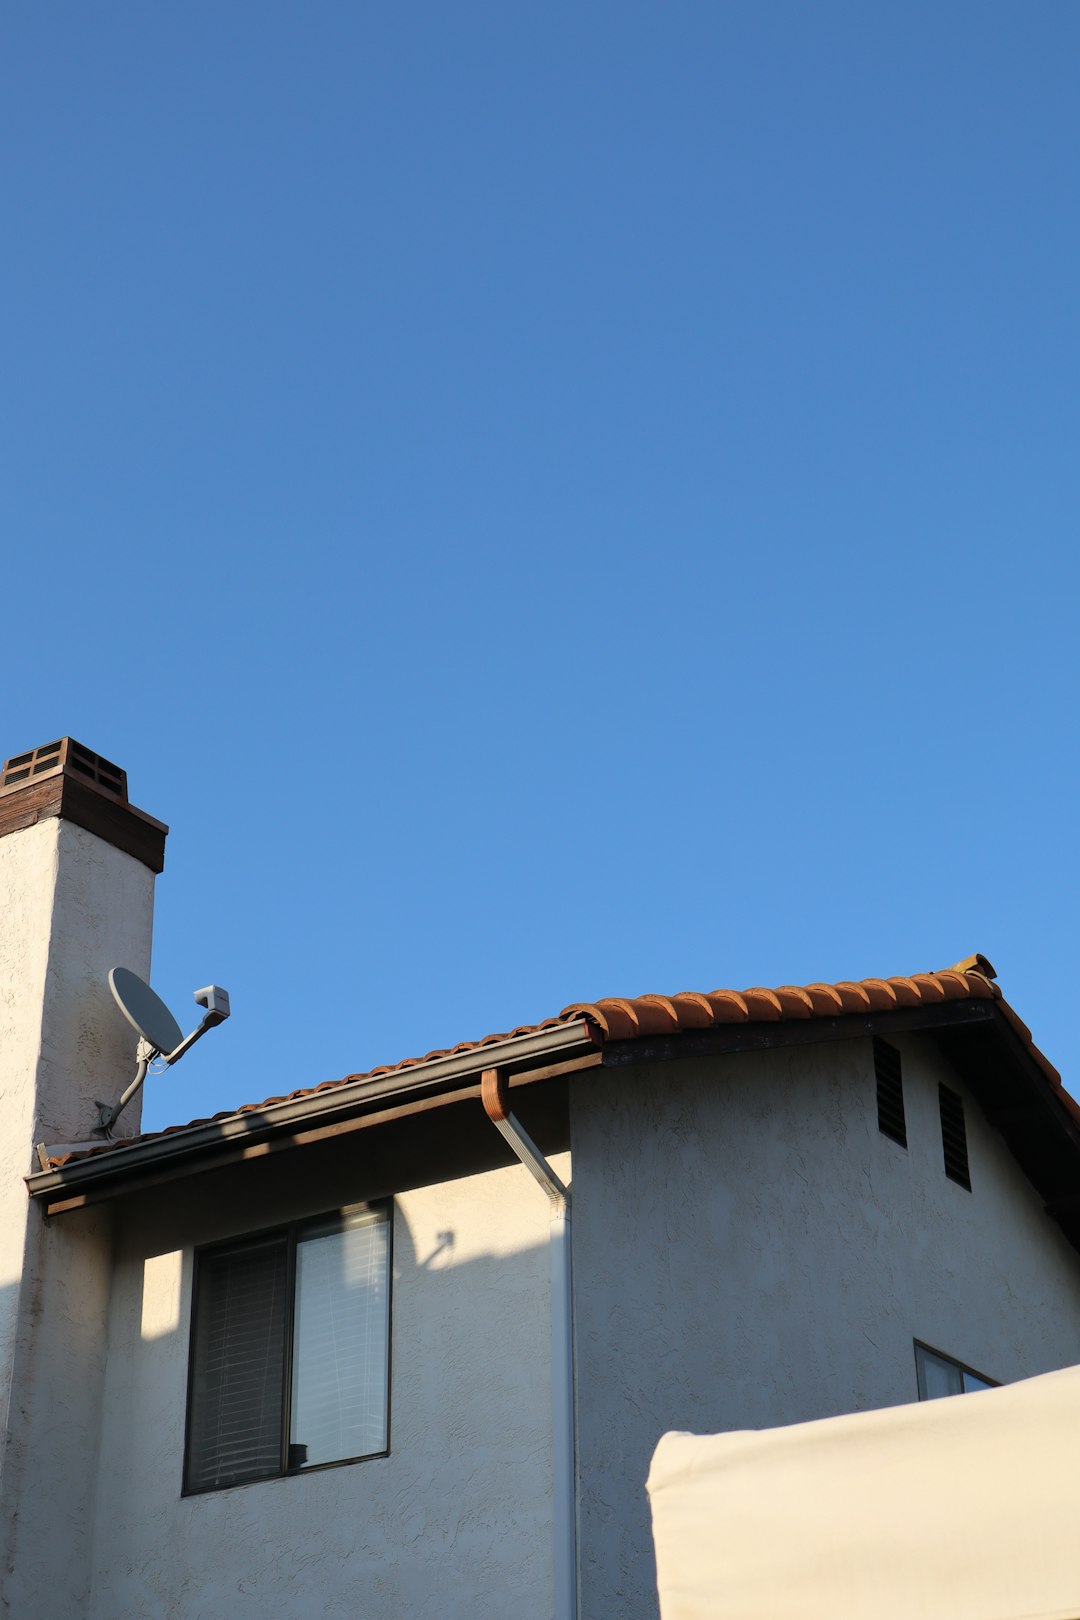
Wind damage is one of the most common reasons for roofing insurance claims, but it's also one of the most misunderstood. Not all wind damage is created equal in the eyes of your insurance policy. Most standard homeowners insurance policies cover sudden, accidental damage caused by windstorms. This includes damage from straight-line winds, gusts, and even tornadoes. However, the key word is "sudden." Insurance is designed to cover unexpected events, not wear and tear over time. The wind must cause a distinct, identifiable failure. From my perspective on thousands of roofs, I see two main types of wind damage that trigger claims: uplift and impact. Uplift occurs when wind gets under shingles or other roofing materials and literally peels them back or tears them off. Impact damage happens when wind carries debris—like tree branches, patio furniture, or even gravel from a neighbor's driveway—that strikes and punctures your roof.
Identifying Visible vs. Hidden Wind Damage
Some wind damage is obvious. You might see shingles in your yard or a visible hole. But much of the damage we find is hidden. High winds can cause creasing or fracturing of asphalt shingles without tearing them off. This breaks the sealant strip and compromises the roof's water-shedding ability. You might also see granule loss in specific patterns, indicating where wind scoured the surface. According to the Asphalt Roofing Manufacturers Association (ARMA), proper installation is critical for wind resistance. Missing or damaged flashing around chimneys, vents, and valleys is a huge red flag after a storm. These areas are highly susceptible to wind-driven rain intrusion. Inside your home, check your attic with a flashlight. Look for daylight peeking through the roof deck, moisture stains on the wood, or damp insulation. These are signs of hidden damage that must be documented.
Policy Language and Common Exclusions
You must understand your policy's declarations page. Look for your "Coverage A" limit for the dwelling and your deductible amount. Most policies have a separate, higher wind/hail deductible, often 1-5% of your home's insured value. This is critical for calculating your potential out-of-pocket cost. Common exclusions include damage due to lack of maintenance. If an adjuster finds old, brittle shingles with pre-existing cracks, they may deny a claim for new wind damage, arguing the roof was already failing. Another tricky area is "cosmetic damage." Some policies exclude damage that affects only the appearance of a roof shingle (like hail-caused dents on metal) but not its function. Always review your policy or call your agent for clarification before filing.
The Step-by-Step Insurance Claim Process: A Roofer's Perspective
Navigating a claim can feel overwhelming. Following a proven sequence of steps protects your interests and leads to the best outcome. Do not rush to call a roofer who shows up at your door unsolicited after a storm. These "storm chasers" often make promises they can't keep and can complicate your claim. Start by securing your property from further damage. This is both a safety issue and a policy requirement. Cover any holes with a tarp, but take photos first. Do not make permanent repairs until the insurance adjuster has seen the damage. Your first official call should be to your insurance company to start the claim. Have your policy number ready. They will assign you a claim number and schedule an adjuster's inspection. This is where most homeowners make a critical mistake: they wait for the adjuster alone.
Why You Need a Professional Roof Inspection First
Before the insurance adjuster arrives, hire a reputable, local roofing contractor to perform a thorough inspection. Choose a company with strong credentials, like being a GAF Master Elite or CertainTeed SELECT ShingleMaster contractor. These certifications require proper licensing, insurance, and a proven track record. A professional roofer will provide a detailed, line-item estimate for repairs. More importantly, they can accompany you during the adjuster's inspection. This levels the playing field. The adjuster works for the insurance company; the roofer works for you. We speak the same technical language about decking, underlayment, and code requirements. We can point out damage the adjuster might overlook and explain why certain repair methods are necessary to meet local building codes, like those found in the International Residential Code (IRC).
Documenting Everything: The Paper Trail is Your Best Friend
Documentation wins claims. Take comprehensive photos and videos from the ground and, if safe, from a ladder. Get wide shots of the entire roof line and close-ups of every damaged area. Include photos of any debris. Keep a log of all conversations: who you spoke with, their company, the date, time, and summary of what was said. When the adjuster provides their estimate, review it line-by-line with your roofing contractor. Insurance estimates, called a Scope of Loss, are often generated by software like Xactimate. These programs can underestimate regional labor costs or material prices. Your roofer's detailed estimate serves as a counterpoint to ensure all necessary work is included and properly priced.
Understanding the Insurance Estimate and Negotiating for Full Value
The insurance company's initial estimate is rarely the final word. It is an opening offer. Your job, with your roofer's help, is to ensure it covers the full scope of necessary work. The estimate should include two main parts: replacement cost value (RCV) and actual cash value (ACV). RCV is what it costs to replace your roof with materials of like kind and quality today, without deduction for depreciation. ACV is the RCV minus depreciation for the age and wear of your old roof. Most policies pay the ACV upfront, then release the "recoverable depreciation" once the work is complete and the final invoice is submitted. Depreciation is a major point of negotiation. A 15-year-old roof with a 30-year shingle warranty has not depreciated 50%. Your roofer can argue for a lower depreciation rate based on the shingle's remaining life and condition before the storm.
Key Line Items to Scrutinize on the Scope of Loss
Look for these critical components on the adjuster's Scope of Loss. Missing any can lead to an underfunded repair. Code Upgrades: If your local building code has changed since your home was built, the insurance company is often required to pay for upgrades to meet current code. This could include stronger nail patterns, additional roof deck fastening, or upgraded underlayment. Drip Edge and Starter Shingles: These are essential for a proper installation but are sometimes omitted. Full Roof Replacement vs. Repair: Most reputable roofing manufacturers, like Owens Corning, specify that shingles must be replaced in full "squares" (100 sq. ft. sections) to maintain color blend and warranty. If damage is over a certain percentage of the roof (often 25%), a full replacement is warranted. Overhead and Profit (O&P): This is a standard 20% fee paid to the general contractor (your roofer) for managing the project. If it's missing, ask for it to be added.
The Negotiation Process and When to Involve a Public Adjuster
If there is a significant discrepancy between the insurance estimate and your roofer's estimate, you can negotiate. Your roofer should prepare a detailed supplement request with photos, diagrams, and manufacturer specifications to justify the additional costs. Submit this in writing to your adjuster. If the adjuster denies your supplement, ask for the denial in writing and the specific policy language they are citing. You can then request a re-inspection with a different adjuster or speak to the adjuster's supervisor. If you hit a major stalemate, consider hiring a public adjuster. Public adjusters work exclusively for policyholders, not insurance companies. They typically charge 10-15% of the final settlement but can be invaluable for complex, high-value claims. Use them as a last resort after trying negotiation with your contractor's support.
Choosing Materials and a Contractor for Your Insurance-Funded Repair
Once your claim is settled, you have the right to choose your contractor and materials. Do not feel pressured to use the insurance company's "preferred" vendor. Your priority should be quality, not speed. Get at least three written estimates from established local companies. Verify their license, insurance (liability and workers' compensation), and check reviews on the Better Business Bureau. Ask for references from recent insurance claim jobs. The estimate should be detailed and specify the exact shingle brand, style, and color (e.g., GAF Timberline HDZ in Weathered Wood). It should list all underlayment, flashing, ventilation, and warranty information.
Material Upgrades: Investing Your Settlement Wisely
Your insurance settlement is based on replacing your roof with materials of "like kind and quality." However, you can often apply that cash value toward an upgrade by paying the difference. This is a smart long-term investment. Consider upgrading to impact-resistant shingles rated UL 2218 Class 4, like those from CertainTeed's Landmark series. These can qualify you for an insurance premium discount. Also consider synthetic underlayment instead of traditional felt. It provides a superior secondary water barrier if shingles are compromised. Discuss ventilation upgrades with your contractor. Proper attic ventilation, following standards from the Asphalt Roofing Manufacturers Association, extends shingle life and improves energy efficiency.
Understanding Warranties: Manufacturer vs. Workmanship
There are two key warranties for your new roof. The manufacturer's warranty covers defects in the shingles themselves, often for 30 to 50 years. To keep it valid, the roof must be installed by a certified installer following the manufacturer's exact specifications. The contractor's workmanship warranty covers installation errors, like leaks from improper flashing. This is usually for 5-10 years. A reputable contractor will offer a strong workmanship warranty and will be around to honor it. Avoid companies that offer lifetime warranties but have only been in business for two years. Always get warranty details in writing.
Real Project Case Studies: Lessons from the Field
Let me share two real examples from my work that illustrate this process. Case Study 1: The Underestimated Valley. A homeowner in Kingwood had wind damage along a roof valley. The insurance estimate only included replacing a few shingles. During our joint inspection with the adjuster, we removed the damaged shingles to reveal that the underlying metal valley flashing was also torn. This is a common hidden issue. Because the flashing is a separate component beneath the shingles, it wasn't initially visible. We documented it with photos and the adjuster amended the scope to include a full valley replacement, increasing the settlement by $1,200. Case Study 2: The Code Upgrade Win. After a major storm, a client's 20-year-old home needed a full roof replacement. Our estimate included adding ice and water shield along the eaves, as now required by the current International Residential Code. The initial insurance scope did not include it. We submitted the specific code section from the local building department's website. The insurance company approved the supplement, adding nearly $800 to the claim to bring the home up to current standards, which also provided better protection for the homeowner.
Frequently Asked Questions from Homeowners
How long do I have to file a wind damage claim?
Most policies require you to file a claim within one year of the date of loss. However, you should file as soon as you suspect damage. Delays can give the insurance company reason to argue the damage wasn't sudden or was caused by something else.
Will filing a claim make my insurance premiums go up?
It might, but not always. A single wind damage claim from a widespread storm event is often viewed differently than a claim for a preventable water leak. Rates are based on risk in your entire area. Discuss potential impacts with your insurance agent before filing.
What if my roof is old? Will they still pay to replace it?
Yes, but they will apply depreciation. If you have a 20-year-old roof with a 25-year shingle, they will only pay the depreciated value. For a total loss, this could mean a significant out-of-pocket cost to get a new roof. This is why knowing your policy's depreciation schedule is crucial.
Can I keep the leftover money if the repair costs less than the settlement?
No. The insurance settlement is not a cash payout. It is a fund to restore your home. If the repair costs less, you must return the unused recoverable depreciation to the insurance company. The final invoice from your roofer determines the final payment.
What if I disagree with the insurance company's denial?
You have the right to appeal. Request a detailed denial letter citing the exact policy language. You can then file a formal appeal with the insurance company, involve your state's department of insurance, or seek legal counsel. A public adjuster can also help at this stage.
Should I get multiple roofing estimates for the insurance company?
Not usually. The insurance company uses its own software to determine cost. Your best strategy is to have one very detailed estimate from a highly qualified contractor to use as a benchmark during the adjuster's inspection and for any necessary supplements.
Does insurance cover matching shingles if my roof color is discontinued?
Most policies include a "matching" provision. If an exact color match is not available for a partial repair, the insurance company is often obligated to pay for a larger section or even a full roof replacement to maintain a uniform appearance. This is another key point for negotiation.
Conclusion: Your Path to a Fair Settlement
Filing an insurance claim for wind damage to your roof is a process, not a single event. It requires knowledge, preparation, and the right professional support. Remember, you are not alone in this. Start by understanding your policy and documenting everything. Partner with a reputable, local roofing contractor before the insurance adjuster visits. Use their expertise to ensure all damage is identified and all necessary repair costs are included in the settlement. Scrutinize the estimate, negotiate respectfully but firmly, and choose quality materials and installation for your repair. The goal is to restore your home to a condition that is safe, sound, and protected for years to come. Your roof is your home's first line of defense. A properly managed insurance claim ensures it gets the proper repair it deserves, giving you peace of mind long after the storm has passed.