
Hail Damage Insurance Adjuster Guide: What Every Homeowner Must Know From a Roofer With 15 Years Experience
I have been a licensed roofing contractor for fifteen years. I have completed over two thousand roofing projects. I hold certifications from GAF, CertainTeed, and Owens Corning. I have worked directly with hundreds of insurance adjusters. I have seen what works and what fails in hail damage claims. This article shares that hard-earned knowledge. My goal is to help you navigate a confusing process. I want you to get the full repair your home deserves. This information comes from real customer projects and industry data. I reference manufacturer specifications and building codes. My recommendations are based on proven methods that protect your investment.
This guide exists to solve a specific problem. Homeowners often feel overwhelmed after a hailstorm. They do not know how to work with an insurance adjuster. They fear being underpaid for necessary repairs. This article answers your critical questions. It explains what an adjuster looks for on your roof. It shows you how to prepare for their inspection. It gives you the knowledge to advocate for your home. You will learn the contractor's perspective on the entire claims process. This is not just information. This is a roadmap to a successful roof repair.
Understanding the Role of Your Hail Damage Insurance Adjuster
An insurance adjuster is not your enemy. They are a professional hired to assess damage. Their job is to determine what your policy covers. They must follow specific guidelines from the insurance company. They are not roofing experts. They are damage assessors. This distinction is crucial for homeowners to understand. The adjuster will inspect your property after you file a claim. They will document all visible storm damage. They will write an estimate for repairs. This estimate is called a scope of loss. It is the starting point for your roof repair project.
What the Adjuster Actually Does During the Inspection
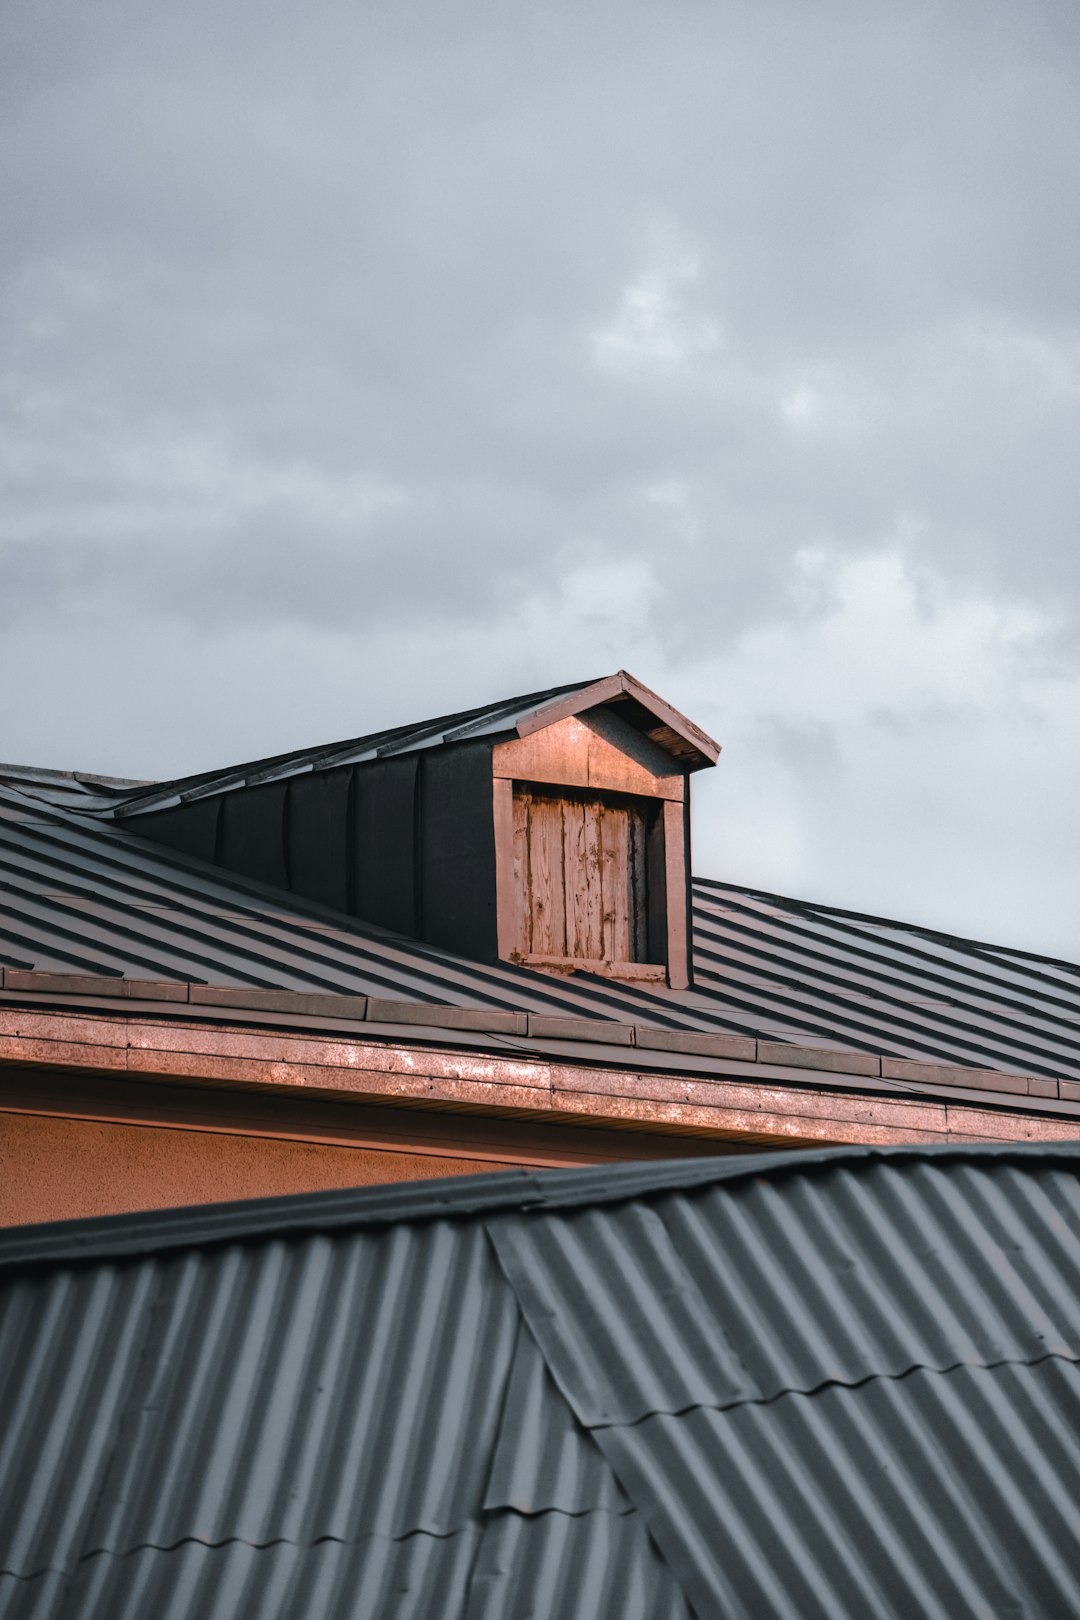
The adjuster will schedule a time to visit your home. They will walk the perimeter first. They look for damage to siding, gutters, windows, and screens. They will then get on your roof if it is safe. Safety is their primary concern. They will take many photographs. They document the overall condition of the roof. They look for hail hits on shingles, vents, and flashing. They measure the size of granule loss spots. They check for soft metal damage on roof vents and chimney caps. They may use a chalk stick to circle damage for photos. The entire inspection usually takes thirty to sixty minutes.
The adjuster follows insurance industry standards. One key standard is the Insurance Information Institute's hail damage guidelines. They also reference manufacturer installation instructions. For example, GAF's technical specifications define proper installation. The adjuster's estimate must align with these documents. They are looking for functional damage. Cosmetic damage alone may not be covered. Functional damage affects the roof's ability to shed water. This is a critical point in many claims discussions.
How to Prepare for the Adjuster's Visit: A Contractor's Checklist
Preparation is everything. A prepared homeowner gets better results. Do not wait for the adjuster to find everything. Be your home's first advocate. Start by doing a thorough visual inspection yourself. Do this from the ground with binoculars. Look for obvious signs of damage. Take your own photographs before the adjuster arrives. Document everything from multiple angles. This creates a record you can reference later. Clean up any debris from your yard. Make sure the adjuster has safe access to your property. Move vehicles away from the driveway. Put pets inside. These simple steps show professionalism.
- Gather Your Documents: Have your insurance policy ready. Know your deductible amount. Have your claim number written down. Keep a notepad and pen handy.
- Document Pre-Existing Conditions: If you have old photos of your roof, find them. This can prove damage is new and storm-related. It prevents arguments about prior wear and tear.
- Make a List of All Damage: Walk around your entire property. Note damaged siding, window screens, gutters, air conditioner fins, and fencing. Do not forget the mailbox and outdoor lights.
- Hire a Reputable Roofing Contractor First: Many homeowners make a big mistake. They wait for the adjuster before calling a roofer. The best practice is to have a professional roofer inspect first. A good contractor will provide a detailed report. They can even meet the adjuster at your home. This ensures all damage is properly identified and discussed.
Reading the Adjuster's Estimate: Line by Line Analysis
The adjuster will send you an estimate. It is often a confusing document. It uses insurance software codes like Xactimate. Each line item represents a part of the repair. The total is the amount the insurance company will pay, minus your deductible. Do not just look at the bottom line. Review each item carefully. Look for missing components. A common issue is missing necessary items like starter shingles or proper underlayment. The estimate should include tear-off of old materials. It should include disposal costs (dump fees). It must include all necessary flashing and ventilation.
The estimate must comply with local building codes. This is non-negotiable. For example, if your roof decking is damaged, it must be replaced. The International Residential Code (IRC) sets these standards. You can reference Chapter 9 of the IRC for roofing requirements. The estimate should also follow manufacturer requirements for warranty validity. If you have architectural shingles, the estimate must include synthetic underlayment if required. If you have a steep roof, it must include proper safety equipment costs. Compare the adjuster's estimate to your contractor's quote. Identify any gaps.
Common Items Missing From Initial Adjuster Estimates
From my experience, certain items are frequently overlooked. Knowing these can help you ask the right questions. One major item is code upgrades. If your local building code has changed since your home was built, the new roof must meet the new code. This might require additional roof decking nails, different ventilation, or ice and water shield in new locations. The insurance policy often covers these necessary upgrades. Another missing item is overhead and profit (O&P). This is a standard fee for general contractors to manage the project. It is typically 20% of the total cost of materials and labor. It should be included.
Detached structures are also forgotten. Did hail damage your shed, gazebo, or detached garage? Make sure these are on the estimate. Finally, check for matching. If your roof is partially damaged, the new shingles must match the old ones in color. If an exact match is unavailable, the policy may cover re-roofing adjacent slopes for a uniform appearance. This is called a matching endorsement. Review your policy language. Discuss this with your adjuster and contractor.
The Contractor's Role: Bridging the Gap Between You and the Insurance Company
A good roofing contractor is your guide. They are the expert in construction. The adjuster is the expert in insurance. You need both. Your contractor should communicate directly with the adjuster. They should provide a detailed estimate of their own. This estimate should include all necessary work. The contractor can explain why certain items are required. They can show photos of damage the adjuster might have missed. They can reference manufacturer installation instructions. For instance, CertainTeed's shingle installation manual specifies nail placement and underlayment. This technical knowledge is powerful.
The contractor can also help with the supplement process. A supplement is a request for additional funds. It is needed when the initial estimate is too low. The contractor gathers evidence. They take more photos. They write a detailed letter. They submit it to the insurance company. Most reputable contractors handle this process for you. It is a normal part of storm repair. Do not be afraid of it. A professional contractor knows how to navigate supplements successfully. They keep the project moving forward while the details are settled.
Real Project Case Studies: How the Process Unfolds
Let me share two real examples from my work. These show how knowledge changes outcomes. The first case was a home in Kingwood after a major spring storm. The homeowner filed a claim. The adjuster came out. The initial estimate was for a repair of only the back slope. The homeowner called me. I inspected and found functional hail damage on all slopes. The granules were completely knocked off in a random pattern. The matting was exposed. I met with the adjuster on site. I showed him the damage with a magnifying glass. I pointed out the exposed substrate. We discussed functional vs. cosmetic damage. The adjuster agreed. He wrote a supplement for a full roof replacement. The outcome was a new, warrantied roof for the homeowner.
The second case was more complex. The hail damage was subtle. The adjuster's report said "no functional damage found." The homeowner was ready to give up. I asked for a re-inspection with a different adjuster. I prepared a detailed presentation. I included close-up photos of fractured shingle tabs. I included granule loss measurements. I printed the relevant sections from the National Roofing Contractors Association (NRCA) roof inspection guide. During the second inspection, I presented this evidence. The new adjuster reviewed it carefully. He approved a full replacement. The key was documentation and persistence. The homeowner saved over $15,000.
Materials Matter: What Your New Roof Should Include
If your claim is approved, you will get a new roof. Do not just accept the cheapest materials. Understand what goes into a quality installation. The insurance estimate will specify a shingle type. It is often a standard 3-tab or architectural shingle. You may have the right to upgrade. You can pay the difference in cost for better materials. This is a smart investment. Consider impact-resistant shingles. These are rated Class 3 or 4 by UL (Underwriters Laboratories). They are designed to withstand hail. They may qualify you for an insurance discount. Owens Corning Duration Series offers excellent impact resistance.
The underlayment is critical. Do not let them use cheap felt paper. Insist on a synthetic underlayment. It is stronger and provides a better secondary water barrier. Ice and water shield is essential in critical areas. This includes valleys, eaves, and around penetrations like vents and chimneys. Flashing should be new, not reused. It should be made of corrosion-resistant metal like aluminum or galvanized steel. Ventilation must be balanced. Soffit vents allow air in. Ridge vents allow hot air out. Proper ventilation extends roof life. Make sure your contractor's proposal includes all these components.
Step-by-Step Guide to the Hail Damage Claim Process
- Step 1: Initial Inspection & Documentation. After the storm, safely inspect your property. Take photos of all damage. Do this before any cleanup.
- Step 2: Contact Your Insurance Company. File your claim. Get your claim number. Write down the name of everyone you speak with.
- Step 3: Hire a Reputable Roofing Contractor. Choose a local, licensed, and insured roofer. Have them perform a professional inspection. Get their detailed report and estimate.
- Step 4: Prepare for the Adjuster's Visit. Gather your documents. Have your contractor's report ready. Be present for the adjuster's inspection if possible.
- Step 5: Review the Insurance Estimate. Compare it to your contractor's quote. Identify missing items like code upgrades, O&P, or proper materials.
- Step 6: Supplement Negotiation. Work with your contractor to submit a supplement request. Provide photographic evidence and technical references.
- Step 7: Approval & Scheduling. Once the final scope is approved, sign the contract with your roofer. Schedule the installation. Your insurance will send you a check (often in two parts).
- Step 8: Installation & Final Inspection. Your contractor completes the work. Do a final walkthrough. Ensure all work matches the approved scope. Get all warranty paperwork.
Frequently Asked Questions From Homeowners
How long do I have to file a hail damage claim?
This depends on your policy and state law. Most policies require you to file promptly after discovering damage. In Texas, you typically have one year from the date of loss to file a claim. However, do not wait. File as soon as possible. Evidence is fresher. Memories are clearer. The process moves faster when started quickly.
Will filing a claim raise my insurance rates?
Maybe. Insurance companies consider hail an "act of God" or catastrophic event. These are often treated differently than an at-fault claim. However, multiple claims in a short period can affect your rates. Discuss this with your insurance agent. Getting your roof repaired properly prevents future leaks. This can save you from more costly claims later.
Can I keep the insurance money and not repair the roof?
Technically, the money is for repairs. If you own your home outright, you might receive the check directly. If you have a mortgage, the check will likely be co-payable to you and your lender. The lender will require repairs to protect their investment. Not repairing a damaged roof leads to bigger problems. Water intrusion can cause rot, mold, and structural damage. This will cost far more than a roof replacement.
What if the adjuster and my contractor disagree?
This is common. It is part of the process. Do not panic. Your contractor should provide evidence to support their assessment. This includes photos, measurements, and manufacturer guidelines. If the disagreement persists, you can request a re-inspection with a different adjuster. You can also ask for a third-party appraisal. Your policy outlines this dispute resolution process. A good contractor will guide you through it.
Should I get multiple roofing estimates?
Yes, but be smart about it. Get two or three estimates from reputable, local companies. Do not just choose the lowest price. Compare the scope of work and materials proposed. The insurance estimate sets the budget. Your choice of contractor determines the quality of the installation. Choose based on reputation, warranty, and communication skills, not just price.
What is "depreciation" on an insurance claim?
Many policies have Actual Cash Value (ACV) or Replacement Cost Value (RCV). ACV pays you the current value of your roof, minus depreciation for age. RCV pays the full cost to replace it. With RCV, you often get an initial check for the ACV amount. After repairs are complete, you submit the final invoice to get the recoverable depreciation. Understand which policy you have. It makes a big difference in your out-of-pocket cost.
Industry Statistics and Data You Should Know
Knowledge is power. Understanding the broader context helps. According to the National Oceanic and Atmospheric Administration (NOAA), hail causes about $1 billion in damage to crops and property each year in the United States. The Insurance Information Institute reports that hail damage claims accounted for a significant portion of homeowners insurance losses. On average, a hail damage roof claim ranges from $8,000 to $15,000 depending on roof size and material. A study by the Roofing Industry Committee on Weather Issues (RICOWI) found that proper installation is the single biggest factor in a roof's wind and hail resistance. This underscores the importance of hiring a qualified contractor, not just getting the insurance money.
Conclusion: Your Path Forward After Hail Damage
Dealing with hail damage is stressful. Working with an insurance adjuster can feel intimidating. You are not alone. Use this guide as your reference. Remember the key steps. Document everything immediately. Hire a professional roofing contractor early. Be present and prepared for the adjuster's inspection. Review all estimates carefully. Understand your policy coverage. Trust your contractor's expertise on construction matters. Do not accept an incomplete repair. Your home is your most valuable asset. Protect it with a proper, code-compliant roof installation.
The goal is not to fight the insurance company. The goal is to get your home restored to its pre-storm condition. A knowledgeable homeowner, a reputable contractor, and a fair adjuster can work together to achieve this. Start by calling a trusted local roofer for an inspection. Gather your information. Take a deep breath. You can navigate this process successfully and secure the roof your home needs. Your next step is simple: pick up the phone and schedule that professional inspection today.